محرر بودكاست الذكاء الاصطناعي مبسط - تبسيط التحرير بأدوات الذكاء الاصطناعي
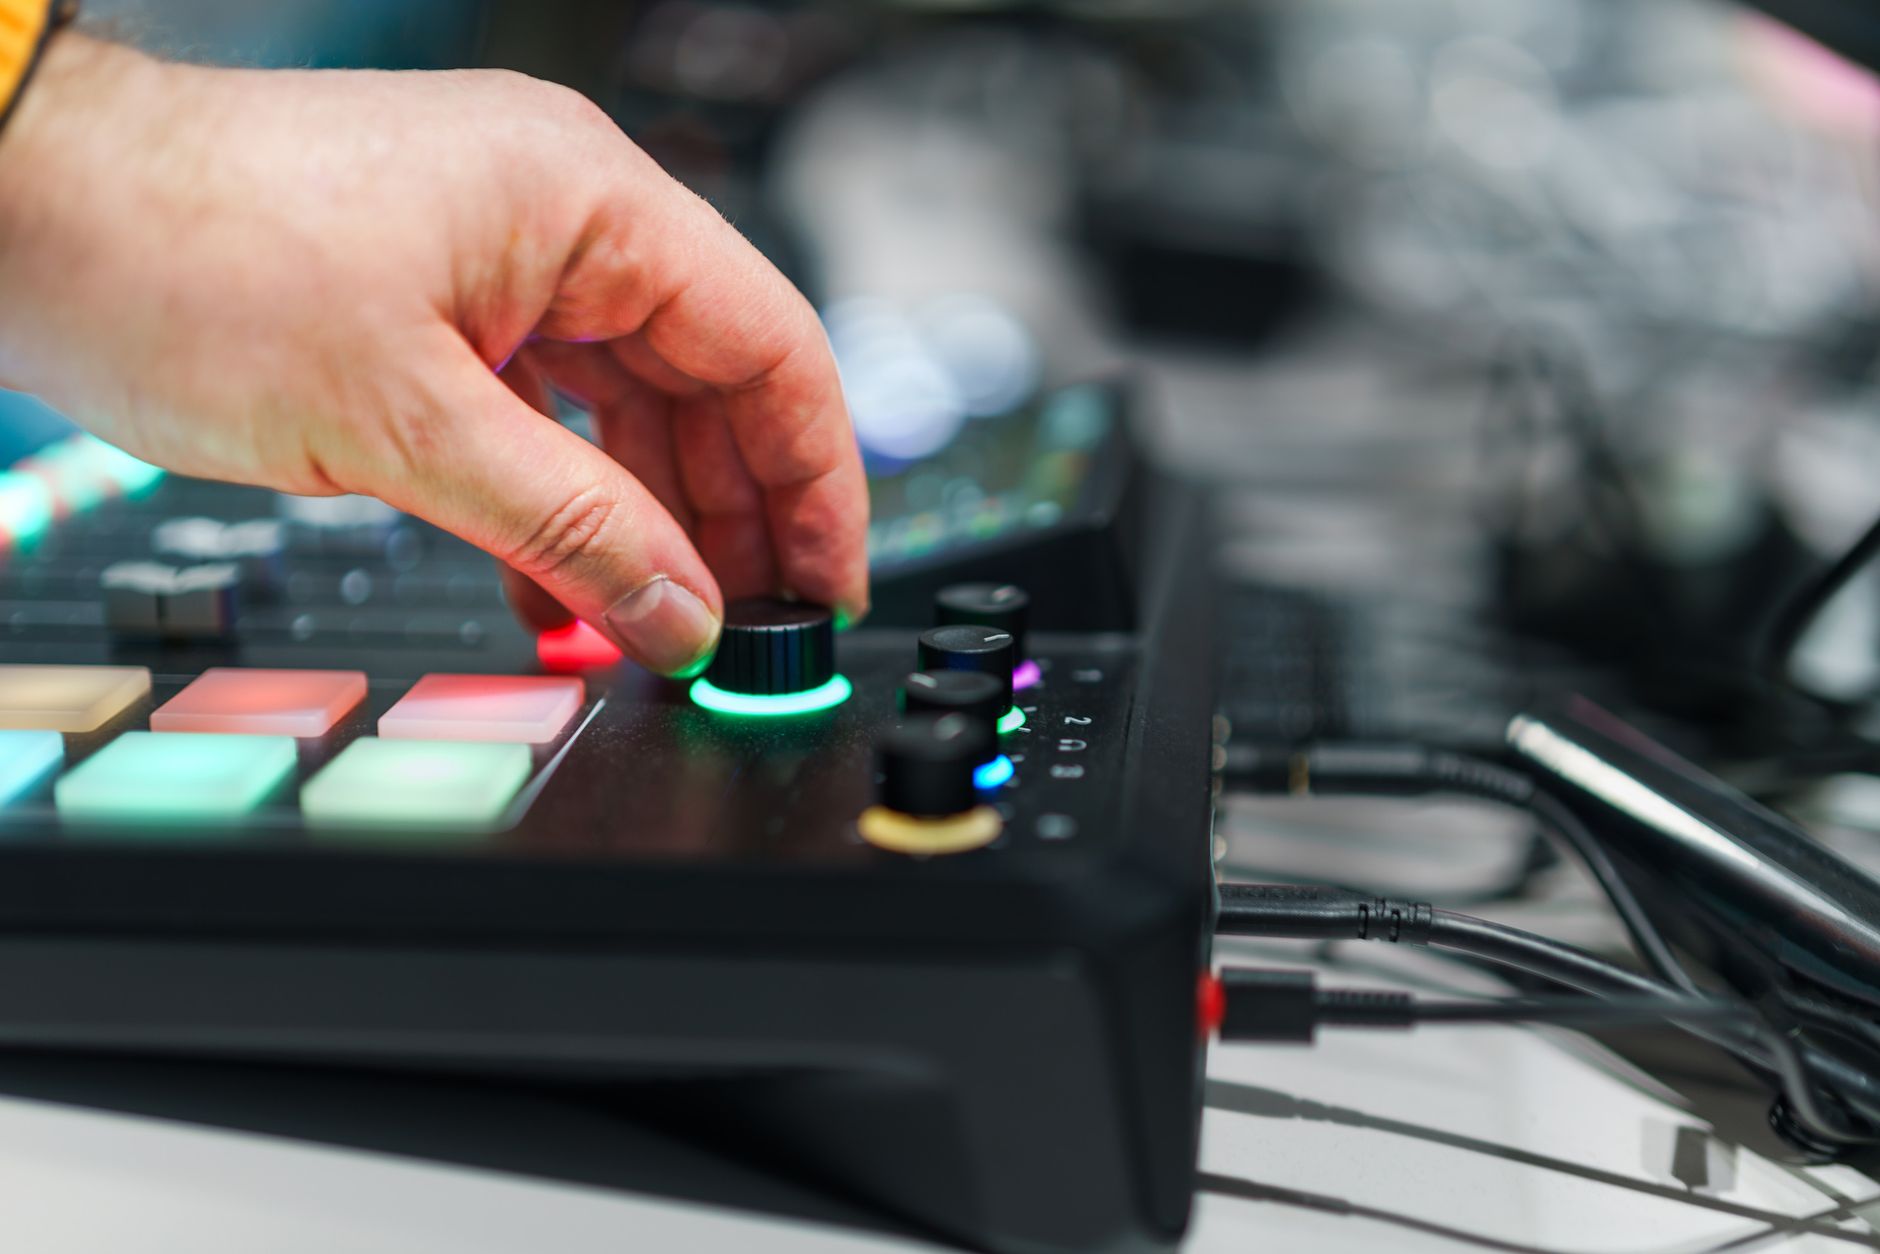

ابدأ بتشغيل قوالب مدعومة بالذكاء الاصطناعي ومعالجة الدفعات لتقليل وقت التحرير بنسبة 30-50% لكل حلقة. عامل مشروعك كممر إقلاع: يقوم الذكاء الاصطناعي بتحرير المقاطع مسبقًا، ويسمي المسارات للأصوات، ويوفر قاعدة نظيفة يمكنك تلميعها في دقائق. استخدم قوة معالجة إضافية وإعدادات مسبقة مستخدمة لدفع التوافق؛ اضبط مستوى الصوت على -16 LUFS حتى تبقى الخلطات متوازنة وتقلل الصمت.
دع الذكاء الاصطناعي يولد 3-5 خيارات للعناوين والتسميات التوضيحية من النص. على سبيل المثال، أنشئ 2 أسلوب تسمية توضيحية و4 تنويعات عنوان، ثم اختر الأفضل في محررك. ضع المقاطع ذات الصلة على مسارات منفصلة: احتفظ بالأصوات على مسار واحد، والموسيقى على آخر، والتأثيرات على ثالث للحفاظ على الوضوح. هذا يبقي الأمور نظيفة ويجعل من السهل تبديل الترتيب أو إسقاط المقاطع دون إعادة عمل عملهم. أضف ملاحظة سريعة حول كيفية تسمية العناصر للتحرير المستقبلي (حول اتفاقيات التسمية).
عند التصدير، استخدم المخرجات الجاهزة لـ YouTube: تسميات توضيحية مولدة تلقائيًا بتنسيق SRT، فصول كل 5 دقائق، وتصل إلى 3 تنويعات مصغرة/عنوان. إذا واجهت عدم تطابق، تحقق من مصدر الاقتباسات واضبطها. يمكن للمحرر تصدير حزمة جاهزة للرفع مع التسميات التوضيحية ومجموعة جميلة من العناوين لاختبار A/B على YouTube. كما أرفق ملاحظة المصدر للاقتباسات للبقاء شفافًا مع القراء.
مراقبة الجودة: يحدد الذكاء الاصطناعي الأخطاء المحتملة مثل الكلمات المسموعة خطأ، أو الصمت الذي يبدو مفاجئًا، أو النغمات غير المتطابقة. ثم يمكنك إصلاحها بنقرات قليلة وإبقاء التدفق نظيفًا. راجع مقطعين أو ثلاثة مقاطع عشوائية لتأكيد الإيقاع، واضبط المستويات، وتأكد من أن الانتقالات طبيعية. يدعم سير العمل عملهم من خلال الحفاظ على الفريق متماشيًا وتقليل الذهاب والإياب.
للفرق، حافظ على سير عمل بسيط: استخدم مشروعًا واحدًا مع قوالب تلقائية، وصدر إلى مجلد مشترك، واحتفظ بدليل حي يغطي مكان العثور على الدعم. إذا واجهت مشكلات، استشر موقع دعم المطور أو فيديو يوتيوب سريع يظهر مثالًا لإعدادك الدقيق. تساعد الملاحظات حول المصادر والأصول الإضافية ومكان العثور على الأصوات في تقليل الذهاب والإياب. بدون منحنى تعلم ثقيل، يمكنك البدء في إنتاج حلقات نظيفة أسرع وتقليل الأخطاء من النشر الأول.
دليل تحرير بودكاست الذكاء الاصطناعي
ابدأ بخطوط عريضة نصية للحلقة واضبط الأسلوب قبل تحرير أي مقطع. يساعد هذا النهج في تضمين الرسالة الأساسية، وإشارات المتحدثين، والانتقالات المخططة. استخدم الخطوط العريضة لتوجيه التحرير، والتسميات التوضيحية، واختيار المقاطع عبر جميع المنصات.
حول النص إلى خطة تحرير مع محررك: سمِّ المقاطع لكل متحدث، وصيغ التسميات التوضيحية، وأزل الحشو. فكر في انتقالات نظيفة، ثم طبق تحريرًا يحافظ على الإيقاع الطبيعي والمفاهيم واضحة. ستجد أن هذا السير العمل يقلل من الذهاب والإياب ويسرع النشر، خاصة عند الاعتماد على أداة واحدة.
استخدم أداة لترجمة النص إلى خطة تحرير: سمِّ المقاطع لكل متحدث، وصيغ التسميات التوضيحية، وأزل كلمات الحشو. فكر في طرق لربط الفقرات، ثم طبق تحريرًا يحافظ على الإيقاع الطبيعي والأفكار مترابطة. يساعد هذا النهج في العثور على الوضوح بسرعة وتقديم حلقة مصقولة.
استفد من الأدوات التي تتعامل مع محاذاة النص إلى الكلام والتسميات التوضيحية: يجعل سير العمل النصي من السهل إنشاء التسميات التوضيحية، وتوقيت الفقرات، والتصدير للفيديوهات. عند استخدام هذا الخط الإنتاجي عبر الحلقات، أدرج ملاحظات العرض والأصول الاجتماعية لتوسيع الوصول، مع تطبيق التحرير بشكل متسق عبر المقاطع.
شارك البارزات على linkedin لنمو الجمهور؛ حافظ على أسلوب متسق عبر الحلقات والمقاطع والمقالات. استخدم استراتيجية النشر المتقاطع لتضمين الفقرات المعاد استخدامها على المنصات وزيادة التفاعل.
نصائح الجودة: تحقق دائمًا من دقة التسميات التوضيحية، وأزل الأخطاء، وتأكد من أن علامات المتحدث تتوافق مع النص. استخدم بسهولة تعديل الإيقاع عن طريق قص الصمت، واختبر التحرير مقابل الحلقة الأصلية لضمان بقاء المعنى سليمًا. عندما تقوم بالتحسين، التقط بعض المقاطع الاحتياطية للاستخدام المستقبلي.
أخيرًا، يمكنك إعادة استخدام القوالب وقوائم التحقق للحلقات المستقبلية؛ لحسن الحظ، هذا يقلل من وقت التحضير ويحافظ على التوافق عبر الحلقات والعروض.
تقنيات تقليل الضوضاء للكلام الواضح
ابدأ بتنظيف خطوتين: طبق فلتر عالي المرور عند 80 هرتز لإزالة الرعد المنخفض، ثم التقط بصمة ضوضاء من الصمت الهادئ وقم بتشغيل مرور إزالة لقمع الضجيج واسع النطاق. هذا يبقي الروايات الصوتية واضحة في محتوى الوسائط ويساعدك في العثور على خط أساس موثوق لأخذ مقابلة شارع في حلقة.
وازن كمية تقليل الضوضاء. استخدم حوالي 12–24 ديسيبل في المرور الأول واستمع بسماعات الرأس؛ تقليل كثير ينتج آثارًا معدنية. للصوت الحاد، أضف مزيل صوت أو اضبط ميل طيفي بلطف. هذا يساعد الحلقة في الحفاظ على الفهم عبر الأصوات والمسافات. احتفظ بتعديلات لطيفة فقط. يجد المحررون هذا النهج مفيدًا ويفضل الكثيرون لمسة أخف للمحتوى الحواري.
للتدريب، بنِ ملف تعريف ضوضاء مخصص من مجموعة صغيرة من الملفات. خذ 10–20 ثانية من نغمة الغرفة كمرجع، درِّب الإزالة على ذلك الملف التعريفي، وطبقه على باقي المحتوى. قد تحتاج إلى إعادة التدريب أحيانًا بعد تغيير الموقع، لكن هذا ينتج توليدًا أكثر اتساقًا للصوت النظيف عبر الملفات. من هذا الخط الأساسي يمكنك إنتاج حلقة مصقولة بتحرير أقل وتجربة استماع أفضل.
استخدم هذه الخيارات في جدول لمقارنة النتائج:
| التقنية | ما تفعله | أفضل استخدام |
|---|---|---|
| فلتر عالي المرور | يزيل الرعد أسفل نقطة القطع | الروايات الصوتية، مقابلات الشارع؛ ابدأ عند 80 هرتز، اضبط لتجنب ترقق الباس |
| تقليل الضوضاء الطيفي (الإزالة) | يهدف إلى الضجيج واسع النطاق عن طريق محو ملف التعريف الضوضائي | طبق بعد التقاط بصمة ضوضاء من الصمت |
| باب الضوضاء | يقمع الضوضاء غير الإشارة في الوقفات | عندما يحتوي الصمت على طنين؛ اضبط العتبة قليلاً فوق الضوضاء |
| مزيل الصوت الحاد | يقلل الصوت الحاد القاسي مع الحفاظ على الحروف واضحة | الكلام مع أصوات حادة؛ اضبط حول 6–8 كيلو هرتز |
| التحرير اليدوي (كسب المقطع، التلاشي) | يحافظ على الديناميكيات الطبيعية ويزيل الطقطقات | استخدم على الأخذات الصعبة أو النقرات المتبقية |
| مطابقة نغمة الغرفة | يبقي التحرير سلسًا عن طريق تسوية الصمت | املأ الفجوات بين الأخذات بنغمة غرفة منخفضة المستوى |
عند الانتهاء، صدر المحتوى النهائي كـ WAV للوسائط، أو MP3 للتنزيل. إذا نشرت على Podbean، اشترك في خطة غير محدودة واستفد من عرض يشمل تنزيلًا سهلًا وبارزات الفصول. يساعد هذا السير العمل في إنتاج توليد نظيف للصوت الذي يستمتع به المستمعون فعليًا. أبرز أي ضجيج أو طقطقات متبقية لتحرير ما بعد سريع.
التسوية التلقائية لمستوى الصوت لمستويات الحلقات المتسقة
اضبط هدف تسوية مستوى الصوت المتكامل الثابت على -16 LUFS وسقف قمة حقيقي على -1 dBTP، ثم فعِّل التسوية التلقائية لمستوى الصوت حتى يصل كل مقطع إلى نفس المستوى. هذا يساعد المستمعين في سماع خليط متسق عبر الحلقة بسهولة وسلس، من النوتة الأولى إلى الإشارة النهائية. ابدأ بملاحظات من مراجعة العرض الأخير لتخصيص الخط الأساسي للتحرير المستقبلي.
شغِّل تحليلًا واحدًا عبر جميع اللقطات والفيديوهات والروايات الصوتية، ثم طبق التسوية في مرور واحد. استخدم معالجة الدفعات لتسوية الحلقة بأكملها، بما في ذلك فقرات الضيوف والمسارات المحيطة؛ هذا يوفر السرعة ويقلل الإرهاق للمحررين الذين يريدون أفضل النتائج. بعد الاشتراك في محرر ذكاء اصطناعي، يمكنك مقارنة العروض قبل/بعد والتقاط ملاحظات لتدريب الجلسات المستقبلية لدفع مكاسب إضافية في التوافق.
بعض المقاطع ستنحرف رغم الهدف؛ طبق محدِّدًا لطيفًا أو قصًا ناعمًا قبل التسوية النهائية للحفاظ على المساحة الرأسية ومنع الضخ. احتفظ بالقمم تحت -1 dBTP مع السماح بمدى ديناميكي 2–3 ديسيبل لللحظات الرئيسية، حتى يبقى الحوار طبيعيًا وسلسًا عبر الروايات الصوتية والمقابلات. يستخدم هذه التقنية المحترفون للحفاظ على التوافق عبر الحلقات.
دمج التسوية في سير عمل التحرير مع إعدادات قابلة لإعادة الاستخدام للمشاريع غير المحدودة. استخدم ملاحظات لالتقاط ما يعمل ومشاركة الرؤى مع ضيف أو فريق. لفحوصات سريعة، ابحث عبر المسارات عن إشارات المستوى وانقر لضبط الخليط بأكمله في مرور واحد. هذا يبقي أفضل أخذاتك متماشية مع نية العرض ويسمح لك بالسيطرة عند الحاجة، مع تحرير بثقة. إذا أردت، تخصص الإعدادات لعروض محددة لتسريع الحلقات المستقبلية.
فكر في كيفية تكييف التسوية لصيغ مختلفة: بعض البودكاست الفردية، أو المناقشات الدائرية، أو حلقات الضيوف المتعددين. ضع الروايات الصوتية على مسارات منفصلة واستنسخ الفقرات الرئيسية إذا أردت تجربة بدائل؛ حيث يلزم الأمر، خذ السيطرة واضبط المستويات بسهولة، ثم اختبر مع المستمعين على أجهزة متعددة. قد تكون بعض التعديلات مطلوبة، لكن مع بيانات تدريب غير محدودة، تسرع العملية للحلقات المستقبلية.
اختيار أصوات الذكاء الاصطناعي: أساليب الكلام الاصطناعي للعلامة التجارية
اختر صوت ذكاء اصطناعي واحد يطابق علامتك التجارية واحتفظ به عبر سير العمل الإنتاجي هذا. يساعد هذا التوافق جمهورك في التعرف على موضوعك بمجرد سماع السطر الافتتاحي، سواء في منشور مدونة، أو نشرة beehiiv، أو حلقات صوتية.
سير العمل
- حدد خصائص الصوت: النغمة، السرعة، الإيقاع، وكيفية التعامل مع علامات الترقيم. اختر صوتًا واحدًا يناسب جمهورك من مقدمي البودكاست والقراء على حد سواء.
- ولِّد عينات: استخدم elevenlabs كخط أساس وقارن مع تجربة مجانية أو منصة أخرى لتأكيد التطابق مع علامتك التجارية.
- محاذاة النسخ: شغِّل مرور نسخ سريع وأصلح النطق الخاطئ أو أسماء المصطلحات للحفاظ على كلماتك دقيقة.
- تلميع الصمت: شدِّد الوقفات بين الجمل وعند فواصل الأقسام للحفاظ على الإيقاع الطبيعي للقراءات الطويلة أو الحلقات.
- نشر وقياس: دمج الصوت في سير عمل النشر لمنشورات المدونة والنشرات، ثم راقب التفاعل لتحسين اختيار الصوت مع الوقت.
أساليب الصوت واختيارات عملية
- دافئ وودود: مناسب للمواضيع المدفوعة بالمجتمع والعروض غير الرسمية.
- موجز وموثوق: يناسب الدروس، النصائح السريعة، والمواسم التقنية.
- حيوي وديناميكي: يبقي المستمعين مشاركين للفقرات الأقصر أو التحديثات بنمط الأخبار.
- واضح وهادئ: مثالي للمحتوى الثقيل بالنسخ و الحلقات الطويلة.
التقييم والاختبار
- شغِّل نصًا واحدًا في الصوت المختار، ثم قارن مع خيار ثانٍ لتأكيد أولويات علامتك التجارية.
- تحقق من نطق مصطلحات العلامة التجارية، وأسماء المنتجات، والكلمات الصناعية لتجنب النسخ الغريبة في النسخ.
- قيِّم السرعة: هدف لتسليم طبيعي عند 0.95x–1.15x؛ اضبط ليتناسب مع إيقاعك دون التسرع في الأفكار.
- اختبر إعدادات المتحدثين المتعددين فقط إذا كنت تخطط للتبديل بين الأصوات بين الفقرات؛ لمعظم العلامات التجارية، يحافظ متحدث واحد على التوافق.
نصائح عملية للتوزيع والدمج
- أرفق الصوت بمنشورات المدونة والبودكاست داخل تدفق النشر، ثم دفع إلى نشرات beehiiv لعلامة تجارية مترابطة.
- استخدم نصًا بسيطًا يعكس الكلام الطبيعي، مع جمل قصيرة وكلمات مفتاحية واضحة لتحسين دقة النسخ.
- حافظ على دورات سهلة عن طريق الحفاظ على قالب نص قابل لإعادة الاستخدام ومجموعة صغيرة من تعديلات الصوت لكل موضوع.
- استفد من صوت واحد لتقليل وقت الإنتاج وتجنب الفوضى الصوتية عبر الحلقات والحملات.
فحوصات الجودة والمقاييس
- شغِّل اختبارات استماع دورية مع عينة من جمهور مقدمي البودكاست وقراء المدونة لتأكيد أن النغمة تتوافق مع علامتك التجارية.
- تتبع التفاعل على المنشورات المفعلة بالصوت والنشرات؛ لاحظ التحسينات في الاحتفاظ بعد تبني صوت متسق.
- تحقق من أن الصمت والأنفاس يشعران بالطبيعي؛ اضبط لتجنب الكثير من الوقفات الطويلة التي تعطل التدفق.
ملاحظات حول الأدوات والوصول
- يقدم Elevenlabs مجموعة أصوات أساسية ومستوى مجاني للتجارب الأولية؛ الإنتاج الأعمق عادةً يعتمد على خطط مدفوعة توسع الأصوات والميزات.
- استكشف خيارات متعددة إذا كنت بحاجة إلى صوت مميز لسلسلة خاصة، لكن حافظ على صوت أساسي واحد لمعظم الحلقات.
- تذكر توثيق الصوت المختار في ملاحظاتك التحريرية حتى يبقى الكتاب والمحررون متماشيين على الأسلوب.
قائمة التحقق بالتنفيذ
- صوت علامة تجارية واحد مختار ومعتمد من الفريق.
- قوالب نصوص جاهزة للمدونة والصوت والنشرات.
- سير عمل النسخ مدمج مع خطوة إنتاج الصوت.
- الصمت مضبوط لإيقاع طبيعي عبر المواضيع.
- جدول النشر متماشٍ مع نشرات beehiiv وتواريخ نشر المدونة.
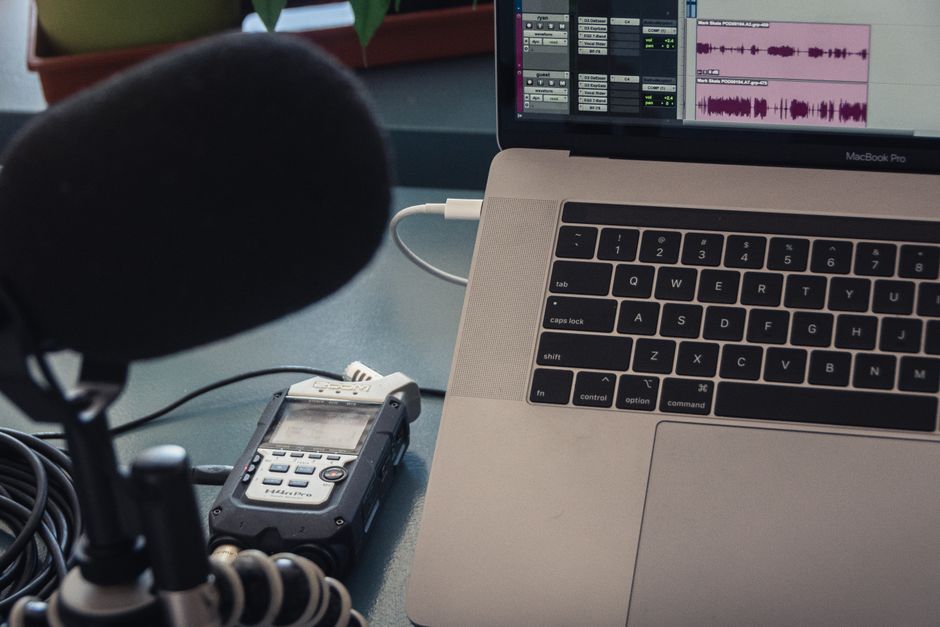
دمج تحرير الذكاء الاصطناعي في سير عمل الإنتاج ما بعد الإنتاج
استخدم هذا النهج لإنشاء نسخ دقيقة، وملاحظات نظيفة، ونسخ نصية غنية بالكلمات المفتاحية من صوتك، ثم فحص الفجوات والإسنادات الخاطئة قبل التوزيع. طبق هذه الممارسات على كل حلقة.
وجه التسجيلات الخام إلى سير العمل في مرحلة القطع الخشن، دع الأداة تسمِّ رموز الوقت، وتكتشف المتحدثين، وتبرز الكلمات المفتاحية يمكن إعادة استخدامها في ملاحظات العرض، مع الإشارة السريعة إلى المشكلات المفقودة بالتحرير اليدوي.
اشترك لربط هذا التلقائي مع مراكز علامتك التجارية، حتى تبقى شركتهم وعلاماتهم التجارية متسقة، ويتجنب المحررون الإيذاء في إعادة التحرير؛ على سبيل المثال، هذا يبسط مراقبة الجودة ويحافظ على صوت مشترك عبر الشركة وعروضها.
حافظ على أصولهم متماشية: صدر تسميات توضيحية نظيفة للاجتماعي، واستخدم هذه الملاحظات لملء ملخصات العرض لقنوات التوزيع الخاصة بهم.
كلِّف alex بمراجعة التحرير الصعب، خاصة لمقاطع مقابلات الشارع، حيث تتحدى الضوضاء الخلفية دقة النسخ، واستخدم هذه الملاحظات لتوجيه التحديثات.
ربط مخرجات الذكاء الاصطناعي بسلسلة أدوات الإنتاج ما بعد الإنتاج: استورد النسخ، أرفق ملاحظات مطبوعة بالوقت، وبنِ مكتبة من الكلمات المفتاحية متماشية مع علامتك التجارية، مع دعم من البائع للتعامل مع الحالات الحدية. يسمح هذا السير العمل للفرق بالسماح بقرارات أسرع وزيادة التوافق عبر معظم الحلقات.
فحوصات الجودة والإصلاحات السريعة: الصمت، والانفجارات، والآثار
أزل الصمت تحت 200 مللي ثانية لشد الإيقاع عبر المتحدثين والحفاظ على تدفق الكلام في الإنتاج الزمني الحقيقي. استخدم باحث صمت للإشارة إلى الفجوات 0.2 ثانية وقصيرة، ثم طبق تلاشيًا خارجيًا سلسًا لتجنب النقرات. بعد الإزالة، عوِّض المسارات إلى هدف مستوى صوت متسق، مضمونًا بقاء الملمس العام مترابطًا عبر الخليط.
تتطلب الانفجارات نهجًا بخطوتين: قص الانفجار المسيء، ثم طبق EQ لطيفًا. ابدأ بفلتر عالي المرور حول 60 هرتز لتقليل الرعد، ثم أضف شقًا عريضًا حول 150 هرتز لقمع انفجارات الرياح دون إخفاء الوجود. إذا استمر الانفجار على كلمة، عزل المنطقة وقص القمة؛ احتفظ بالنفس والكلام المحيط سليمًا حتى تبقى الأصوات طبيعية. إذا لزم الأمر، استخدم EQ ديناميكيًا حول 2-4 كيلو هرتز للحفاظ على الوجود دون إعادة إدخال الانفجارات.
الآثار: حدد النقرات، والطقطقات، وأصوات الفم؛ استخدم إصلاح طيفي أو قص يدوي وتلاشي للإزالة؛ احتفظ بأصوات الغرفة الطبيعية عن طريق ترك نغمة الغرفة؛ تحقق من عدم نقل الآثار؛ للفوز السريع، طبق تلاشيًا صغيرًا لعينة واحدة لتجنب البدايات المفاجئة. بصمات الضوضاء المزالة والجو المستعاد.
سير العمل والإصلاحات السريعة: شغِّل مراقبة جودة قصيرة في الزمن الحقيقي بعتبات مرتخية لالتقاط الصمت والقص؛ حافظ على إنتاج مترابط عبر المتحدثين عن طريق الإشارة إلى أي عدم تطابق في مستوى الصوت؛ أرشف قائمة تحقق نصية عبر الفريق للتوافق؛ انشر عبر Podcastle أو Podbean ووفر دعم إذا نشأت مشكلات؛ في المقالات ذات الصوت السردي، تحافظ هذه الخطوات على الوضوح.
📚 المزيد حول أدوات الذكاء الاصطناعي والمراجعات
- 15 أفضل أدوات ذكاء اصطناعي لإطلاق ونمو بودكاستك
- 7 أدوات إدارة ميزانية PPC مدعومة ببرمجيات ذكاء اصطناعي جديدة
- أفضل 12 أداة كتابة إعلانية بالذكاء الاصطناعي في 2026 - دليل شامل لبرمجيات الكتابة بالذكاء الاصطناعي
- 26 أفضل أدوات تسويق ذكاء اصطناعي أستخدمها للبقاء في المقدمة في 2026
- يستخدم ChatGPT بحث Google كاحتياطي - ما يعنيه ذلك لأدوات الذكاء الاصطناعي
Ready to leverage AI for your business?
Book a free strategy call — no strings attached.


