كيفية استخدام جوجل فيو 3 لإنشاء فيديو من نص باستخدام الشبكات العصبية
ابدأ بكتابة موجه إنجليزي دقيق واضبط الإخراج على 24 إطارًا في الثانية مع جدول زمني لمدة 6 ثوانٍ وحدود إطارات واضحة. هذا يحافظ على حلقة الإنتاج محكمة ويساعدك على الشعور بإيقاع الإطار. استخدم سيناريو حقيقي: وصف الشخصية، المشهد، والحركات الأساسية التي تتوقعها، حتى تسقط خطوط النص بالإيقاع الصحيح. ثم
صياغة الموجهات بالإنجليزية، وعند الحاجة، بالروسية لتثبيت المشهد. يتحقق Veo 3 من تقدم الإطار النظيف مع ميزانية زمنية محكمة. استخدم موجهات تحدد الشخصية، دور الأبطال، الإضاءة، زوايا الكاميرا، واتجاهات حركة قليلة. أدرج خطوط النص لمزامنة الحوار مع الإجراء، وأشر إلى جوجل لمواءمة التوقعات مع المنصة. للسرعة، وثق قائمة قصيرة من الموجهات ثم كرر. يعمل النظام بسلاسة عبر الاختلافات. ثم
حدد كوريوغرافيا للأبطال وحركات الشخصية في نبضات مصغرة محكمة. ابنِ بعض الحركات المصغرة: خطوة، دوران، حركة، ودفع، ثم قم بتعيينها إلى مسار زمني وتسلسل من الإطارات. العرض القصير لمدة 3-4 ثوانٍ يساعدك على تقييم الشعور وضمان بقاء الحركة حقيقية أثناء نطق النص. إذا كنت بحاجة إلى تدفق ثنائي اللغة، أضف ملاحظات روسية بالالروسية وتحقق من تطابق الرؤى مع إيقاع السرد. ثم
قارن تخطيطات الإطارات التقليدية مع الكتل الوحدية لتسريع التكرارات. يدعم Veo 3 هذه النهج؛ قم بمعالجة إطارات اختبار سريعة لجمع التأكيدات على التوقيت. راقب التغييرات المرئية في الانتقالات وحركات الوجه، مؤكدًا أن الوقت يمر بسلاسة مع تقدم الزمن. هذه ثورة في إنشاء المحتوى، ويمكنك مراقبة التقدم عبر المعاينات والملاحظات. ثم
التالي، قم بتصدير التسلسل كدفعة من الإطارات وصقل الموجهات لكل مشهد. احتفظ بسجل نصي مستمر مع ملاحظات حول الحركات وأرقام الإطارات، وتتبع الطوابع الزمنية أثناء التكرار. استخدم خطوات التالي لضبط الإضاءة، الوضعيات، وحركات الكاميرا حتى يلبي الشعور نيتك. النتيجة منتج حاد ومرئي يظهر كيف يمكن لشبكة عصبية ترجمة النص إلى سرد متحرك مع حركات مقنعة وإيقاع إطار مستقر. وقت
إعداد النظام وتوافقية Google Veo 3
إعداد أساسي: شغل Veo 3 على محطة عمل مخصصة مع 32 جيجابايت رام، RTX 4070 Ti أو أفضل (12-16 جيجابايت VRAM)، وSSD NVMe سريع (حد أدنى 1 تيرابايت). استخدم Windows 11 Pro 64-bit أو Ubuntu 22.04 LTS، وقم بتثبيت أحدث برامج تشغيل NVIDIA Studio. هذا الاقتران يحافظ على أحمال التعلم العميق مستجيبة ويسمح لك بالانتقال بين المشاهد دون تأخيرات.
قم بتكوين Veo 3 للاحتفاظ بذاكرة GPU للتوليد والمعاينة. ابدأ بحجم دفعات 2-4 للتشغيلات الأولية، ثم قم بتوسيع النطاق بعد فحوصات الاستقرار. احتفظ بقرص خدش وأصول منفصل على NVMe للتخزين المؤقت، وأغلق التطبيقات غير الضرورية أثناء المعالجة لتجنب تبديل سياق GPU.
بالنسبة لسعة النظام، يتعامل معالج ستة نوى حديث أو أعلى و16-32 جيجابايت رام مع هياكل القصة النموذجية؛ 64 جيجابايت مفضلة للجلسات الطويلة مع العديد من الأصول. ضمن دعم PCIe 4.0/5.0 للوحة الأم وتعطيل ملفات التوفير في الطاقة العدوانية التي تحد من أداء GPU. احتفظ بالبرمجيات وسلسلة الأدوات محدثة، وتحقق من التوافقية إذا كنت تخطط لتخصيص الموجهات أو السكريبتات المستخدمة بواسطة Veo 3.
توافقية الأجهزة والنظام التشغيلي
يعمل Veo 3 على Windows 11 Pro 64-bit أو Ubuntu 22.04 LTS، مع برامج تشغيل NVIDIA Studio أو أحدث أداة CUDA المحاذية لنموذج GPU الخاص بك. يستفيد محرك التوليد القائم على Gemini من GPUs مع VRAM وفير وعرض نطاق ذاكرة سريع، لذا أولوية بطاقة مع 12 جيجابايت VRAM على الأقل. الواجهة محسنة للموجهات متعددة اللغات، لذا ضمن أن إعداد اللغات يطابق تدفق عملك المستهدف. في حالة البيئات المختلطة، اختبر مشهدًا صغيرًا أولاً للتحقق من بناء المحرك للمشهد بشكل صحيح وأن الإخراج يشعر بالاستقرار عبر التحرير.
أهمية استجابة الواجهة للمحررين ومبدعي المحتوى على حد سواء. احتفظ بحزم اللغات محدثة، وتحقق من أن حزم اللغة للواجهة لا تُدخل تأخيرًا إضافيًا. في حالة الضغط على الذاكرة، قلل من تعقيد المشهد أو عُد إلى عينات أصغر، ثم أعد تهيئة قائمة الانتظار للمعالجة للحفاظ على التدفق سلسًا. يجب أن يتعامل محرك جيميني مع التغييرات بشفافية، لذا يمكنك معاينة الفيديو محليًا قبل تصدير تسلسل كامل، ويمكنك استخدام مقاطع صوتية قصيرة للتحقق من التوقيت دون الانتظار لمعالجات كاملة.
إعداد الحساب وإعداد تدفق العمل
في حالة عملك مع فريق، قم بإعداد حساب مخصص وتعيين أدوار لمبدعي المحتوى؛ أنشئ مجلدات منظمة لأصول القصة، الشخصيات، والأبطال. يمكن للمحررين تتبع التغييرات في هيكل القصة (الهيكل) وصياغة اقتراح دقيق لتوجيه التوليد. تكشف الواجهة (الواجهة) عن تدفق واضح لإدارة الأصول، لذا يمكنك نقل (نقل) الأصول بين المجلدات، الحفاظ على ائتمانات المؤلف، والحفاظ على تاريخ نظيف للتحريفات. للمعاينات، أنشئ فيديو قصيرًا لقياس الإيقاع والشعور قبل التوسع إلى إخراج أطول. أعد مكتبة من مقاطع صوتية قصيرة لاختبار المزاج بسرعة، ثم قم بضبط الموجهات لمواءمة القوس القصصي المقصود وأفعال الشخصيات، مضمونًا أن كل مبدع يعرف كيفية إعادة إنتاج مظهر وشعور متسق. إذا كانت هناك حاجة لتحرير، استخدم المحررين لتطبيق التغييرات، أعد تشغيل المشهد، وقارن النتائج جنبًا إلى جنب لتأكيد التحسينات. في هذا التدفق، يساعد المعرفة بكيفية ترجمة الموجهات إلى رؤى (اعرف النتائج المتوقعة) في الحفاظ على التماسك عبر مشاهد متعددة وقصاصين.
هندسة الموجهات لتحويل النص إلى فيديو بالشبكة العصبية في Veo 3
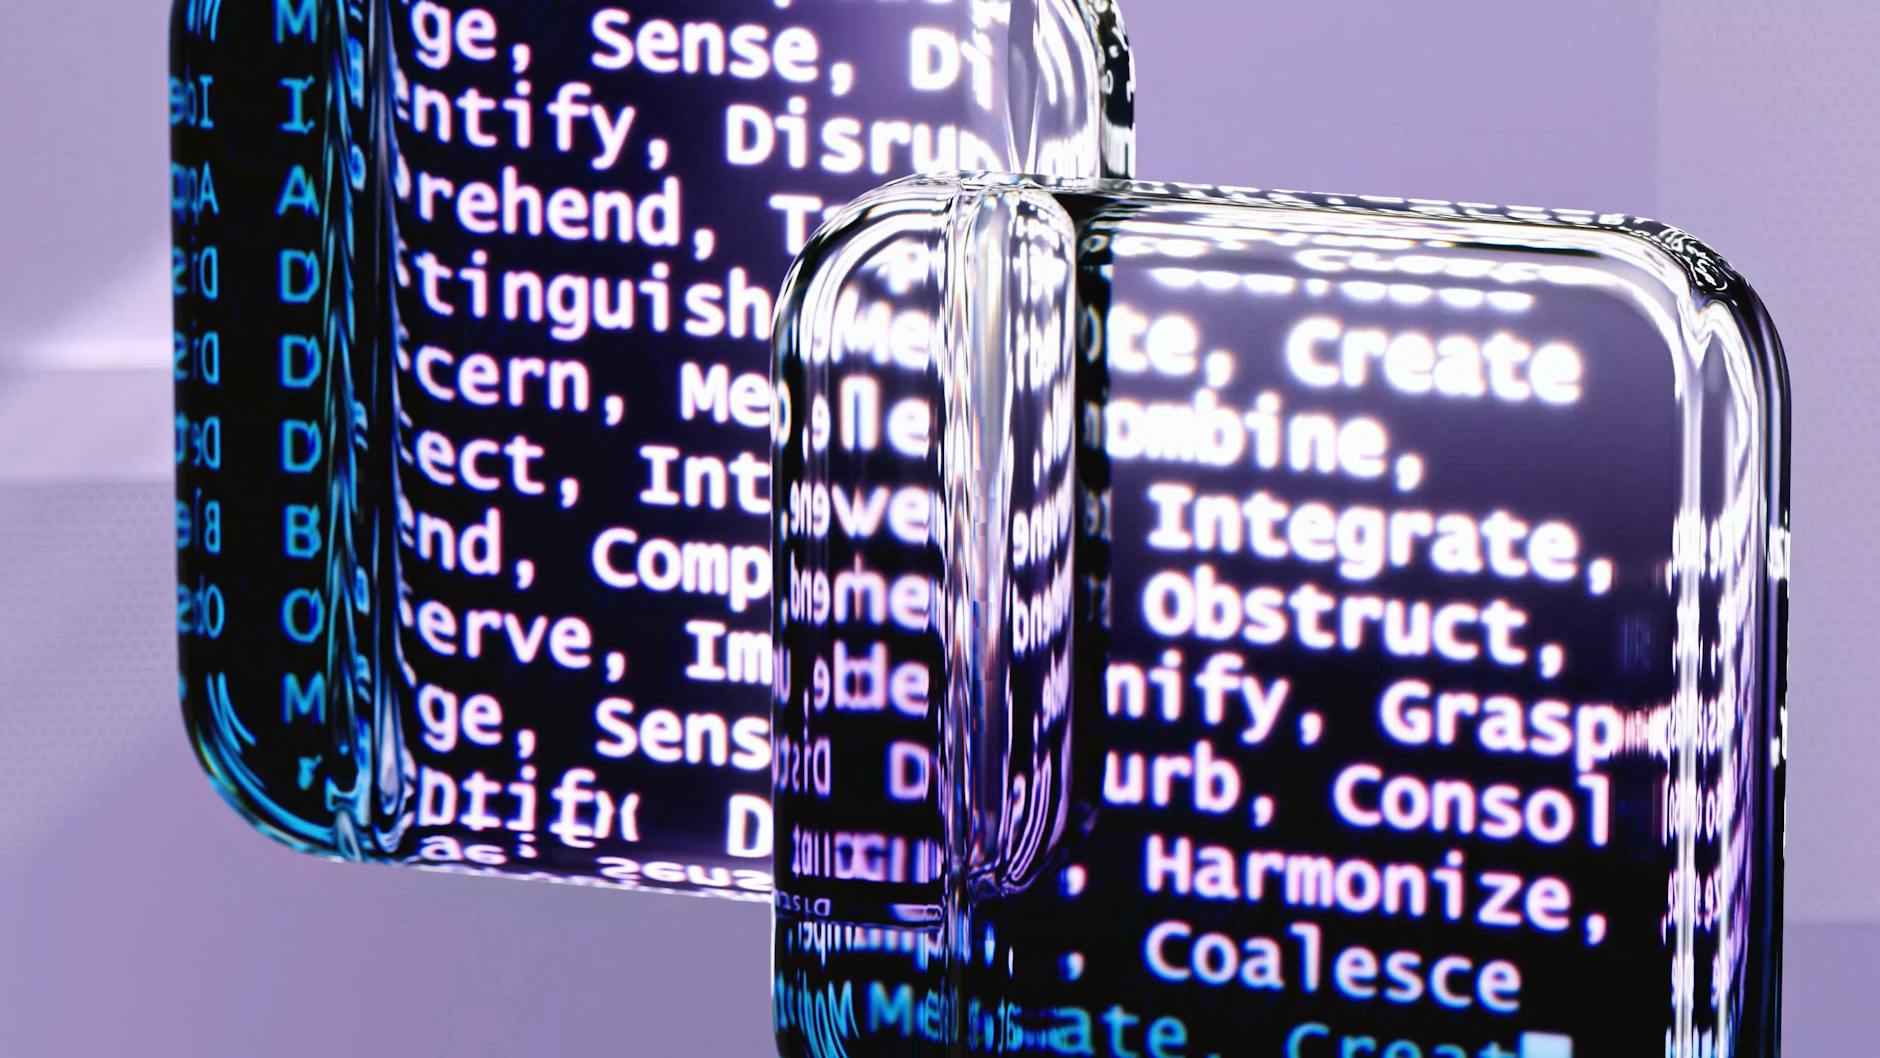
استخدم موجهًا موجزًا موجهًا نحو الإجراء من 1-2 جمل يسمي بوضوح الموضوع، الإعداد، والإجراء، ثم أضف إشارات الطراز والصوت في نفس الموجه لتوجيه النموذج. هذا النهج ينتج نتائج قابلة للتكرار ويسمح لـVeo 3 بالتركيز على العناصر الرئيسية بسرعة، مما يساعدك على تقليل التكرارات وتحقيق إخراج أسرع مع تفاصيل متسقة.
يجب بناء الموجهات حول سبع مراسي: الموضوع، المشهد، الإجراء، الإعداد، الإضاءة، الكاميرا، والصوت. ضعها في سطر واحد لتحليل Veo 3، وأضف علامات اختيارية مثل synthid لربط الأصول بهوية محددة. يمكنك الإشارة إلى مركز أو دليل في geminigooglecom لمواءمة الاتفاقيات في التسمية في القسم والحفاظ على تنسيق الفرق. لكل عنصر، احتفظ بالفكرة الأساسية حادة وتجنب الفقرات الطويلة التي تخفف التركيز.
مثال موجه ملموس: "غابة هادئة عند الفجر، ثعلب يعبر مسارًا ضبابيًا، عدسة 50 مم، عمق مجال ضحل، إضاءة خلفية طبيعية، ظلال ناعمة؛ الصوت: تغريد الطيور ونهر بعيد (إشارات صوتية)؛ المزاج: تأملي؛ synthid: forest-001؛ التفصيل: عالي؛ ضوضاء أقل؛ المشاهد: غابة، مسار." هذا العينة يظهر كيفية توازن الموضوع، البيئة، والتفاصيل الحسية في سطر واحد، بينما استخدام هذا النهج لشد السيطرة على جودة الإخراج.
في Veo 3، أدرج الأصول الضرورية باستخدام مصطلحات مثل تحميل عند الحاجة إلى جلب نسيج أو حزم صوتية. إذا كنت تحضر مشروعًا أوسع، العبارة ضروري للتأكيد على ما يجب تحديده قبل المعالجة. في حالة رغبتك في قفل المظهر والشعور عبر العديد من المقاطع، أرفق synthid واحدًا وأعد استخدامه عبر المشاهد؛ هذا سيساعدك في الحفاظ على التوافق البصري وتجنب الانجراف. هناك فرصة للحصول على نتائج أكثر قابلية للتنبؤ، مع التأكيد على الطراز والصوت في كل قسم.
عند العمل مع الصوت، أشر إلى تفضيل للموسيقى أو إشارات صوتية صريحة لتشكيل المناظر الصوتية. لتكرارات أسرع، حدد دقة أقل أو معدل إطارات أصغر في الموجه، ملاحظًا أن هذا يمكن أن ينتج معاينات أسرع أثناء صقل التفاصيل. تستفيد العديد من الموجهات من نهج ذي مستويين: أولاً توليد مرور خشن لإظهار المفهوم، ثم أضف تفاصيل (التفصيل) وشد الإضاءة وزوايا الكاميرا للمعالجة النهائية. هذا النهج يساعدك على اختبار المفاهيم بسرعة ثم إنهاء بأمانة أعلى.
نصائح عملية لعرض مشاهد متعددة: وصف كل مشهد بنحو متسق، ثم فصل بفاصل مثل الفواصل المنقوطة. للمشتركين (الاشتراك) الذين يختبرون متغيرات متعددة، أدرج تسلسلًا سريع النار من الموجهات التي تختلف بعنصر واحد فقط في كل مرة لمراقبة كيفية استجابة Veo 3. إذا كنت تخطط لنشر الأصول علنًا، فكر في الربط بأمثلة geminigooglecom ووسم الأصول بـsynthid فريد لتتبع المشتريات (المشتريات) وحقوق الاستخدام عبر الإخراج. في حالة إعادة استخدام الأصول، يجعل هذا النهج من السهل مراقبة الأداء عبر العديد من المشاهد دون فقدان الهوية.
أنابيب البيانات وتكامل النموذج مع Veo 3
باستخدام أنبوب بيانات معياري مدفوع بالأحداث، قم باستيعاب التدفقات من الكاميرات، أرفق بيانات وصفية لكل إطار، وادفع إلى Veo 3 لتوليد مقاطع الفيديو. ابنِ طبقة تأكيد للتحقق من النزاهة وفهرس JSON خفيف للوصول السريع. قم بتخزين الأصول الخام في منطقة تهيئة وأدر الجلسات بملفات تعريف الارتباط للحفاظ على حركة المرور نظيفة. للسرعة، قسم مهام التوليد وجمع البيانات، ليسهل الانتقال بين المراحل دون حمل زائد. أضف وصفًا لكل مقطع لدعم التوليد القائم على النص والنصي، واحتفظ بالقصص مترابطة عبر المشاهد للاحترافية في إنشاء مقاطع الفيديو. إذا كنت تريد المواءمة مع أنابيب تقليدية، احتفظ بقائمة انتظار منفصلة ومفاتيح ميزات لاختبار المتغيرات، مع الحفاظ على المسار الأساسي مستقرًا. انتقل إلى القسم التالي لتنفيذ هذه الخطوات معًا مع Veo 3.
استيعاب البيانات والتحقق
- استيعاب من الكاميرات (الكاميرات) عبر RTSP أو SDKs الجهاز، التقاط الإطارات بمعدل مستقر (8-12 إطارًا في الثانية)، وأرفق رموز زمنية ومعرف كاميرا للمزامنة الدقيقة.
- نفذ طبقة تأكيدات (التأكيدات) مع فحوصات الهاش، محاذاة الإطارات، وكشف الانجراف لضمان جودة البيانات قبل التغذية في التوليد.
- قم بتخزين الأصول الخام في منطقة تهيئة واحتفظ بفهرس JSON خفيف مع حقول مثل id، كاميرا، طابع زمني، تقدير_إضاءة (الإضاءة)، وطول_المقطع.
- اربط كل مقطع بوصف قصير (وصف) لتوجيه موجهات تحويل النص إلى فيديو، مرتبطًا بمقاطع القصة وملخص قصير للإنشاء.
- استخدم ملفات تعريف الارتباط لإدارة الجلسة بين مراحل الاستيعاب، التحقق، والمعالجة للحفاظ على الحالة ومنطق إعادة المحاولة.
تكامل النموذج وتنسيق تدفق العمل
- حدد موجهات الإدخال في متجر صغير، مصنف الإصدار، وجرب متغيرات مختلفة لتحسين المحاذاة البصرية مع المشهد الموصوف (الوصف). أدرج نصًا لضمان ترجمة الموجهات إلى أهداف نصية (النص والنصي).
- شغل مهام التوليد في Veo 3، زوج كل موجه مع الإطارات والإضاءة المرتبطة (الإضاءة) لإنتاج مقاطع فيديو مترابطة بسرعة مستقرة (السرعة).
- معالجة ما بعد الإخراج بمطابقة اللون والتعرض، تطبيق التثبيت إذا لزم الأمر، وخياطة الإطارات في فيديو نهائي مع إضاءة متسقة وانتقالات سلسة.
- تحقق من النتائج بفحوصات آلية للمدة، الاستمرارية البصرية، ودقة البيانات الوصفية؛ سجل التأكيدات وأرفق العلامات النهائية بالإخراج.
- قدم مقاطع الفيديو النهائية إلى CMS أو المستودع الخاص بك، وانتقل إلى وضع المراجعة لتعليقات أصحاب المصلحة؛ قم بتخزين الأصول النهائية مع قوس تاريخي واضح ووصف (الوصف) للمشاريع المستقبلية.
المعالجة والتحسين الإخراجي: الإعدادات والتحقق الجودة
التوصية: اضبط الإخراج على 1920x1080، 30 إطارًا في الثانية، MP4 (H.264)، ترميز ذو مرورين، وفعل التسريع GPU إذا كان متاحًا. هذا يحافظ على أحجام الملفات قابلة للتنبؤ والألوان مستقرة عبر معظم الموجهات، خاصة للمستخدمين الجدد الذين ينشئون فيديوهات مبدعي المحتوى من النص. لتدفقات العمل المشتركة، يمكنك دفع معدلات بت أعلى، لكن تحقق من التوافقية مع المنصات اللاحقة قبل المشاركة مع مجموعات الحسابات أو الاشتراك. للتسليم المجاني أو المحمول، ابدأ بـ1080p عند 30 إطارًا في الثانية وضبط فقط إذا طلب جمهورك أمانة أعلى.
إعدادات المعالجة الموصى بها
ابدأ بأساس 1080p: معدل بت 12 ميجابت في الثانية لأهداف 1080p، 25 ميجابت إذا غامرت في 4K، لون 8 بت، ومساحة لون Rec.709. استخدم أخذ عينة كروم 4:2:0 لتعظيم التوافقية. أدخل معدل البت في الواجهة لقفل الإخراج القابل للتنبؤ لكل مشروع. فعل الترميز ذو مرورين لتثبيت الألوان عبر المشاهد؛ هذا يساعد عندما تقود الخرائط والموجهات (الموجهات) تغييرات مشهد سريعة. احتفظ بتوافقية الألوان عبر الكاميرات (الكاميرات) والأجهزة المحمولة (المحمولة) لتجنب إعادة المعالجة اللاحقة. يجب أن تبقى لوحة الألوان ضمن 1-2 وحدة DeltaE بين الإطارات الرئيسية في معظم التسلسلات.
إدارة الألوان مهمة: قم بالتصدير في ملف تعريف قياسي (Rec.709 أو sRGB) واخبز إطار مرجعي قبل المعالجات الطويلة. استخدم نفس ملف التعريف المستهدف عبر جميع الحسابات لتقليل الانجراف عندما يساهم محررون متعددون. إذا كان فريقك يستخدم أنبوبًا مركزيًا (ggsel) للتعلم والتحقق (التعلم)، احتفظ بنفس خرائط الألوان (الخرائط) عبر مقاطع الممثلين لتقليل التحولات غير المتوقعة عندما يقارن المراجعون الإخراج عبر الأجهزة.
تدفق عمل التحقق الجودة والتحقق
شغل معالجة اختبار لمدة 5-10 ثوانٍ بالإعدادات المختارة ومراجعتها على ثلاث أجهزة على الأقل، بما في ذلك شاشات المحمول والكاميرات (الكاميرات). تحقق من العيوب، الوميض، ومزامنة الصوت؛ أكد أن كل إطار يحافظ على لوحة الألوان المقصودة وأن الموجهات (الموجهات) ترسم الانتقالات المشهدية بشكل نظيف. تحقق من استقرار اللون بفحص هيستوغرامات الألوان وإجراء مقارنة جانبية سريعة ضد مرجع رئيسي؛ لاحظ أي انجراف وضبط جاما أو التعرض قليلاً إذا لزم الأمر. احتفظ بسجل QC لكل حساب لتتبع التعديلات المجراة بعد التعليقات من مبدعي المحتوى والمشتركين (المشتركين)، وسجل معدل البت النهائي وملف الترميز حتى تُدخل أهدافًا متسقة للمعالجات المستقبلية.
نصيحة تشغيلية: وثق الإعدادات والنتائج المستخدمة بشكل متكرر في ورقة مشتركة مرتبطة بالحسابات والاشتراك. هذا يساعد المساهمين الجدد (الجدد) على فهم الإعداد بسرعة ويمنع التكرار ذهابًا وإيابًا. عند التوسع، استخدم فحوصات آلية لمعظم المشكلات الشائعة (انحراف الألوان، إطارات ملقاة، انجراف الصوت) واحتفظ بالمراجعة اليدوية للحالات الحدية، مضمونًا بقاء التدفق فعالًا وقابلًا للتنبؤ.
قائمة القراءة: الوثائق الرسمية، الدروس التعليمية، والأمثلة العملية
الوثائق الرسمية: المراجع الأساسية
ابدأ بالوثائق الرسمية لقفل المفتاح، الإصدارات الحالية، ووصف واضح للمدخلات، الإخراج، ومخططات البيانات. يقدم الموقع قوالب للعديد من اللغات، وطريق عملي للاستفادة من API وبناء أنابيب موثوقة. ثم، دراسة الحالات الواقعية (الحالات) واتبع خرائط الميزات لمعرفة كيفية تأثير إعدادات الكاميرا، الإضاءة، ووصف المشاهد (الوصف) على النتائج. تغطي الوثائق المحررين وتدفقات العمل لتحقيق إخراج عالي الجودة، مع قوائم تحقق قصيرة وفيديوهات عينة (فيديوهات) يمكنك تشغيلها للتحقق من المفاهيم. ستجد إرشادات حول كيفية البدء (احصل) وكيفية مشاركة النتائج مع المستخدمين (المستخدمين) لتشكيل الحلول (الحلول) لمشروعك.
الدروس التعليمية والأمثلة الواقعية
التالي، غوص في الدروس التعليمية التي تمشيك عبر تدفقات العمل من البداية إلى النهاية. ابحث عن خطوات قصيرة، قابلة للتنفيذ ثم قم بتوسيع النطاق إلى سيناريوهات واقعية. استخدم الأمثلة لقياس تأثير الإضاءة وزوايا الكاميرا، ثم جرب وصف (الوصف) المشهد بوضوح واتساق. شارك نتائجك (شارك) مع زملائك عبر الخدمة لجمع التعليقات الجماعية، وقارن النتائج النهائية (أكثر) ضد الأساسيات. مارس مع تسجيلات صوتية (بالصوت) وإعدادات إضاءة مختلفة لتقييم كيفية تطابق الإخراج مع التوقعات، واستخدم المحررين لصقل الإعدادات لمعالجات عالية الجودة. مع تقدمك، اجمع التعلمات الرئيسية (المفتاح) واستفد من اللغات المتعددة (اللغات) لتوسيع التغطية، ثم نظم ملاحظاتك وفيديوهاتك (الفيديوهات) حتى يتمكن المستخدمون من إعادة إنتاج التدفق. أخيرًا، استخدم الوثائق الرسمية كنقطة مرجع وانتقل أبعد إلى تكوينات متقدمة وإصدارات (الإصدارات) للنموذج لتحسين التطبيق الواقعي.
📚 المزيد حول توليد الذكاء الاصطناعي والموجهات
- 7 أمثلة مذهلة لموجهات JSON في Google Veo 3 لإلهام إنشاء فيديو الذكاء الاصطناعي الخاص بك
- Google Veo 3 - تغيير إنشاء فيديو الذكاء الاصطناعي مع الصوت المدمج
- Google Veo 3 - تحويل إنشاء فيديو الذكاء الاصطناعي
- Google Veo 3 2026 - إنشاء فيديو ذكاء اصطناعي على مستوى هوليوود مفتوح
- Google يعلن Veo 3 - معيار جديد في إنشاء فيديو مدعوم بالذكاء الاصطناعي
Ready to leverage AI for your business?
Book a free strategy call — no strings attached.


