AI Video Revolution - How Veo 3 Transforms Content Creation in 2026

Recommendation: Adopt Veo 3 today to cut production time and scale your output with ultra-fast and faster workflows, high-resolution video created through an automated pipeline that preserves creative control. A subscription simplifies access to updates and provides a clear, predictable environment within which teams plan and execute content.
Veo 3 creates a collaborative workflow that keeps the team in the loop through integrated explanations of AI-assisted steps. The question of where to invest effort is answered with concrete data: motion templates reduce setup time by 40–60%, auto-coloring triples turnaround, and asset generation happens within minutes rather than hours.
Through a technical core, Veo 3 compresses script-to-screen planning, color and sound matching, and render workflows into a single interface. It scales across teams via role-based access and a centralized media library, delivering ultra-high-resolution assets that feel on-brand and ready for market distribution.
In 2025 the market expects faster time-to-market, consistent creative feel, and measurable results. Veo 3 integrates templates, stock resources and cross-platform exports to simplify publishing through one subscription, with clear metrics and analytics to inform creative decisions.
Run a 14-day subscription trial with a pilot project, track faster editing cycles, and compare pre- and post-Veo 3 performance to validate impact on your team environment and market reach.
Getting Started with Veo 3: Setup, Profiles, and Quick Tour
Create a dedicated profile for your first shoot and pair the Veo 3 camera with the app to start producing synchronized videos right away. The approach preserves continuity across takes and supports advancement in AI-assisted production; the system handles background buffering itself, so you can focus on the concept. It also meets the needs of individual creators and small teams. Even when you scale up, the core setup remains simple.
Setup essentials
- Sign in to your Veo account and connect the camera to the app via Wi‑Fi or Bluetooth. Name your first profile and set default parameters for resolution and frame rate to speed future shoots.
- Update firmware if available to ensure Scenebuilder compatibility, improved sound handling, and smoother synchronization across angles.
- Configure storage options: internal memory plus optional external drive; enable cloud backups if offered. This keeps videos safe and ready for producing content.
- Enable synchronized recording when using multi‑camera rigs; verify clock alignment and timecodes for clean cross‑scene continuity.
Profiles and workflow
- Individual profiles let you tailor settings per creator or project; each profile stores presets for resolution, frame rate, overlays, and audio preferences.
- Profiles sync across devices in the Veo ecosystem, supporting a seamless transition from planning to capture without reconfiguring every detail.
- Use scenebuilder templates with each profile to speed scene setup; attach optional backgrounds and text overlays to maintain a consistent look across shoots and perspectives.
Quick tour: what to explore first
- Open the Home view to access recent clips; play back with synchronized angles, then add text overlays to label each segment clearly.
- Enter Scenebuilder to arrange scenes, choose backgrounds, and set transitions; save configurations as templates for future projects and deeper perspectives.
- Use the playback and mixer to refine sound balance, check phase alignment, and compare shots side by side for sharp continuity.
- Share or export using veo3aivideo framing; generate additional reels that show different perspectives from the same session, expanding your reach with more content.
Tips to optimize the flow
- Create a minimal set of profiles at first and expand as needs grow to keep the setup manageable.
- Label clips with concise text so team members can follow the narrative at a glance.
- Keep a dedicated background template ready to quick-switch between scenes without losing rhythm across takes.
- Review outputs in batches to accelerate production cycles and maintain a steady cadence across videos.
veo3aivideo workflow and perspectives
The setup supports multi‑angle production, where each perspective adds depth to the finished piece; the background, text overlays, and synchronized clips combine to deliver a cohesive narrative. This structured approach helps you move from planning to producing with confidence, even for solo creators, and positions you to take advantage of ongoing advancements in AI-assisted video workflows.
Optimal Recording Settings: Resolution, Frame Rate, and Microphone Setup
Resolution and Frame Rate

Set 4K60 as baseline; switch to 1080p60 when storage or processing is limited. 3840x2160 at 60 fps provides scale for previsualization and good downsampling in post, delivering crisp visual across scenes. If your project demands lighter files, 1080p60 preserves motion clarity with smaller output sizes. For a film-like texture, you can shoot at 24 or 30 fps, but keep one frame rate across the shoot to avoid jitter in transitions. Use a color profile that supports 10-bit color if available, and aim for roughly 100–120 Mbps at 4K60 or 20–40 Mbps at 1080p60. A shutter of 1/120 for 60 fps (and 1/50 for 24 fps) maintains natural motion. Basically, these settings should be chosen to support the length and pacing of each scene and to align with your previsualization plan. whats relevant is plan the scene length and shot count in previsualization to minimize post production spending. The implied goal is authentic visuals that scale across devices and industries, from films to gaming streams.
Microphone Setup
Choose a primary cardioid mic (dynamic or condenser) with 48V phantom power if you use a condenser; for quick setups, a USB-C cardioid mic with an integrated pop filter is a solid option. Position 15–20 cm from the mouth, angle slightly off-axis to minimize plosives, and use a windscreen for outdoor or noisy environments. Record audio at 48 kHz, 24-bit; use a multi-track approach: one track for voice, another for ambient voices, and a separate lavalier mic for on-the-go shots. If you use lavs, clip at chest height and ensure consistent distance to the mouth for stable output. Monitor with closed-back headphones to catch voices and balance audio in real time. For compact rigs, techugo offers studio kits that simplify early productions and keep audio consistent across industries–from films to gaming and livestreams. This path yields better overall clarity and output quality, and staying on top of updates to your mic chain, cables, and software helps preserve authentic voice capture across scenes.
AI Editing Toolkit: Auto-Cuts, Transcripts, and Scene Highlights
Start with Auto-Cuts enabled for your latest video batch. This built-in tool analyzes motion, audio peaks, and dialog shifts to deliver a first pass of shorter clips. In the version used by many creatives, you move from raw footage to release-ready sequences 40-60% faster than traditional editing, while preserving the structure of the stories. Here, looking at the results, you are witnessing how changes to your workflow unfold, including interactions on camera and the balance between humans and AI. It doesnt slow you down, without requiring manual tagging, and you can click to adjust sensitivity and re-run the pass until the edit matches your environment and your expectations. The approach works across videos and social channels, keeping things consistent and maintaining continuity for your audience.
Auto-Cuts: fast, accurate, and controllable
Within the toolkit, auto-cuts are adaptable by sensitivity and threshold; you can click toggles to fine-tune. The system respects the structure of the scene, grouping related moments and eliminating redundant things while preserving story flow. If you are looking to produce a version of the video with steady pacing, you can aim for a highlight reel of 60-90 seconds or a longer timeline for deeper storytelling, depending on platform constraints. In practice, auto-cuts reduce post-work by 40-60% and can be iterated in minutes; this lets creatives move on to shaping the narrative rather than chasing frames. The built-in engine works across environment types, preserving continuity when shooting in different settings.
Transcripts and Scene Highlights: quick indexing and smarter clips
Transcripts deliver searchable scripts with timestamped anchors; you can click any word to jump to that moment, enabling rapid assembly of scene highlights. Accuracy sits in the mid-to-high 90s on clean audio; for noisier environments, you still get reliable results enabling publish-ready captions. Highlights can be generated by energy, dialog density, or audience interactions, producing clips shorter than 30-60 seconds for social platforms while preserving continuity across releases. Translating transcripts into multiple languages helps your social presence reach new audiences while keeping stories consistent across markets. This workflow reduces the dependency on humans for repetitive tasks, allowing your team to focus on the core creative and ensuring your content can scale across version releases.
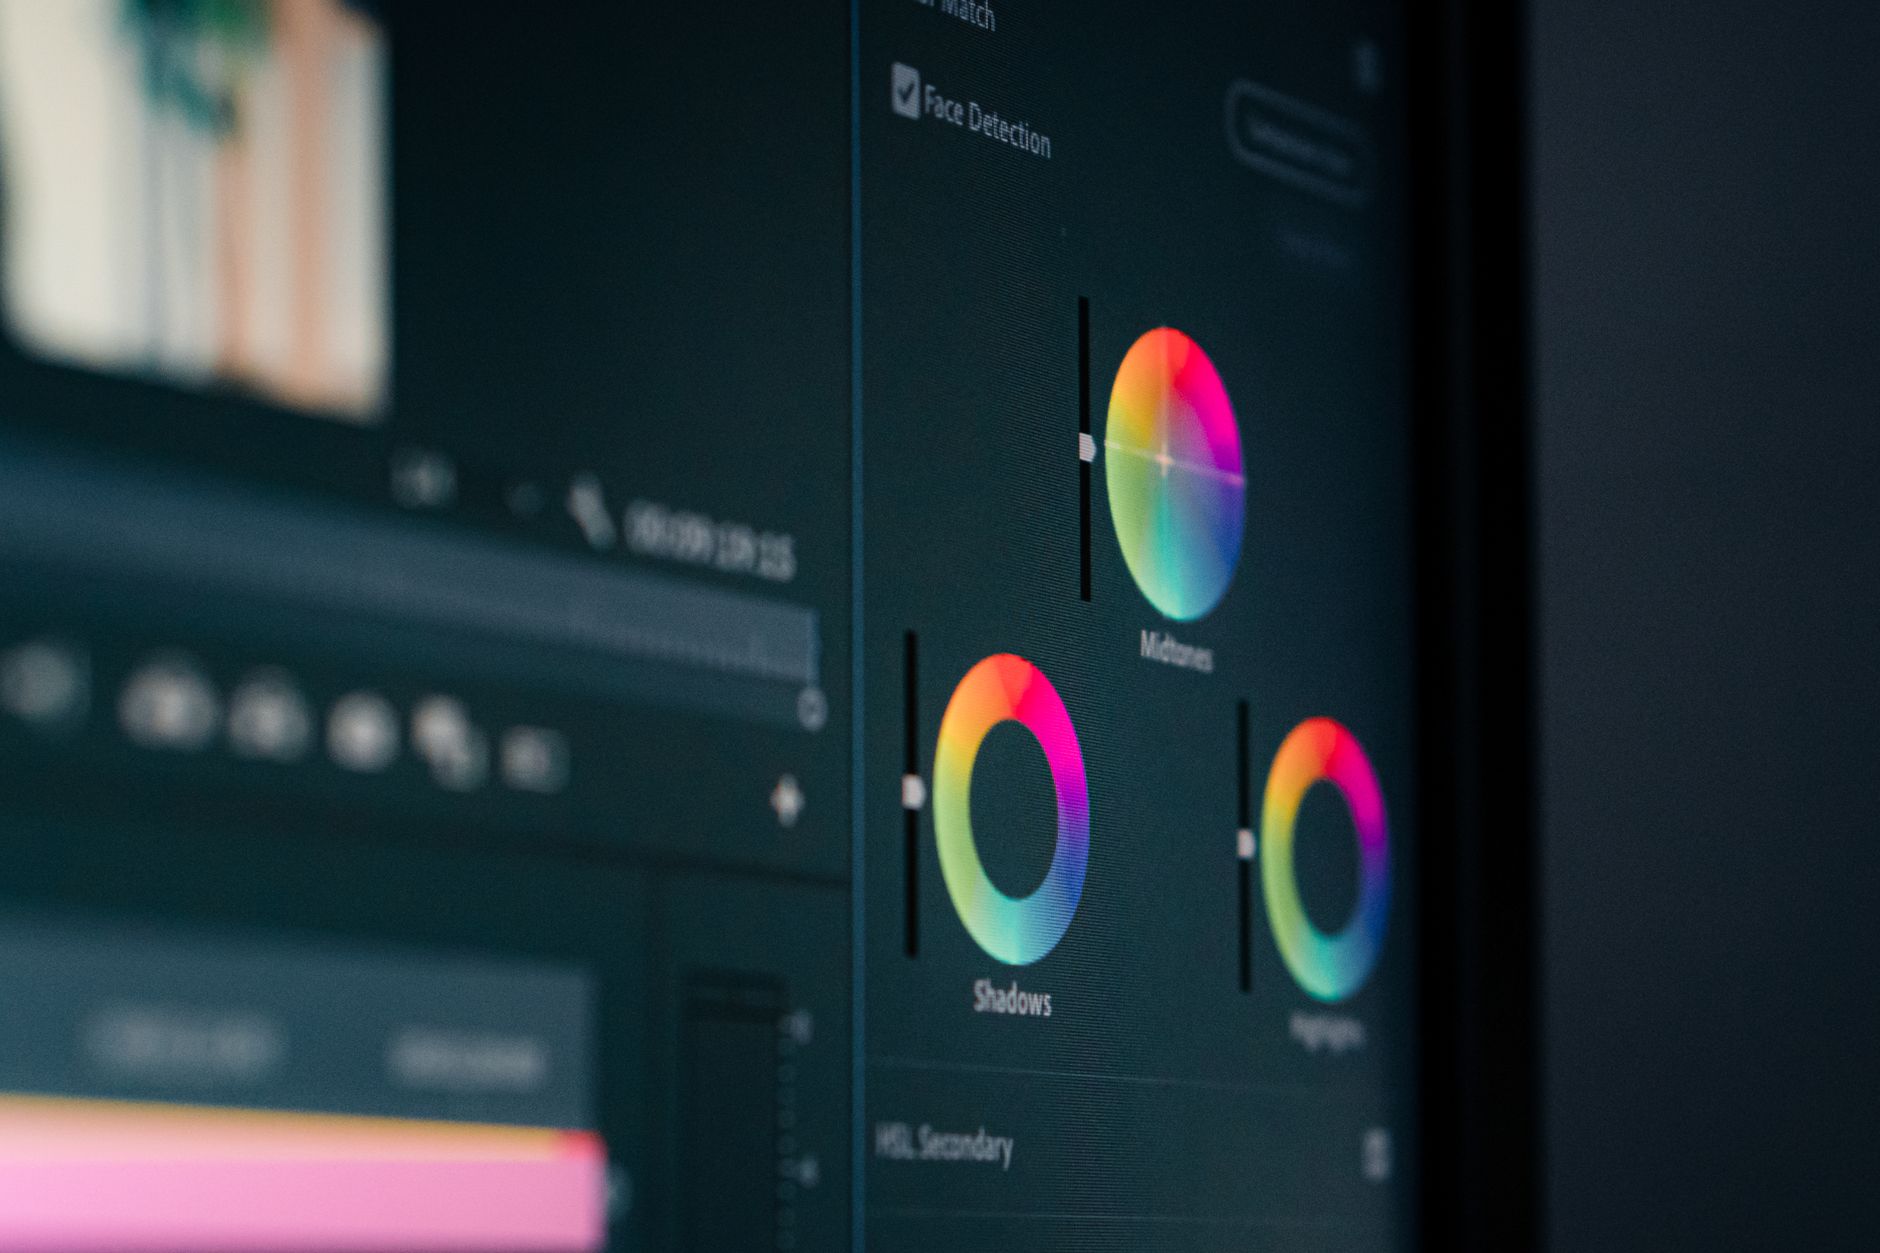
Branding and Customization: Presets, Watermarks, and Voiceover Styles
Apply a branded preset set and a watermark on the first pass to lock identity across all output from veo3aivideo. The built-in editor lets you tune color, type, and logo position in a few clicks, giving every clip a consistent vibe across channels.
Presets act as a single source of truth for color, typography, and layout. Create a master preset that defines the primary color palette, a logo placement rule, and a standard title card. This approach saves time and keeps space free for new assets while directors approve faster. The wizardry lives in modules that swap type and adjust zooms across scenes.
Watermarks keep brand presence on shared clips. Design a watermark with subtle opacity that stays in safe space areas and scales with frame size. Apply it automatically to all edits via the modules, so every sharing action preserves the mark without manual steps.
Voiceover styles offered by veo3aivideo let you tailor tone for directors’ notes, product explainers, or social teasers. Create three styles and save them as editable modules, then apply during edit with a single click. This approach keeps the narrative consistent while letting editors explore different angles within the same project.
| Aspect | Implementation tips | Notes |
|---|---|---|
| Presets | Define color, typography, logo position; re-use across edits | Test in 16:9 and 9:16 spaces |
| Watermarks | Opacity around 20-40%, safe-zone placement, auto-apply | Adjust per format |
| Voiceover Styles | 3 styles: calm, dynamic, narrative; save as modules | Apply during edit and share with team |
Distribution Workflows: Export Options and Social Publishing from Veo 3
Export in Veo 3's native 9:16 preset as MP4 and release directly to YouTube, Instagram Reels, TikTok, and Facebook from the dashboard to accelerate reach.
Export options cover multiple aspect ratios for different platforms, with ready-made presets for vertical, landscape, and square clips. You can pick 2:39:1 for cinematic trailers or 16:9 for web playback, and keep the original audio track or swap to a different codec. The system supports synced metadata and file-naming templates to keep assets organized for later editing or re-release. The wizardry of Veo 3 lies in making each feature straightforward, guiding you through a plan that matches your visual goals and supports deep customization.
In production, export management happens in a dedicated queue. You can assign multiple jobs to a plan, keep a live view of progress, and pause a batch to adjust captions. The native integration means you publish directly to each platform from Veo 3, reducing handoffs behind the scenes. For teams and solo creators, the plan delivers substantial efficiency.
Social publishing features include platform-native posting, captions generation, and cross-post scheduling. You can tell a consistent story by syncing a release plan across channels and keeping the visual identity cohesive. You can customize thumbnail templates and characters branding to boost engagement for video series, while analytics help refine future releases.
For 2025, aim to publish a core library of evergreen clips and a rotating set of campaign videos. use open sharing, keep the deep archive accessible, and tell results with clear visuals. Veo 3 offers a straightforward path from capture to release, keeping creators focused on the plan and the narratives behind each piece. This approach yields ever-substantial ROI as you reuse clips across campaigns.
Quality Assurance: Verifying AI Outputs, Corrections, and Accessibility
Implement a mandatory human-in-the-loop QA review before publishing any AI-assisted scene, based on the source footage, requiring reviewers to verify AI outputs against the source, confirm lip-sync, and log decisions in a console.
Build a repeatable test suite anchored on real-world cases based on production data: dialogue edits, videofx changes, lighting tweaks, and scene transitions. Each case includes expected results, a manual-review trigger, and an automatic regression check to catch drift across versions, ensuring the workflow scales across projects.
Apply clear metrics: lip-sync accuracy within +/- 30 ms; color grading consistency within a delta of 2.0 ΔE; audio levels normalized to a target range; detect and flag artifacts even from small edits, so changes stay predictable rather than producing surprises that throw the pipeline off.
Versioning and logs: every AI correction creates a baselined version; store both the original and edited outputs; provide a changelog that includes what changed, why, who approved it, and something about the rationale behind the change.
Accessibility and open access: generate searchable transcripts, synchronized captions, and alt text for visuals; provide keyboard-navigable UI and test screen-reader flows; ensure outputs meet open access guidelines and basic accessibility standards so audiences can access content without barriers.
Legal and product checks: flag AI-edited segments for legal review, verify asset rights, and document tool usage in your product lineage; maintain metadata so filmmakers and editors understand how each change was produced and what it implies for rights and licensing.
Operational guidance: scale QA across projects by mapping tasks to roles; Veo 3 supports automated checks and human review; set a daily 15-minute QA standup to review changes and blockers, focusing on the type of output and ensuring things don’t quietly accumulate risk toward a release.
By embedding targeted QA into the Veo 3 workflow, you deliver visual, deeper, and more trustworthy filmmaking outputs that amplify filmmakers' capabilities and keep content accessible across platforms and audiences.
📚 More on AI Generation & Prompts
- The AI Video Revolution - How Veo 3 Is Redefining Content Creation in 2026
- AI Video Revolution - How Google Veo 3 Transforms Marketing
- VEO 3 Is Here - The True Revolution in AI Video Making
- 7 Incredible Google Veo 3 JSON Prompt Examples to Inspire Your AI Video Creation
- Google Veo 3 - Altering AI Video Creation with Constructed-in Audio
Ready to leverage AI for your business?
Book a free strategy call — no strings attached.


