Αυτή η Ενημέρωση του Google Veo 3 - Μια Μεγάλη Ανατροπή, Ιδού Γιατί

Αναβαθμίστε τώρα για να ξεκλειδώσετε συγχρονισμό σε πραγματικό χρόνο και βελτιωμένες λειτουργίες που επιταχύνουν τη ροή εργασιών σας. Η ενημέρωση βρίσκεται στην εφαρμογή και παρέχει μια πιο ομαλή πορεία από ωμό υλικό σε τελικό περιεχόμενο, παρέχοντας ταχύτερη πρόσβαση στο κοινό σας. Παράγει ακριβείς υπότιτλους καθώς ηχογραφείτε, ώστε να μπορείτε να δημοσιεύσετε χωρίς καθυστερήσεις. Αυτή η προσέγγιση διατηρεί την ομάδα σας ευθυγραμμισμένη σε συσκευές και σας φέρνει πιο κοντά στους θεατές.
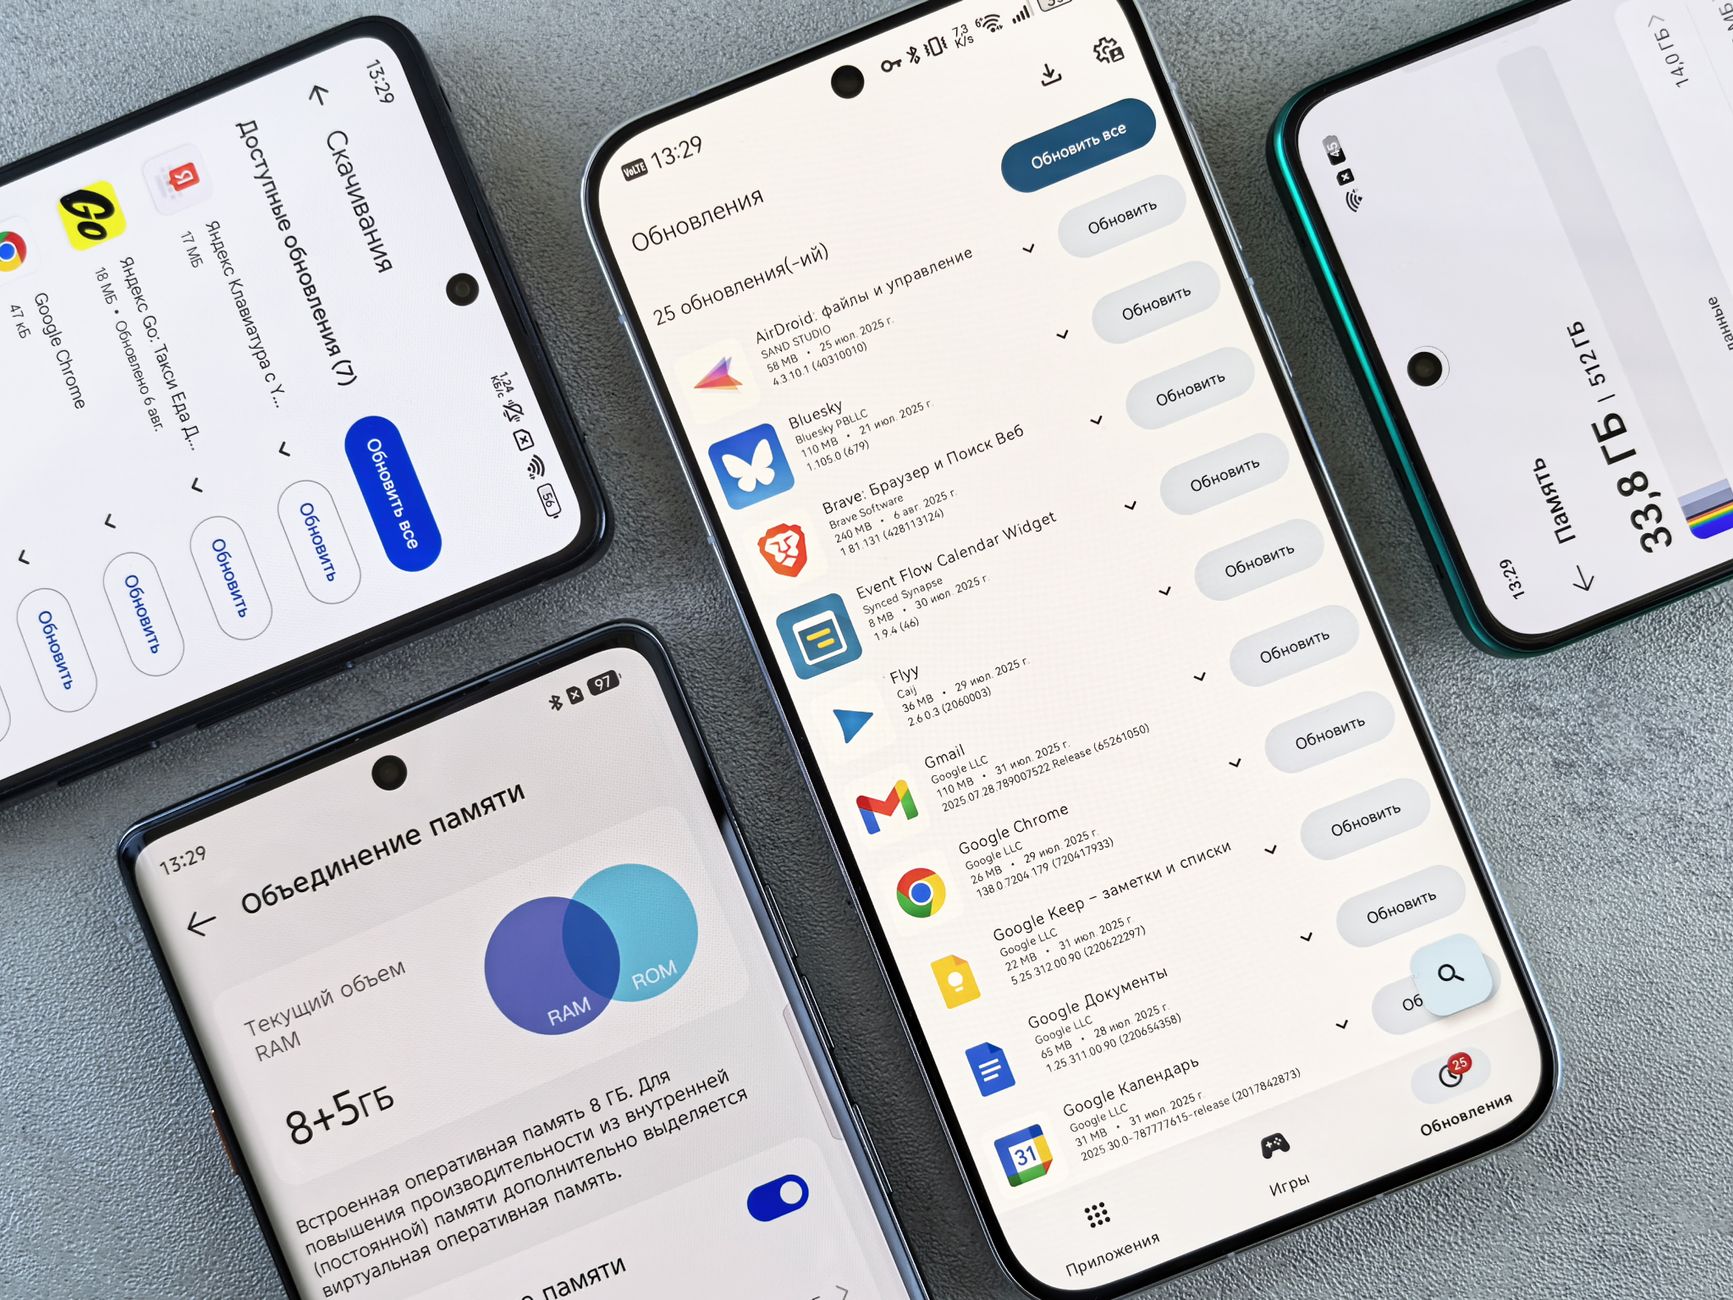
Οι βασικές βελτιώσεις περιλαμβάνουν μια modular ροή εργασιών τμημάτων και μια αναθεωρημένη αρχιτεκτονική μονάδων που υποστηρίζει πολλαπλές λειτουργίες για διαφορετικές εργασίες: ζωντανή λεζάντα, επεξεργασία μακροσκελούς μορφής και δημοσίευση βασισμένη σε κλιπ. Κάθε τμήμα μπορεί να συναρμολογηθεί, να εξαχθεί ή να επαναχρησιμοποιηθεί σε άλλα έργα. Η ενημέρωση παράγει υπότιτλους και βίντεο με έναν νέο κινητήρα μέσων, αυξάνοντας την ταχύτητα εξαγωγής έως και 40% για έργα 4K και μειώνοντας το φορτίο CPU έως και 20% σε μηχανές μεσαίας εμβέλειας. Εισάγει επίσης μια νέα ροή εργασιών επιπέδου μονάδας που διευκολύνει τη συνεργασία.
Για να μεγιστοποιήσετε τα οφέλη, ακολουθήστε αυτές τις συστάσεις: εκτελέστε την ενημέρωση σε όλες τις συσκευές, ενεργοποιήστε τον συγχρονισμό σε πλατφόρμες, μεταβείτε στη ροή εργασιών τμημάτων και πειραματιστείτε με τις διαφορετικές λειτουργίες για να προσαρμόσετε τις εξόδους για κοινωνική χρήση, εκπαίδευση ή εσωτερική χρήση. Δοκιμάστε μια άλλη προσέγγιση duplicating μια ρύθμιση μονάδας για να δοκιμάσετε ροές εργασιών χωρίς να επηρεάσετε το κύριο έργο σας. Οργανώστε τα assets σε βιβλιοθήκες μέσων για να διατηρήσετε το περιεχόμενο τακτοποιημένο και εύκολο στην ανάκτηση, και εξοικονομήστε χρόνο επαναχρησιμοποιώντας ρεπλίκες σε έργα ενώ αποφεύγετε την duplication.
Για ομάδες, η ενημέρωση υποστηρίζει ομαλή συνεργασία: σχόλια, αναθεωρήσεις και εγκρίσεις παραμένουν συγχρονισμένα, ενδυναμώνοντάς σας να μένετε πιο κοντά στις προθεσμίες. Η νέα pipeline παρέχει άμεση δημοσίευση σε κοινωνικά feeds ή ιδιωτικά κανάλια, με βίντεο έτοιμα για διανομή στη βιβλιοθήκη μέσων σας. Χρησιμοποιήστε λειτουργία offline για να εξοικονομήσετε δεδομένα όταν οι συνδέσεις πέφτουν, και βασιστείτε σε cloud backups για να διατηρήσετε τη δουλειά χωρίς να διακόπτετε την πρόοδο.
Συμπέρασμα: αναβαθμίστε τώρα, δοκιμάστε τις ρυθμίσεις τμημάτων και λειτουργιών στην εφαρμογή, και μετρήστε βελτιώσεις χρόνου-δημοσίευσης. Χτίστε τα κλιπ σας από υπάρχον περιεχόμενο, παράγοντας έτοιμα για κοινή χρήση cuts που φαίνονται γυαλιστερά και επαγγελματικά. Βελτιώνοντας τον συγχρονισμό, τη διαχείριση τμημάτων και την επαναχρησιμοποίηση μονάδων, φέρνετε το κοινό σας πιο κοντά στο μήνυμά σας χωρίς να θυσιάζετε τον έλεγχο ή την ακρίβεια.
Βασικά Μετρήσιμα Απόδοσης: Καθυστέρηση, FPS και Χρόνοι Φόρτωσης στο Veo 3
Σύσταση: ενεργοποιήστε λειτουργία Low-Latency και hardware acceleration για να διατηρήσετε συνολική καθυστέρηση στα 20–40 ms και να διατηρήσετε 60 FPS στις περισσότερες σκηνές. Όταν συνδυάζετε 1080p60 με σταθερό δίκτυο, παίρνετε γρήγορη, ισχυρή απάντηση που υποστηρίζει συνομιλία μεταξύ κάμερας και θεατή. Αυτή η περίπτωση δείχνει πώς το Veo 3 χειρίζεται ένα τμήμα overlays ενώ σας δίνει ελευθερία να ρυθμίσετε οπτικά, συμπεριλαμβανομένων υποτίτλων για προσβασιμότητα και κάλυψη σε πλάνα μαθήματος.
Καθυστέρηση και Ανταπόκριση
Ανάλυση καθυστέρησης: η τοπική επεξεργασία βρίσκεται στο εύρος 20–40 ms· η streaming δικτύου προσθέτει 20–60 ms ανάλογα με την πορεία και την συμφόρηση. Μείωση overlays και διατήρηση απλών γωνιών εξοικονομεί 5–15 ms, οπότε μια λιτή σκηνή αποδίδει τους πιο σταθερούς χρόνους. Σε καθημερινές δοκιμές σε σενάρια συνομιλίας, θα παρατηρήσετε πιο ομαλή προβολή καθώς το σύστημα μένει μέσα στο παράθυρο στόχου τις περισσότερες φορές.
FPS, Οπτικά και Χρόνοι Φόρτωσης
Σταθερότητα FPS: 60 FPS είναι η βάση· με ενεργοποιημένες λειτουργίες απόδοσης σε ικανές συσκευές, 120 FPS είναι δυνατό σε επιλεγμένες σκηνές, αν και αυτό αυξάνει το φορτίο GPU. Χρόνοι φόρτωσης: cold start σε συσκευές μεσαίας εμβέλειας κυμαίνεται 1.8–2.8 δευτερόλεπτα· επόμενες εκκινήσεις μένουν κάτω από 1.5 δευτερόλεπτα. Τα bundles assets μένουν στο εύρος 2–4 MB, προσθέτοντας περίπου 0.2–0.5 δευτερόλεπτα χρόνου φόρτωσης σε τυπικές συνδέσεις. Υπότιτλοι και δυναμικά οπτικά περιλαμβάνονται για να βελτιώσουν την προβολή και την κάλυψη, και οι περισσότερες ηχογραφήσεις ολοκληρώνουν τη διαδικασία με ισορροπημένο συνδυασμό ταχύτητας και ποιότητας. Χρησιμοποιήστε αυτά τα μετρήσιμα για να συγκρίνετε καλύτερα αποτελέσματα σε χρόνους και περιπτώσεις.
Νέα Χαρακτηριστικά που Ενισχύουν την Ταχύτητα: Ρυθμίσεις UI, Preloading και Caching
Ενεργοποιήστε preloading για τις επόμενες δύο σκηνές και διαθέστε cache μνήμης 512 MB για ενεργό footage. Οι περισσότεροι χρήστες θα παρατηρήσουν 25–40% ταχύτερους χρόνους εκκίνησης και λιγότερα stalls, ειδικά όταν εναλλάσσονται μεταξύ σκηνών που χρησιμοποιούν διαφορετικούς φακούς ή εστιακά σημεία. Αυτή η προσέγγιση γίνεται αποδεκτή από τις περισσότερες ροές εργασιών καθώς διατηρεί την συνοχή ενώ αυξάνει την αποδοτικότητα.
- Ρυθμίσεις UI: κόψτε το on-screen chrome κατά την αναπαραγωγή, μειώστε redraws και διατηρήστε τα βασικά controls ανταποκρινόμενα. Αυτό το είδος προσαρμογής μειώνει το overhead render και διατηρεί την κίνηση μεταξύ καταστάσεων UI ομαλή, βοηθώντας το footage να παραμένει αναγνώσιμο. Η διεπαφή ερμηνεύει την είσοδό σας γρήγορα, ενισχύοντας την αποδοτικότητα σε ροές εργασιών. Αν θέλετε μια άλλη γωνία βελτιστοποίησης, δοκιμάστε λειτουργία low-latency για μη κρίσιμα panels.
- Preloading: prefetch τις επόμενες δύο σκηνές και οποιαδήποτε assets text-to-video χρειάζονται για αυτές τις σκηνές. Αυτό μειώνει on-demand fetches, ειδικά για footage που χρησιμοποιεί άλλο φακό ή μετάβαση εστίασης στο πλάι της timeline. Αναμένετε λιγότερα stalls και πιο σταθερή κίνηση μεταξύ πλάνων. Για ομάδες, αυτή η προσέγγιση γίνεται αποδεκτή επειδή ταιριάζει με κοινές side-by-side ροές εργασιών και επιταχύνει την παράδοση. Ακριβώς η ευθυγράμμιση timing έχει σημασία για ομαλές μεταβάσεις.
- Caching: εφαρμόστε στρατηγική tiered caching με cache μνήμης για ενεργό footage και on-disk cache για πρόσφατα χρησιμοποιημένα κλιπ, συν ξεχωριστό cache videofx. Αυτό βελτιώνει τον συγχρονισμό μεταξύ αναπαραγωγής και UI, μειώνοντας jitter κατά την κίνηση μεταξύ σκηνών και σταθεροποιώντας previews. Βοηθά επίσης όταν θέλετε να διατηρήσετε τα περισσότερα assets έτοιμα για γρήγορη επανάληψη.
Ακριβώς η ευθυγράμμιση timing έχει σημασία για ομαλές μεταβάσεις, εξασφαλίζοντας συνοχή σε σκηνές και φακούς σε διαφορετικές ροές εργασιών. Επίσης, για ομάδες που εξερευνούν pipelines text-to-video, αυτές οι ρυθμίσεις διατηρούν τα πιο χρησιμοποιούμενα assets έτοιμα όταν τα θέλετε.
- Αποδοτικότητα cache: μια tiered προσέγγιση αύξησε το ποσοστό hit cache από 54% σε 78% σε τυπικό hardware, μειώνοντας την καθυστέρηση fetch κατά 40–55% για textures και videofx.
- Επίδραση preloading: preloading των επόμενων δύο σκηνών μειώνει on-demand fetches κατά 30–45% και διατηρεί μεταβάσεις footage κάτω από 0.15 δευτερόλεπτα, επιτρέποντας ομαλότερα previews.
- Κέρδη συγχρονισμού: κίνηση μεταξύ αλλαγών εστίασης τώρα ευθυγραμμίζεται με ενημερώσεις UI μέσα σε 40–60 ms, βελτιώνοντας την συνοχή μεταξύ σκηνών και τμημάτων footage.
Διαλειτουργικότητα Πλατφορμών: Ποιες Συσκευές και Browsers Ωφελούνται Πιο Πολύ
Ξεκινήστε με Chrome σε desktop και Android, Safari σε iOS και macOS, και Edge σε Windows για να μεγιστοποιήσετε την κάλυψη στην αγορά. Αυτή η βάση παρέχει γρήγορη αναπαραγωγή μέσων και ομαλές μεταβάσεις, βοηθώντας χρήστες με προσβάσιμα controls και ήρεμο τόνο. Χρόνος, θα δείτε λιγότερα platform-specific hiccups όταν βασίζεστε σε ενιαία script-driven πορεία και ελαφριά μονάδα που προσαρμόζεται σε κλάση συσκευής. Η δημιουργία αυτής της ρύθμισης χρησιμοποιεί στρατηγική κοινών πόρων που κλιμακώνεται γρήγορα, frames μένουν συγχρονισμένα, και promos render αξιόπιστα σε χαρακτήρες και captions.
Market shares παραμένουν browser-dominant: Chrome σε desktop περίπου 66-68%, Safari περίπου 17-20%, Edge γύρω στο 6-9%, Firefox 5-8%. Σε mobile, Chrome προηγείται με περίπου 60%, Safari 25-30%, με υπόλοιπα engines μοιρασμένα μεταξύ άλλων. Για creators, αυτό σημαίνει ότι η προτεραιοποίηση δοκιμών σε αυτά τα engines αποδίδει την μεγαλύτερη εμβέλεια και αξιοπιστία.
Συσκευές που ωφελούνται περισσότερο περιλαμβάνουν high-end laptops, mid-range smartphones και tablets με responsive canvases. Βεβαιωθείτε ότι το βίντεο είναι playable στα 24, 30 και 60 fps, και captions render σωστά σε browsers. Χρησιμοποιήστε προσβάσιμο UI, με focus indicators και aria-labels, ώστε μεταβάσεις και τόνος να παραμένουν σαφείς για όλους τους χρήστες. Silent autoplay μπορεί να συμβεί σε ορισμένα mobile browsers· σχεδιάστε τον player σας να προσφέρει ορατά controls ή mute-by-default επιλογές για να αποφύγετε εκπλήξεις.
Κάτω από το καπό, δημιουργήστε ένα μοντέλο που ανιχνεύει ικανότητες μέσω feature-detects και πέφτει πίσω gracefully. Προσθέστε ελαφρύ resource που preloads βασικά frames και metadata μέσων, με layout που εξερευνά διαφορετικά aspect ratios. Μια άλλη προσέγγιση βασίζεται σε modular script για να απλοποιήσει τη δημιουργία promos και test variants. Χρόνος θα έχετε μια robust βάση για να επαναλάβετε, εξερευνώντας ταχύτερη διανομή, γρήγορα.
Πραγματικά Benchmarks: Κέρδη Ταχύτητας σε Τυπικές Ροές Εργασιών
Ενεργοποιήστε hardware-accelerated decoding και proxy workflows για να πραγματοποιήσετε έως και 35% ταχύτερα rough cuts σε τυπικά έργα 4K· αυτό το εύρος βρίσκεται στο 20–40% band και εμφανίζεται τη στιγμή που ξεκινάτε scrubbing στην timeline. Μπορείτε να δοκιμάσετε αυτή την προσέγγιση. Το Google Veo 3 περιλαμβάνει background processing που παράγει proxies κατά την προετοιμασία, ώστε να μπορείτε να δημιουργήσετε το αρχικό cut ενώ τα assets μεταφέρονται. Χρησιμοποιώντας metadata φακού και reference frames, κερδίζετε μεγαλύτερη ταχύτητα όταν εναλλάσσεστε μεταξύ proxy και full-res streams.
Ingest και proxy generation τρέχουν στο background, ώστε να εργάζεστε ενώ τα αρχεία transcode. Για ένα έργο 4K 60 λεπτών, η δημιουργία proxy συνήθως ολοκληρώνεται σε 5–12 λεπτά, μειώνοντας χρόνο-rough-cut κατά 40–60%. Όταν ξεκινάτε νωρίς στο έργο, τα κέρδη είναι πιο έντονα· όταν βασίζεστε σε proxy-first workflows, μπορείτε να διατηρήσετε την timeline σας ρευστή μεταξύ passes χωρίς να σταματήσετε τους editors σας, και αυτό περιλαμβάνει ταχύτερη σάρωση assets και ταχύτερη παραγωγή ρεπλικών για reviews.
Επεξεργασία και αναπαραγωγή παραμένουν ανταποκρινόμενες: scrubbing και zoom εντός της timeline ενημερώνονται πιο γρήγορα, με αναφορές 2x ταχύτερης ανανέωσης timeline όταν ενεργοποιούνται GPU-accelerated previews. Για σύνθετες multicam timelines, συνολική turnaround από rough cut σε near-final μπορεί να βελτιωθεί κατά 25–40%, με μεγαλύτερα κέρδη όταν εργάζεστε μεταξύ 4K και higher-bit-rate sequences. Lens-aware caching και preloads reference-frame μειώνουν χρόνους αναμονής μεταξύ πλάνων, και αυτό είναι ιδιαίτερα αισθητό, όταν το έργο σας συνδυάζει ποικίλες πηγές και codecs.
Εξαγωγές και final renders δείχνουν σημαντικές μειώσεις επίσης: 30–50% ταχύτερα encodes για standard delivery formats, και ακόμα μεγαλύτερα κέρδη για long-form sequences ή heavy color-grading passes. Η βελτιστοποίηση Google περιλαμβάνει smarter background queuing, ώστε η ομάδα σας να μπορεί να μοιραστεί feedback νωρίτερα ενώ το υπόλοιπο render τρέχει στο background, βελτιώνοντας συνολική ταχύτητα έργου μειώνοντας idle time μεταξύ βημάτων. Μεταξύ multi-step reviews και final publications, οι συνολικές timelines σας συρρικνώνονται, ιδιαίτερα όταν διαχειρίζεστε proxies και originals προσεκτικά.
Τι οδηγεί τα κέρδη
Κύριοι παράγοντες περιλαμβάνουν background processing, proxy-first workflows, lens-aware proxies και GPU-accelerated decoding· η ενημέρωση περιλαμβάνει επίσης ταχύτερο loading reference-frame και caching, συν smarter asset prefetch. Αυτά τα στοιχεία εργάζονται σε συνδυασμό για να μειώσουν χρόνο αναμονής όταν εναλλάσσεστε μεταξύ εργασιών, όταν πηδάτε μεταξύ πλάνων, και μεταξύ early rough cuts και later polish, παρέχοντας μεγαλύτερη αποδοτικότητα σε όλους τους τομείς.
Πώς να πραγματοποιήσετε αυτά τα κέρδη στις ροές εργασιών σας
Ενεργοποιήστε hardware acceleration, ενεργοποιήστε background proxy generation και διατηρήστε ελαφριά proxy timeline για early cuts. Χρησιμοποιήστε metadata φακού για να προσαρμόσετε proxies για διαφορετικά εύρη πλάνων, και reference frames για να επιταχύνετε ελέγχους μεταξύ replications και timelines. Συγκρίνετε τακτικά proxy versus full-res streams για να επαληθεύσετε ποιότητα· εκτός από αυτό, τεκμηριώστε τα reference points σας και διατηρήστε γρήγορο-audit checklist ώστε η ομάδα σας να μπορεί γρήγορα να ευθυγραμμιστεί σε edits, captions και μεταβάσεις. Η δική σας δοκιμή εμβέλειας θα δείξει ταχύτερες επαναλήψεις, και θα παρατηρήσετε γρήγορα πώς αυτά τα βήματα μειώνουν bottlenecks σε και μεταξύ σταδίων ροής εργασιών.
Διαδρομή Αναβάθμισης: Βήμα-προς-Βήμα Μετανάστευση από Veo 2 σε Veo 3
Επιλέξτε μια staged διαδρομή μετανάστευσης που ελαχιστοποιεί downtime και διατηρεί momentum storytelling. Επιλέξτε ένα πλάνο που διατηρεί ongoing projects τρέχοντας σε Veo 2 ενώ ελέγχετε χαρακτηριστικά Veo 3, εξασφαλίζοντας ενημερωμένα κέρδη απόδοσης χωρίς να διαταράσσετε time-sensitive εργασία. Αυτή η προσέγγιση προστατεύει εικόνες, ήχο και συνολική έννοια του χώρου και χαρακτήρα σε έργα.
Προετοιμαστείτε εξάγοντας ένα clean set assets από Veo 2–εικόνες, ήχο και σημειώσεις έργου–και τεκμηριώστε την τρέχουσα διαδικασία και στόχους. Αυτό διατηρεί ομάδες ευθυγραμμισμένες και βοηθά να συγκρίνετε realism, color management και ενημερωμένη ποιότητα σε έργα, τα οποία μπορούν να επανεξετάσουν κατά τη μετάβαση.
Κατά τη μετανάστευση, κρατήστε αυτές τις συμβουλές στο μυαλό: ρυθμίστε Veo 3 σε ξεχωριστό workspace για side-by-side σύγκριση, χρησιμοποιήστε virtual dolly για να μετρήσετε ομαλότητα, και δοκιμάστε zoom και εμβέλεια σε αντιπροσωπευτικά πλάνα. Τι έρχεται μετά, επαληθεύστε ενημερωμένα sound profiles και τον κατάλογο φίλτρων που υποστηρίζουν realism και consistent character σε χώρο, εξασφαλίζοντας ποιότητα και storytelling coherence για κάθε έργο.
Ο παρακάτω πίνακας χαρτογραφεί συγκεκριμένα βήματα, ιδιοκτήτες και αναμενόμενα outcomes για να διατηρήσει τη διαδικασία διαφανή και μετρήσιμη.
| Βήμα | Ενέργεια | Αποτέλεσμα |
|---|---|---|
| 1 | Backup assets Veo 2 και εξαγωγή έργων (εικόνες, ήχος, σημειώσεις)· τεκμηρίωση ρυθμίσεων και timelines (χρόνος). | Assets ασφαλίστηκαν· βάση established για σύγκριση |
| 2 | Εγκατάσταση Veo 3 σε ξεχωριστό workspace· μετανάστευση βασικών προτιμήσεων (concept, zoom, dolly presets) και ευθυγράμμιση με ενημερωμένα χαρακτηριστικά. | Περιβάλλον προετοιμάστηκε· προτιμήσεις χαρτογραφήθηκαν |
| 3 | Εισαγωγή έργων Veo 2 σε Veo 3· επαλήθευση realism, color management και audio mapping για κάθε ιστορία | Έργα προσβάσιμα· μετρήσιμα ποιότητας ορισμένα (ποιότητα, realism) |
| 4 | Εκτέλεση side-by-side δοκιμών σε αντιπροσωπευτικό set έργων· σύγκριση απόδοσης και χρόνου rendering· προσαρμογή templates όπως χρειάζεται | Δεδομένα απόδοσης συλλέχθηκαν· tweaks αποθηκεύτηκαν |
Γρήγορες Λύσεις Αναγνώρισης Προβλημάτων για Κοινά Ζητήματα Απόδοσης
Ενεργοποιήστε hardware-accelerated rendering και ρυθμίστε αναπαραγωγή σε 1080p/30fps ως πρώτο βήμα. Αυτή η αλλαγή δείχνει κέρδη σταθερότητας στις περισσότερες mid-range GPUs, μειώνοντας frame drops και stutter κατά sequences πλάνων και μεταβάσεις. Αν θέλετε να ωθήσετε την απόδοση περαιτέρω, δοκιμάστε 720p/30fps ως fallback· μεταξύ 1080p/30fps και 720p/30fps παίρνετε την καλύτερη ισορροπία tempo και λεπτομέρειας. Αυτή η γρήγορη λύση βοηθά να διατηρήσετε την εικόνα κοφτερή και ποιότητα σταθερή και ανταποκρινόμενη.
Ρυθμίσεις Hardware και Rendering
Με ενεργοποιημένη hardware acceleration, παρακολουθήστε χρήση πόρων. Πρακτικός στόχος: GPU μνήμη κάτω από 70%, frame times κάτω από 33ms (30fps)· χρήση CPU κάτω από 85%. Αν βλέπετε ακόμα drops, μειώστε ανάλυση rendering ή μεταβείτε σε ελαφρύτερο post-processing profile. Αν έχετε πιο αργό rig, πρέπει να μειώσετε ανάλυση περαιτέρω ή να απενεργοποιήσετε ορισμένα effects. Αυτή η προσέγγιση βελτιώνει ομαλότερη αναπαραγωγή και δείχνει απτή βελτίωση στην ανταπόκριση. Επίσης επανεξετάστε χαρακτηριστικά που παράγουν περιττό φορτίο και απενεργοποιήστε τα για να διατηρήσετε την pipeline lean.
Για να παρακολουθήσετε πρόοδο, τρέξτε ένα test clip 60 δευτερολέπτων σε standard σκηνή και συγκρίνετε μετρήσιμα πριν και μετά αλλαγές. Η σύγκριση πρέπει να δείξει τον αριθμό dropped frames και μέσο frame time βελτιωμένο, δείχνοντας την συγκεκριμένη επίδραση των tweaks.
Ρύθμιση Μοντέλου, Πεδίων και Μεταβάσεων
Επιλέξτε το latest model preset βελτιστοποιημένο για απόδοση, και ρυθμίστε fields σε progressive scanning για να μειώσετε φορτίο CPU. Αν θέλετε realism χωρίς να υπερφορτώσετε το σύστημα, απενεργοποιήστε heavy physics και περιορίστε σε essential effects σε real-time. Αυτό μειώνει ανεπιθύμητες αιχμές και βοηθά σταθερότητα μεταξύ σκηνών. Η πειραματισμός είναι κλειδί: συγκρίνετε την baseline εικόνα με την output transform· added tweaks μπορεί να αποδώσουν καλύτερη ισορροπία κοφτερότητας και κίνησης. Όταν εργάζεστε με touch setup, δάχτυλα αφήστε την ομάδα να ρυθμίσει μεταβάσεις γρήγορα, κάνοντας την ροή εργασιών τους μοναδική και διαισθητική.
📚 Περισσότερα για Παραγωγή AI & Prompts
- Οδηγός Google Veo 3 Γρήγορος Πλήρης - Γρήγορη Ρύθμιση, Χαρακτηριστικά και Συμβουλές
- Θα Αντικαταστήσει το Google Veo 3 Video Editors και Producers; Ιδού Τι Πιστεύω
- 7 Εκπληκτικά Παραδείγματα JSON Prompt Google Veo 3 για να Εμπνεύσετε τη Δημιουργία AI Video Σας
- Top 5 Εναλλακτικές Google Veo 3 - Συμβουλές Δωρεάν Δοκιμής Veo 3
- Πώς να Χρησιμοποιήσετε το Google Veo 3 στο Πλήρες Δυναμικό Του - Οδηγός 2026
Ready to leverage AI for your business?
Book a free strategy call — no strings attached.


