12 Parasta Infografiikkatyökalua Vuodelle 2026 – Täydellinen Vertailuopas

Tiimeille, jotka tarvitsevat reaaliaikaista yhteistyötä, sinun tulisi valita Canva päivittäiseksi go-to-työkaluksesi vuodelle 2025, kiitos sen laajan kirjasinkirjaston ja vahvojen mallipohjien.
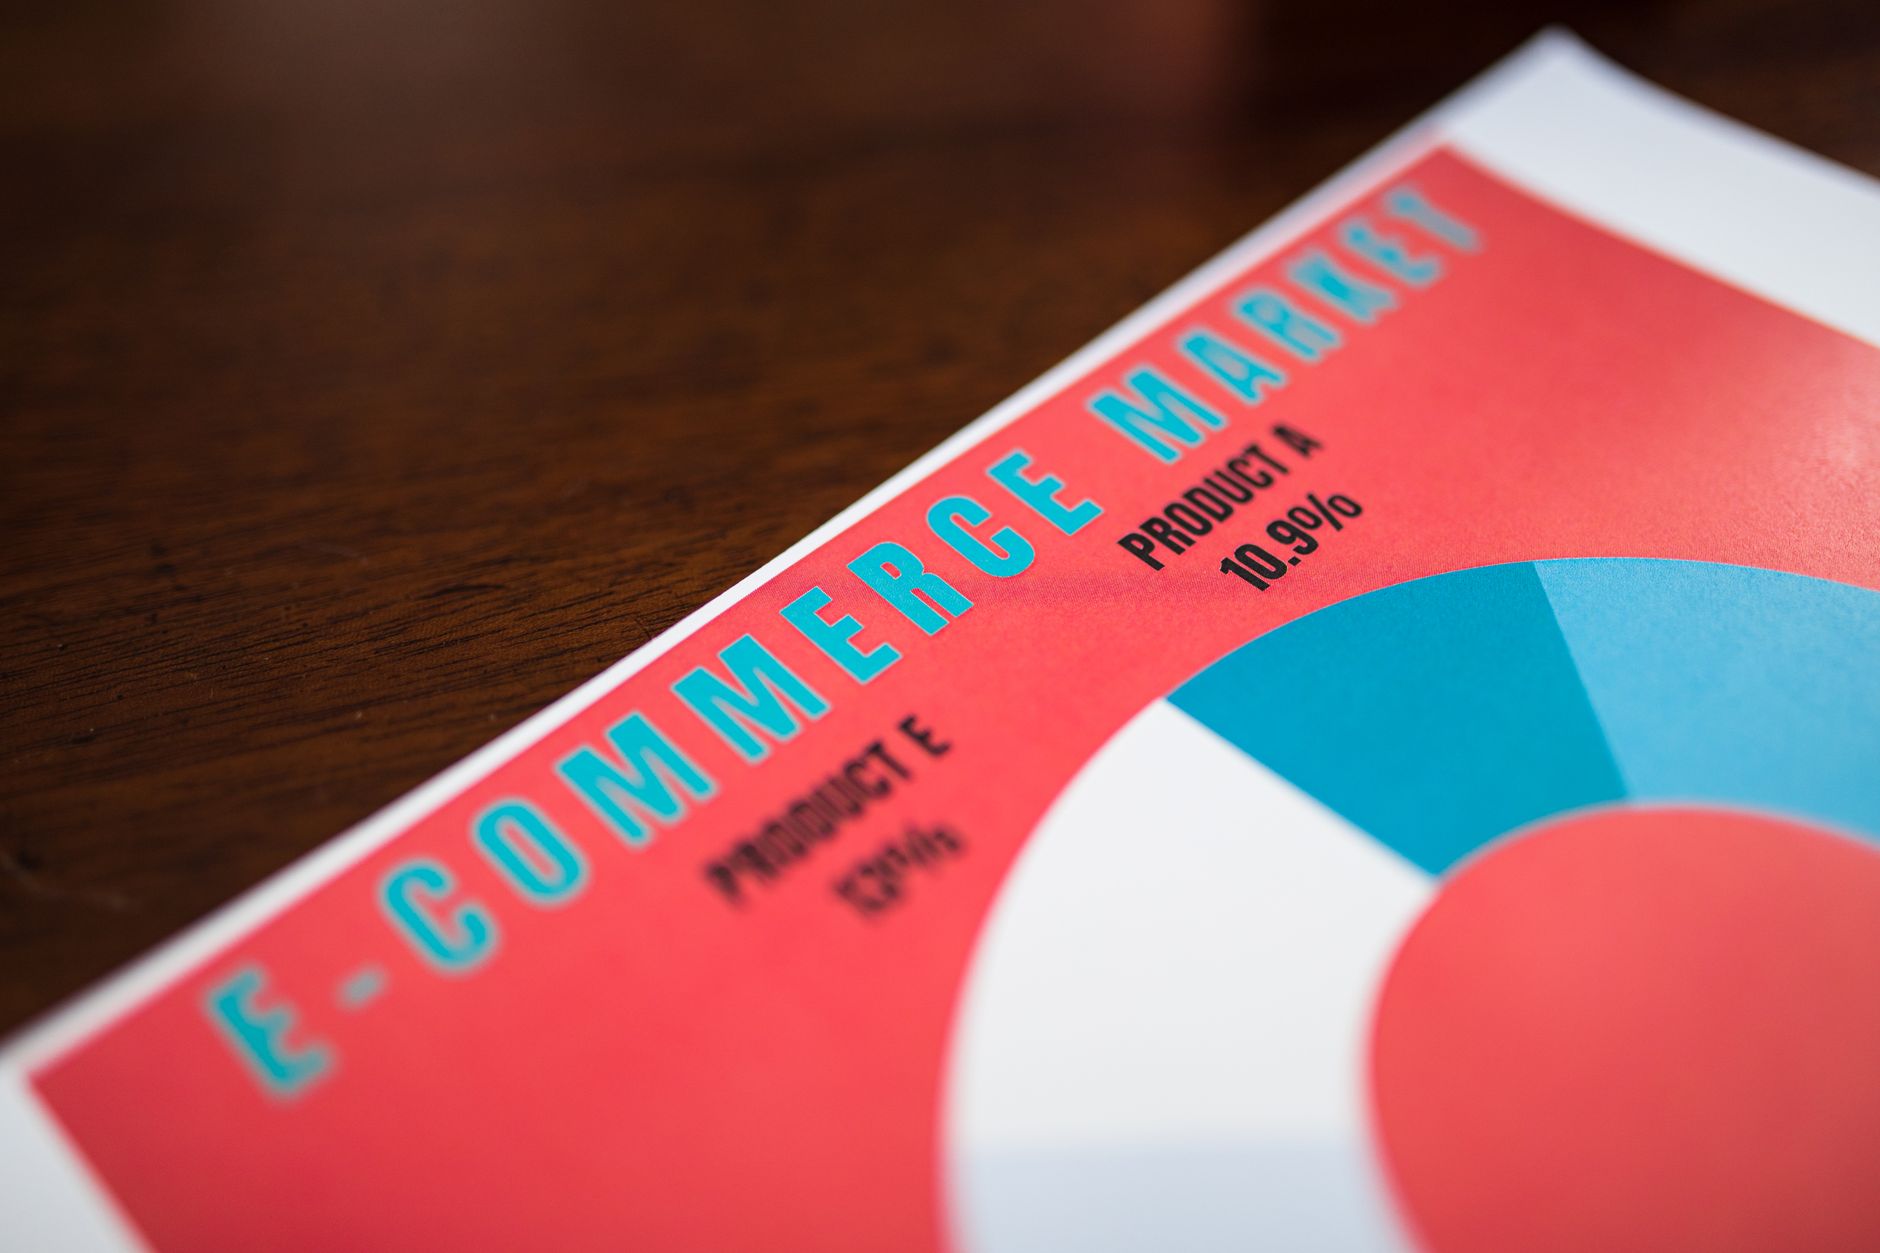
Tämä opas vertailee 12 työkalua, näyttäen niiden vahvuudet ja tarjoaa selkeitä vertailuja hinnoittelusta, vientimuodoista ja sosiaalisen median mallipohjista – keskittyen vain kaikkein relevantteimpiin vaihtoehtoihin kuten Visme tai Piktochart, antaen sinulle toimivia oivalluksia.
Tilastollisessa työssä katso työkaluja, joilla on vankat tietopienet ja toiminnot, jotka renderöivät kaavioita reaaliaikaisista syötteistä.
Päivittäisissä työnkuluissa kirjasinten luettavuus ja johdonmukainen ulostulo ovat tärkeitä, joten tarkista kirjasimet, väripaletit ja korkean resoluution viennit sopiviksi raportteihin ja koontinäyttöihin.
Alkunsa yksinkertaisista mallipohjista, nämä alustat muuttavat sitä, miten tiimit esittävät tilastoja sidosryhmille, tarjoten koontinäyttöjä ja joustavaa jakamista tiimien välillä.
Valitaksesi oikean työkalun, arvioi niiden valittuja ominaisuuksia: tietojen integrointi, kaaviotyypit, yhteistyö ja hinnoittelutasot, jotka sopivat tiimillesi.
Työkalu 4: PicMonkey – Käytännön Katsaus ja Keskeiset Vertailut
Valitse PicMonkey nopeisiin, kuva-keskeisiin visuaaleihin helpolla editorilla ja sisäänrakennetuilla brändäyskontrolleilla. Se sopii yksilöille ja pienille brändeille, jotka haluavat täyden kontrollin ulkoasusta ja tunteesta ilman useiden työkalujen hallintaa. Käytä sitä, kun tarvitset teräviä visuaaleja, johdonmukaista brändäystä ja nopeaa kiertoa, muistaen, että puhdas, yhtenäinen omaisuussarja vetoaa enemmän yleisöösi.
Käytännön snapshot:
- Kaikki yhdessä -editori, joka yhdistää kuvankäsittelyn, mallipohjat ja brändäystyökalut yhteen työnkuluun.
- Sadat mallipohjat ja design-omaisuudet yksinkertaistavat luomista sosiaalisiin postauksiin, bannereihin ja lyhyisiin infografiikkeihin.
- Brand Kit pitää logot, värit ja kirjasimet tallennettuna tuleviin projekteihisi, varmistaen johdonmukaisen brändäyksen kaikissa omaisuuksissasi.
- Ulostulo-vaihtoehdot sisältävät PNG, JPG ja PDF; pptx-ystävällisille dioille vie omaisuudet ja inserttaa ne esitykseen.
- Intuitiivinen valikko ja lyhyt oppimiskäyrä tekevät siitä sopivan tekijöille, jotka haluavat nopeita tuloksia ilman jyrkkää oppimiskäyrää.
Keskeiset vertailut designcapin ja muiden kilpailijoiden kanssa:
- designcap keskittyy laajaan mallipohja-valintaan infografiikkeihin; PicMonkey lisää vahvempaa kuvankäsittelyä ja brändäyskontrolleja samaan työnkuluun.
- PicMonkey korostaa ammattimaista editoria ja brändäyksen jatkuvuutta, kun taas jotkut kilpailijat kallistuvat enemmän puhtaaseen mallipohja-selaukseen.
- Tiimeille tai yksilöille, jotka pyrkivät tuottamaan täysbrändättyjä visuaaleja nopeasti, PicMonkey tarjoaa yksinkertaistetun polun kuvasta brändättyyn ulostuloon.
Kelle se on paras:
- Yksilöille, jotka rakentavat henkilökohtaista portfoliota tai sosiaalista läsnäoloa.
- Pienille brändeille, jotka tarvitsevat johdonmukaista brändäystä ilman useiden työkalujen hallintaa.
- Tekijöille, jotka tuottavat sosiaalisia grafiikoita, bannereita ja lyhyitä esityksiä, jotka vaativat nopeaa kiertoa.
Miten aloittaa ja nopea työnkulu:
Aloita uusi projekti valitsemalla sopiva muoto (sosiaalinen
- Aloita uusi projekti valitsemalla sopiva muoto (sosiaalinen postaus, banneri, flyer tai esitysdio).
- Selaa satoja mallipohjia pienessä valikossa ja poimi yksi, joka vastaa brändäyssuuntaustasi.
- Avaa editori, vaihda kuvat, säädä värit ja inserttaa logosi ja kirjasimesi Brand Kitissä tallennetut.
- Hienosäädä linjausoppailla, tekstin säädöillä ja kevyillä efekteillä ylläpitääksesi ammattimaista ulkoasua.
- Vie PNG-, JPG- tai PDF-muodossa; pptx-valmiille grafiikoille tallenna omaisuudet ja inserttaa ne dioihin tarpeen mukaan.
- Tallenna omaisuudet ja versiot seuraaviin projekteihisi työnkulman yksinkertaistamiseksi.
Käytännön vinkkejä tulosten maksimoimiseksi:
- Pidä lyhyt, johdonmukainen väripaletti kaikissa omaisuuksissa brändäyksen vahvistamiseksi.
- Käytä korkean resoluution kuvia ja sovella yhtenäistä rajaus-tyyliä yhtenäisen ruudukon ylläpitämiseksi postauksissa.
- käytä Brand Kitiä tulevan työn nopeuttamiseksi ja varmistaaksesi, että jokainen omaisuus vastaa bränditarinaa.
- Kun esittelet visuaaleja asiakkaalle, vie täysi sarja (logo, värikyykyt ja näyte-dio) johdonmukaisuuden näyttämiseksi.
Hinnoittelu, Ilmainen Kokeilu ja Arvo
Aloita infogramin Ilmaisella suunnitelmalla ydinviskaalien testaamiseksi, sitten päivitä Prohon, jos tarvitset korkealaatuisempia infografiikkavientiä ja enemmän kaavioita. Tämä polku minimoi riskin, kun arvioit sopivuutta tiimillesi; käytä tätä lähestymistapaa vertaillaksesi niitä vierekkäin.
Päätyökalujen hinnoittelu seuraa yksinkertaista kaavaa: Ilmainen taso,
Päätyökalujen hinnoittelu seuraa yksinkertaista kaavaa: Ilmainen taso, sitten maksetut suunnitelmat, jotka avaavat enemmän mallipohjia, tietopieniä ja yhteistyötä. infogram tarjoaa Ilmaisen, Pron ja Businessin. Pro maksaa tyypillisesti noin 19 dollaria kuukaudessa, ja Business noin 59 dollaria kuukaudessa, laskutettuna vuosittain. piktocharts käyttää Starteria, Proa ja Tiimejä, Starter noin 15 dollaria, Pro noin 25 dollaria ja Tiimit noin 79 dollaria kuukaudessa. Kuitenkin nämä luvut voivat vaihdella tarjouksista tai vuosittaisesta laskutuksesta, joten tarkista nykyiset ehdot.
Ilmaiset kokeilut kestävät tyypillisesti 7–14 päivää, antaen sinun testata tietojen tuontia, kaaviotyyppejä ja vientivaihtoehtoja sitoutumatta. Jos tarvitset brändättyjä mallipohjia tai tiimityönkulkua, varmista, että suunnitelma sisältää brändikitin ja hallintakontrollit. Vertailemalla aikoja pienten infografiikkaprojektien suorittamiseen näet, mikä työkalu pitää sinut rytmissä ja budjetissa.
Useimmille tiimeille pääarvo piilee laadun ja mukauttamisen tasapainossa. infogram loistaa kiillotetuilla grafiikoilla ja nopeilla tietopohjaisilla visuaaleilla; piktocharts voittaa, kun haluat erittäin mukautettavia mallipohjia ja joustavampia asetteluja. Pidä mielessä, kuinka usein viet, tarvitsetko interaktiivisia elementtejä verkkokäyttöön ja kuinka monta yhteistyökumppania sinulla on. Jokainen valinta vaikuttaa kokonaisarvoon ja pitkän aikavälin kustannuksiin.
Päätettäessä pidä mielessä elementti, joka merkitsee eniten: vientimuodot, mallipohjat ja tietojen päivityksen helppous. Niille, jotka tarvitsevat upeita infografiikkoja asiakasesityksiin, pääsuunnitelman tulisi toimittaa korkean resoluution vientiä ja pääsyä laajaan mallipohjakirjastoon. Jatkuviin kampanjoihin tiimioominnot ja jaetut kirjastot ajavat pitkän aikavälin arvoa.
Suositukseni: aloita infogram Ilmaisella tarpeiden validoimiseksi,
Suositukseni: aloita infogram Ilmaisella tarpeiden validoimiseksi, sitten poimi pääsuunnitelma, joka sisältää tietopieniä ja brändäyks-valmiita grafiikoita. Jos kallistut raskaaseen mallipohja-mukauttamiseen ja offline-valmiisiin grafiikoihin, piktocharts Pro tai Tiimit voi olla parempi valinta. Molemmissa tapauksissa ilmainen kokeilujakso auttaa validoimaan sopivuuden ennen pitkän aikavälin valintaan sitoutumista.
Mallipohjakirjasto ja Mukauttamisvaihtoehdot
Valitse työkalu, jolla on laaja mallipohjakirjasto ja rakeinen mukauttaminen, jotta kuka tahansa tiimissäsi voi toimittaa brändäyks-johdonmukaisia visuaaleja nopeasti, työskennellen toivottuasi ulkoasuun ja lyhentäen pitkiä tuotantokierroksia. Tavoittele tuhansia mallipohjia, kymmeniä taustoja ja laajaa väripalettia kattamaan koontinäyttöjä, logopaikkoja ja markkinointimateriaalia, plus taustapoistaja, kun tarvitset puhtaita reunoja.
Katso vismes-tyylisiä generaattoreita ja elementti-tason editointia, jotta voit vaihtaa tekstiä, kuvakkeita, kaavioita ja käyriä rikkomatta linjausta. Vahva kirjasto antaa sinun soveltaa taustoja, päällekkäisyyksiä ja logoja diojen poikki yhdellä klikkauksella, ja se sisältää logokitin brändäyksen johdonmukaisuuden suojaamiseksi.
Järjestä mallipohjat kategorioittain, jotta olitpa rakentamassa markkinointiomaisuuksia tai asiakasaraportteja, voit vaihtaa konteksteja nopeasti. Tallenna mukautetut asettelut mallipohjiksi uudelleenkäyttöä varten, jaa niitä tiimien välillä ja lukitse avain-elementit johdonmukaisuuden ylläpitämiseksi useiden brändien palvelussa. Käytä kansioita ja suosikkeja oikean omaisuuden saavuttamiseksi sekunneissa, ja vientivaihtoehdot varmistavat, että voit uudelleenkäyttää omaisuuksia esitysten poikki.
Tiimeille, jotka palvelevat useita brändejä, jaettu brändikitti nopeuttaa
Tiimeille, jotka palvelevat useita brändejä, jaettu brändikitti nopeuttaa työtä: sovella yhtä palettia, logosääntöjä ja typografiaa kaikkiin infografiikkeihin. Jos tarvitset taustan poistamista, poistajatyökalu säästää aikaa ja pitää reunat puhtaina leveillä kankailla. Koska voit työntää kampanjoita ja tuotteen selittäjiä yhtenisillä visuaaleilla, hukkaat vähemmän aikaa kunkin palan säätämiseen ja pidät ulostulolaadun korkeana.
Tietopohjaiset mallipohjat kattavat kaaviot, graafit, korostukset ja legendaelementit. Käytä generaattoreita tietojen kartuttamiseksi visuaaleihin johdonmukaisesti, mahdollistaen skaalauksen yhdestä raportista pitkään sarjaan koontinäyttöjä. Staattisten visuaalien lisäksi pääsy animoituihin elementteihin trendien ja käyrien havainnollistamiseksi ilman ylimääräistä työtä.
Toinen nopea tarkistus: valitse mallipohja, joka vastaa toivottuasi ulkoasua, korvaa logo, säädä värikäyrää ja vie PNG- tai SVG-muodossa. Varmista ulostulo useilla kokoin eri taustoilla luettavuuden säilyttämiseksi. Jos tarvitset poistajaa kuvataustoille, testaa se muutamalla kuvalla; jos se epäonnistuu, katso vaihtoehtoa puhtaammilla reunoilla. Näillä vaiheilla saat paljon nopeamman tuotannon ja vähemmän tarkistuskierroksia.
Vientimahdollisuudet: Muodot, Resoluutio ja Brändäys
Suositus: Vie pääinfografiikka SVG-muodossa monipuolisuuteen ja brändäykseen; pari se korkean resoluution PNG:llä verkkoon ja tulostusvalmiilla PDF-paketilla eri kanavien tyydyttämiseksi.
SVG pysyy päämuotona logoille, kuvakkeille ja vektori-kaavioille
SVG pysyy päämuotona logoille, kuvakkeille ja vektori-kaavioille. Se pysyy terävänä millä tahansa kankaalla ja integroituu hyvin html5-sivuihin. Kuva-tiheille paneeleille lisää PNG-24 läpinäkyvyydellä tai korkean laadun JPEG (laatu 85–90) tiedostokokojen kohtuullisena pitämiseksi. Tulostukseen ja dokumenttien jakamiseen generoi PDF-paketti (mieluummin PDF/X tai PDF/A, jos mahdollista).
Resoluutio-ohjeistus: pidä vektori mahdollisimman paljon pikselöitymisen välttämiseksi, sitten vie rasteri 2x tai 3x vastineina verkkonäyttöihin. Kun valitset muotoja kullekin kanavalle, suosi SVG:tä pääbrändäykselle ja varaa rasteriviennit kuviin. Tulostukseen tähtää 300 dpi; verkkoon 72–96 dpi riittää, mutta vie ainakin 1500 px leveänä luettavuuden säilyttämiseksi työpöydillä.
Brändäys-kontrollit: upota sRGB-väriprofiili ja lukitse pääkirjasimet driftin estämiseksi; lisää valmis tyylilista, joka vastaa asiakkaan brändejä. Sisällytä väripaletti, logopaikka ja vesileima-kytkin. Sama lähestymistapa toimii vismesin ja asiakkaan visuaalien poikki koherentin sarjan luomiseksi, joka pitää brändit tyytyväisinä.
Aloittelijat voivat aloittaa lisätyllä esiasetuksilla, jotka tuottavat parhaat oletukset; käytetyt mallipohjat tekevät kankaan luonnoksesta mestariteoksen tekemisestä helppoa. Tiimeille tarjoa generaattori-työnkulu, joka luo useita muotoja kerralla; tämä on hienoa jakamiseen sivustojen ja painotalojen välillä.
Haittapuoli: jotkut työkalut lisäävät metatietoja tai menettävät hienot gradientit kun
Haittapuoli: jotkut työkalut lisäävät metatietoja tai menettävät hienot gradientit PNG- tai JPEG-viennissä; testaa vientiä vertailemalla kuvapaneelia ja vektoripaneelia laadun samanlaisuuden varmistamiseksi muotojen poikki. Lieventääksesi pidä päävektori SVG ja rasteroi vain vaadittaessa.
Tarkistuslista muotojen nopeaan valintaan: listaa muodot kanavan mukaan – päävektori (SVG) brändeille ja html5-upotuksille, rasteri kuville (PNG-24 tai JPG), tulostusvalmis PDF upotetuilla kirjasimilla ja profiileilla. Tällainen työnkulu pitää tiedostot kompakteina, vähentää virheitä ja muuttaa vientisi luotettavaksi rutiiniksi, joka pitää vismesin johdonmukaisina ja sidosryhmät tyytyväisinä.
Yhteistyö, Jakaminen ja Tiimityönkulut
Aloita jaetulla työtilalla, jota ohjaa yksittäinen design-moottori ja joka toimii ydinsijaintina infografiikkaprojekteillesi. Määritä 2 ylläpitäjää ja 3–6 jäsentä, aseta selkeät luvat ja rakenna keskusomaisuuskirjasto varmistaaksesi, että kaikki käyttävät johdonmukaisia kirjasimia, värejä ja kuvakkeita kaikissa omaisuuksissa. Premium-suunnitelma auttaa säilyttämään brändin eheyden ja nopeuttamaan hyväksyntöjä.
Käytä designcapia yhteistyöesimerkkinä, jossa velho ohjaa perehdytyksen ja tiimi tekee yhteistyötä reaaliajassa. Pidä kaikki tiedostot, muistiinpanot ja palaute yhdessä paikassa, jotta huomio pysyy designissa, ei omaisuuksien jahtaamisessa. Työtila tulisi tukea informatiivisia kommentteja, strukturoituja tarkistuksia ja helppoa jakamista ulkoisten sidosryhmien kanssa ilman alustan jättämistä.
Ylläpidä kolme linkitettyä listaa selkeyden vuoksi: omaisuudet (sisältäen
Ylläpidä kolme linkitettyä listaa selkeyden vuoksi: omaisuudet (sisältäen kootut logot), tarkistukset ja hyväksynnät. Käytä väripalettia tilan liputtamiseen (luonnos, tarkistuksessa, viimeistelty) ja varmista, että kaikki, jäsenistä tarkistajiin, voivat nopeasti tunnistaa nykytilan. Tämä prosessi vähentää väärinkäsityksiä ja kiihdyttää palaute-silmukoita, jättäen enemmän aikaa luovaan tutkimukseen rutiinitarkistusten ulkopuolelle.
Jakaminen ja luovutukset muuttuvat saumattomiksi älykkäillä esiasetuksilla: generoi esikatselut, jaa yhdellä klikkauksella ja kontrolloi pääsyä roolin mukaan. Tämä lähestymistapa pitää työnkulusi linjassa vistacreates brändiohjeiden kanssa, varmistaen brändäyksen johdonmukaisuuden. Velho-pohjainen perehdytysopas auttaa uusia kontribuutteja lähtemään liikkeelle, kun taas automaattisesti tallennetut versiot estävät tietohäviön.
Mittarit ja odotukset: seuraa valmistumisaikaa, tarkistusten määrää ja sidosryhmien tyytyväisyyttä kevyen, yksityisyyttä kunnioittavan raportin kautta. Polku on suunniteltu vaivattomaksi jäsenille ja editoreille, säilyttäen huomion designlaadussa logistiikan sijaan. Näillä vaiheilla yhteistyö, jakaminen ja tiimityönkulut pysyvät sujuvina, skaalautuvina ja linjassa koko infografiikkaluomistaprosessisi kanssa.
Alustavailavuus ja Oppiresurssit
Priorisoi työkaluja, jotka toimivat sujuvasti verkossa, työpöydällä ja mobiilissa, ja integroi oppiresurssit työnkuluusi; tämä asetelma minimoi ajan ensimmäiseen julkaisuun ja pitää tiimisi tuottavana laitteiden poikki.
Useimmat alustat ovat pilvipalveluiden ohjaamia ja synkronoivat automaattisesti laitteiden välillä, natiiveilla sovelluksilla iOS:lle ja Androidille; tämä mahdollistaa työn siirtämisen ja synkronoinnin. Suunnitelmat ovat maksettuja ja laskutettuja kuukausittain tai vuosittain, ja monet myyjät tarjoavat ilmaisen kokeilun sopivuuden validoimiseksi ennen sitoutumista. Tämä asetelma voi mahdollistaa laiterekedit välittömästi.
Perehdytyksessä katso käyttäjäystävällisiä drag-and-drop-editoreita, mukautettavia mallipohjia ja värikkäitä osioasetteluja, joita voit säätää ja siirtää välittömästi. Oppikeskus tulisi esittää aiheet selkeisiin osioihin käytännön näkökohtien ja tiiviiden kohtien kanssa, tehden sisäänpääsyn osaavuuteen nopeammaksi. Mallipohjat aiheille kuten markkinointi ja koulutus nopeuttavat asetusta. Tosiasia tiedettäväksi: oikeat resurssit vähentävät nousuaikaa ja buustaavat käyttöönottoa; tätä on harkittava vaihtoehtojen arvioinnissa.
| Työkalu | Alustavailavuus | Oppiresurssit | Huomautukset |
|---|---|---|---|
| Työkalu A | Verkko, Windows, macOS, iOS, Android | Viralliset oppaat, tietopohja, värikoodatut ohjeet | Maksettu; laskutettu vuosittain; drag-and-drop-editori; välittömästi saatavat aloitusmallipohjat |
| Työkalu B | Verkko, iOS, Android | Videosarja, aiheittain opetussuunnitelma, yhteisöfoorumi | Ilmainen suunnitelma; maksetut lisäosat; aloittelijapolku saatavilla |
| Työkalu C | Verkko, Työpöytäsovellukset, mobiili | Interaktiiviset kierrokset, haettavat aiheet, tiimeille tehtyjä mallipohjia | Maksettu; laskutettu kuukausittain; automaattiset päivitykset oppitunneihin |
| Työkalu D | Vain verkko offline-tilalla | Usein kysytyt kysymykset, vaiheittaiset ohjeet, nopea aloitusosio | Maksettu; välitön perehdytystuki |
Ready to leverage AI for your business?
Book a free strategy call — no strings attached.