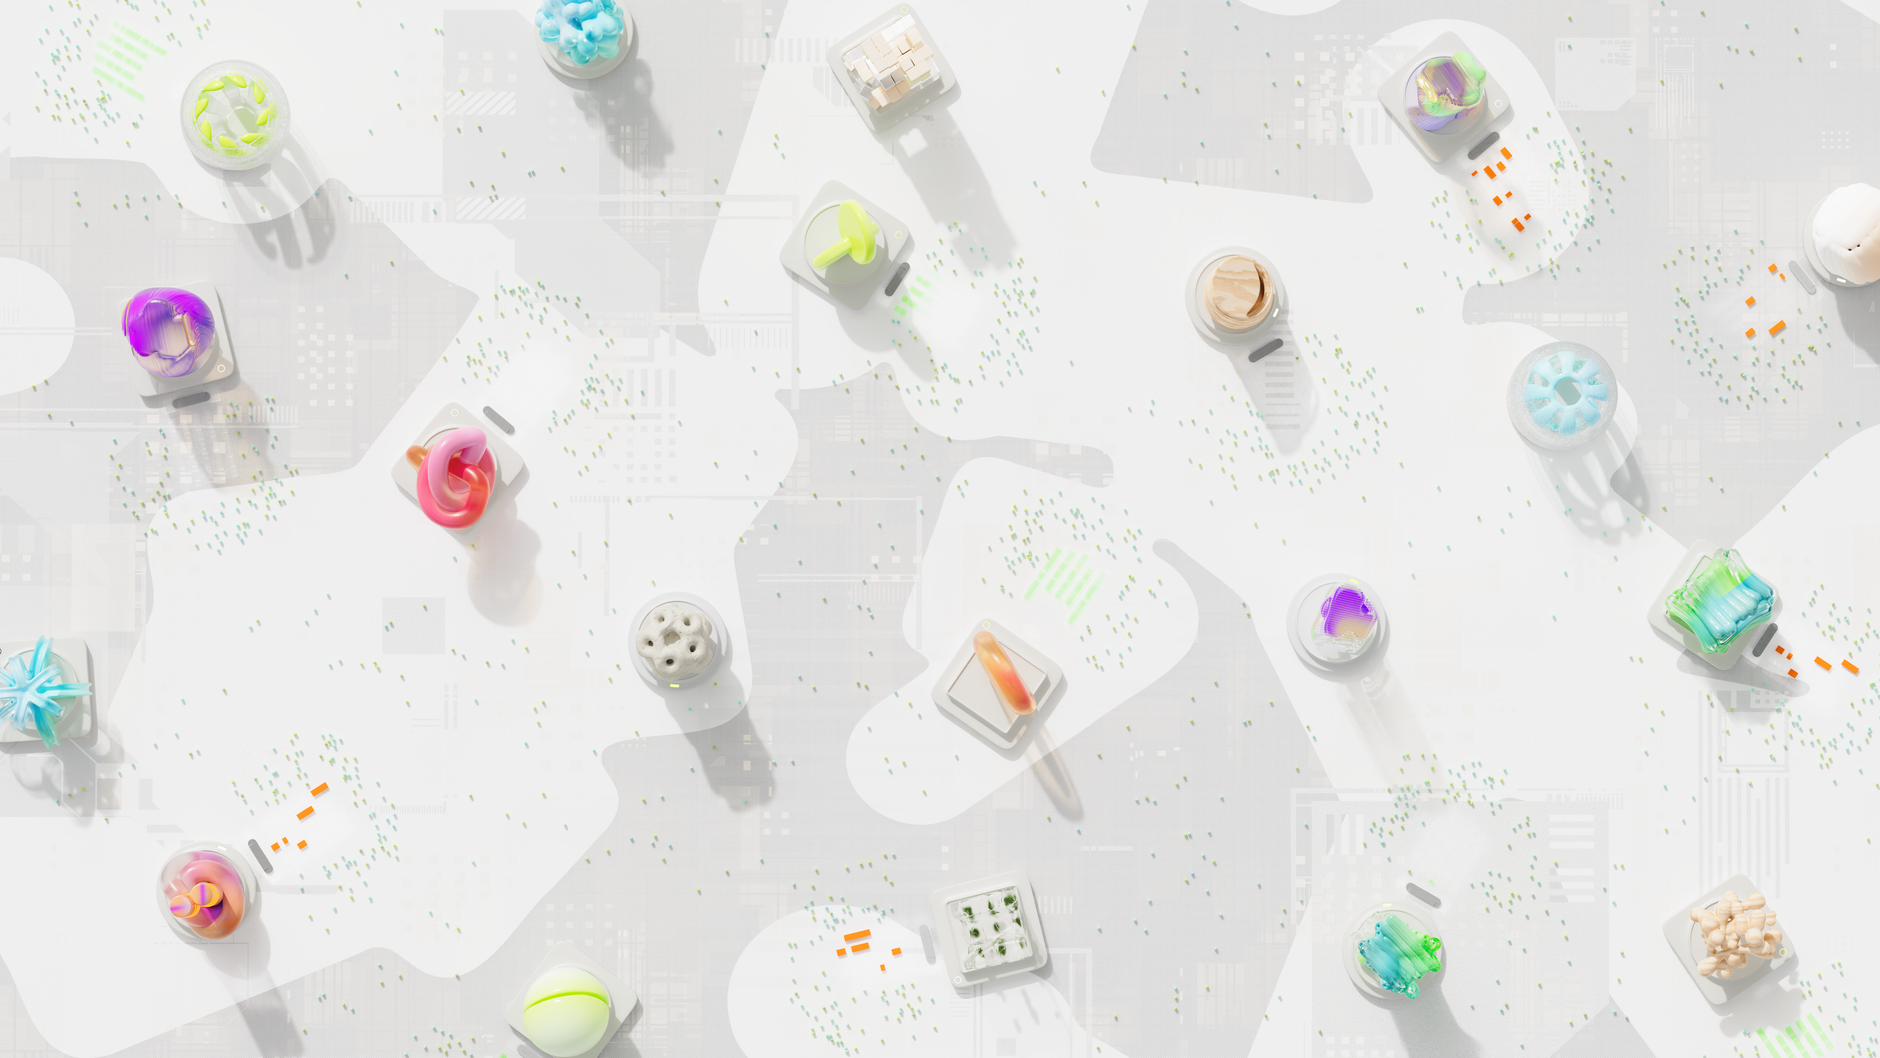
Google Veo 3 - Scatena la creatività con il generatore di video AI definitivo

Crea un teaser di 60 secondi con un preset personalizzato in Veo 3, quindi espandilo in un video completo. Questa tattica concreta ti offre un inizio chiaro e veloce, con un'anteprima da condividere con gli stakeholder.
Veo 3 guida il tuo flusso di lavoro con un'IA motion-aware che gestisce scene, transizioni e azioni con precisione. Offre un controllo totale durante la post-produzione e un editing avanzato, in modo da poter modificare il ritmo, perfezionare i colori e regolare le tonalità della pelle con un solo passaggio. Il motore funziona su modelli di deep machine learning, fornendo immagini futuristiche senza sforzo.
Per massimizzare l'efficienza, affidati al rilevamento автоматический delle scene e all'allineamento dell'audio. Invece di destreggiarti tra strumenti separati, Veo 3 ricama azioni e suoni in un'unica timeline coesa. Il responsabile del tuo progetto rimane concentrato grazie a un'interfaccia pulita, all'editing drag-and-drop e alla color correction facilmente regolabile che preserva le tonalità naturali della pelle e i colori vivaci.
Le opzioni di esportazione coprono i formati 4K e social, con l'elaborazione batch per più tagli. Offre funzionalità di post-produzione intelligenti come il re-timing delle scene, il loop e tagli alternativi per testare le reazioni del pubblico. Un'ala di creatività si apre mentre iteri, partendo da idee audaci e affinandole in un output raffinato che risulta coeso e cinematografico.
Suggerimenti pratici per risultati veloci: mappa lo storyboard ai modelli di movimento, imposta il tono con una tavolozza di colori breve, scegli tracce audio adatte all'umore e usa l'anteprima per confrontare le varianti fianco a fianco. Con questi passaggi, otterrai risultati professionali rapidamente, regolando facilmente i dettagli mantenendo intatto un tocco umano.
Apri un Nuovo Progetto Veo 3 in Flow e Definisci il Tuo Obiettivo Video
Inizia con una raccomandazione concreta: crea una clip immersiva di 60 secondi sulla chioma di una foresta usando Flow. Denominala chiaramente, apri Flow, seleziona Nuovo Progetto e imposta l'obiettivo come un singolo pezzo coeso. Questo mantiene lo sviluppo focalizzato ed evita la deriva.
Definisci il tuo obiettivo con elementi misurabili: lunghezza 60 secondi, 8–10 scatti, ritmo lento con pause di circa 0,5–1 secondo tra le clip; scegli tra sequenze dialogate o senza testo; un suono naturale può integrare, ma mantieni le immagini autonome per mantenere l'immersione; il tracking aiuta a stabilizzare il movimento tra gli alberi. Utilizza un secondo offset tra le clip per dare agli spettatori una pausa naturale.
Il Tuo Flow Blueprint per l'Obiettivo
Descrivi la scena: alberi e chioma con luce scintillante; imposta i secondi dei ritmi e scegli opzioni di angolazione come l'angolo basso sotto i rami e ampi movimenti ad arco. Delinea il numero di clip e come si mappano ai giorni di acquisizione sul campo, se pertinenti; la tua guida evidenzia suggerimenti autorevoli per mantenere l'aspetto naturale e coinvolgente, in linea con le tue capacità. Il ritmo secondo per secondo è importante per mantenere gli spettatori coinvolti.
Passaggi di Esecuzione, Strumenti ed Esempi
In Flow, configura la timeline, abilita il tracking e applica pause e transizioni lente tra gli scatti. Gli strumenti includono stabilizzatori, predefiniti di color correction e maschere di tracking. Flow offre modelli ed esempi pronti all'uso per calibrare i tempi. Utilizza solo scatti che rimangono all'interno della luce naturale, mantieni le sequenze senza testo ove possibile e pianifica le chiamate per i punti di taglio per garantire il ritmo. Rivedi i giorni di esempi di riprese per affinare il ritmo.
Scegli Modelli AI e Template di Prompt per Bozze Rapide
Inizia con un abbinamento concreto: un modello di base ultraveloce progettato per bozze rapide e una libreria di template di prompt personalizzati per i flussi di lavoro di Veo 3. Gli output generati rimangono visivamente coesi, con illuminazione e colori guidati dai template, e possono essere scaricati sul tuo telefono per una revisione rapida prima dell'editing.
Selezione del Modello
- Scegli un modello di base che dia priorità alla velocità rispetto ai dettagli brute-force nei primi passaggi; usalo per bozze di sequenze complete e tagli grossolani, quindi passa a un modello di capacità superiore per la rifinitura solo quando necessario.
- Punta entro 150–250 ms per frame a 1080p su una configurazione GPU standard per mantenere stretto il loop di editing mantenendo la qualità.
- Preferisci modelli progettati per contenuti simili a video, con capacità di mantenere la coerenza della scena tra gli scatti, evitando sfarfallii o deriva del colore tra i frame.
- Usa adattatori sintonizzati sul dominio o una messa a punto leggera su scene tipiche di Veo 3 (urbane, forestali, campi di fiori) in modo che gli output risultino autorevoli e radicati in filmati del mondo reale.
- Tieni una piccola libreria di modelli per attività comuni: uno per ampi scatti di stabilizzazione, uno per primi piani e uno per scene con movimento intenso; cambiali quando il piano si sposta, senza perdere la continuità.
Strategia Template di Prompt
- Template scena: definisci l'ambientazione (urbana, foresta, giardino), l'atmosfera (calma, energica, scintillante) e l'azione (panoramica, zoom, push-in).
- Template scatto: specifica il tipo di fotocamera, l'inquadratura, il movimento e l'illuminazione prevista; includi segnaposto per colori e contrasto per rimanere coerente tra le clip.
- Template contenuto: guida ciò che appare sullo schermo usando segnali concreti (uccelli sulla cima di un albero, un fiore in fiore, gocce di nettare sui petali) per ancorare le immagini e mantenerle vivide.
- Template tavolozza: blocca una direzione del colore (blu freddi, ambre calde o verdi activei) e una nota di illuminazione (morbida, direzionale, retroilluminata) per ridurre al minimo le revisioni successive.
- Template editing: imposta transizioni e ritmo (tagli rapidi per l'azione, pause più lunghe per l'umore) e includi una breve nota sui segnali audio per rivelare l'emozione senza un editing eccessivo.
- Template di distribuzione: pianifica dove posizionare titoli, terzi inferiori e callout in modo che la bozza generata si allinei con l'editing finale.
Utilizza prompt come:
- Scena: sentiero forestale al crepuscolo, brezza leggera, foglie scintillanti; Scatto: ampio, panoramica lenta; Illuminazione: morbida, ora d'oro; Colori: tenui con un accento activee.
- Scena: fiore da giardino alla luce del mattino, nettare visibile sui petali; Scatto: macro, focalizzato su un singolo fiore; Movimento: deriva sottile; Piano: transizione al primo piano sull'ape.
L'implementazione di questi template all'interno di Veo 3 accelera le bozze, mantiene l'aspetto coeso e riduce l'editing avanti e indietro. Puoi rivelare la struttura iniziale ai compagni di squadra senza esporre ogni riga del prompt, quindi iterare sullo stesso framework per ottenere clip complete e raffinate.
Carica i Media, Costruisci uno Storyboard Rapido e Genera il Primo Taglio
Carica i media ora. Questa guida ti aiuta a impostare un progetto pulito: una singola cartella con clip grezzi, B-roll, tracce audio e loghi per mantenere i dati organizzati. Specifica i formati accettati: video MP4 o MOV; audio WAV o MP3. Punta a 1080p o superiore e 24–30 fps; mira a 48 kHz audio. Mantieni una struttura di cartelle pulita: content/footage, content/audio, content/logos. Includi metadati descrittivi per ogni clip (scena, take, sorgente) per aiutare gli editor e i generatori a mappare rapidamente le risorse. Se la larghezza di banda è lenta, genera proxy e ricopri il progetto con uno spazio colore coerente prima dell'editing. Il livello di integrazione estrae i dati dal tuo disco e posiziona le risorse non viste nella finestra del progetto in modo da poterle rivedere senza indugio. Fai attenzione al cigolio in sincronia o all'audio disallineato e correggi prima di andare avanti. Solo tre passaggi si frappongono tra te e una prima bozza creativa: organizza, mappa e genera creatività.
Checklist di Caricamento
File: video MP4/MOV, audio WAV/MP3. Risoluzione: 1080p+; Frame rate: 24–30 fps. Denominazione: scena01_take01, SFX_clap. Metadati: scena, take, sorgente. Backup: copia su un'unità separata. Log: annota lo spazio colore e le considerazioni sull'obiettivo. Includi loghi e elementi del brand in content/logos.
Storyboard e Primo Taglio
Apri una canvas per storyboard rapido e mappa le scene in ordine. Specifica i battiti principali e le transizioni; tra ogni pannello aggiungi una breve nota per interpretare l'intento. Costruisci una sequenza complessa con un ritmo chiaro; per il dialogo mantieni una linea di base lenta, mentre i momenti di azione si muovono più velocemente. Includi scatti di foreste e finestre, uccelli e suoni ambientali per testare il ritmo. Pannelli personalizzati guidano i generatori AI a produrre un primo taglio coeso. In questo passaggio, abbina i tempi ai dati e agli obiettivi del progetto; imposta segnali di temporizzazione specifici per ogni segmento e ricopri l'editing con un tono coerente. I segnali acustici avvisano quando un rendering è completo; guarda la bozza e regola i tempi, la spaziatura e il posizionamento del logo come necessario. Opzioni di esportazione: MP4 a 1080p o MOV a 4K, a seconda del progetto. Condividi con altri editor per raccogliere feedback e perfezionare il risultato.
Imposta lo Stile Visivo: Profili Colore, LUT e Preset di Movimento
Seleziona un profilo di base che sia neutro o leggermente caldo; ciò fornisce una base stabile e necessaria per i reel sulla fauna selvatica attraverso modelli e obiettivi. L'ingrediente è il bilanciamento del colore: preserva i dettagli degli occhi e della pelliccia mantenendo intatti i cieli e aiuta il pubblico a concentrarsi sulla narrazione tra gli scatti e un narratore. Il nettare sta nella coerenza: imposta un profilo per le scene diurne e serali e attieniti ad esso per evitare bruschi cambiamenti che interrompono l'immersione. Questa configurazione fornisce un framework autorevole, quindi una narratrice guida il prompting e il processo decisionale in modo da poter provare prompt che producono look prevedibili.
Profili Colore: attualmente, opta per Rec.709 per la gamma dinamica standard, sRGB per output compatibili con il web e varianti Log per la massima latitudine. Se riprendi fauna selvatica e colori serali, una curva simile a Cine o Log preserva luci e ombre; puoi eseguire la color correction con le LUT per produrre look finali rimanendo all'interno di una gamma dinamica limitata. Inizia con Rec.709 come linea di base pulita e archivia un preset basato su Log per quando hai bisogno di una latitudine extra, quindi confronta i risultati usando il prompting per mantenere il pubblico coinvolto.
LUT: costruisci una libreria compatta con tre categorie: Neutrale, Teal/Arancione e Creativo. Neutrale mantiene il contrasto moderato e funziona attraverso le scene; Teal/Arancione eleva il calore nelle serate e negli scatti soleggiati della fauna selvatica mantenendo i colori degli occhi e della pelliccia credibili; le LUT creative spingono il colore per un look drammatico quando la narrazione richiede una narrazione intensificata. Utilizza una singola catena di LUT per tutte le fotocamere/modelli; quindi il narratore può usare il prompting per regolare ogni scatto, garantendo la coesione tra i reel per il tuo pubblico.
Preset di Movimento: applica delicati preset di movimento per rafforzare i look scelti. La fauna selvatica beneficia di panoramiche lente, sottili movimenti dolly e vibrazioni minime; le scene serali guadagnano atmosfera con una deriva morbida e un leggero zoom. Mantieni un movimento limitato per mantenere l'attenzione sugli occhi e sull'espressione; abbina a un modello di stabilizzazione forte per mantenere la nitidezza. L'obiettivo finale è un movimento che supporti la narrazione tra il pubblico e il narratore, non che distragga da essa. Dopo aver applicato i preset, esegui i prompt e confronta, quindi perfeziona per la coerenza tra le scene e i reel.
| Elemento | Guida | Quando Utilizzare |
| Profilo Colore | Seleziona la linea di base; Rec.709 per standard, Log per latitudine; assicurati che sia stabile tra le scene | All'inizio del progetto; per le transizioni giorno e sera |
| LUT | Tre categorie: Neutrale, Teal/Arancione, Creativo; mappa a modelli e illuminazione | Dopo il profilo, prima della color correction finale; scambia per umore |
| Preset di Movimento | Panoramica, inclinazione, dolly, speed ramp; mantieni il movimento modesto | Durante i momenti di azione, sequenze di fauna selvatica, atmosfera serale |
Raffina con l'IA: Auto-Tagli, Transizioni, Sottotitoli e Sincronizzazione Audio
Abilita gli Auto-Tagli per allineare l'editing ai battiti; punta a 0,8–1,2 secondi per il dialogo, 2–3 secondi per le sequenze di montaggio e testa su una timeline a 24–30 fps per mantenere la precisione del ritmo. In una scena di strada con un cappotto blu, l'IA usa segnali gestuali per tagliare verso l'azione preservando la continuità visiva. L'editor analizza l'illuminazione ambientale e i liquidi nel frame per evitare lacune imbarazzanti e puoi rivedere l'output allo zoom del 100% per confermare l'allineamento con segnali acustici e toni ambientali. Per un'ora di filmato, questo approccio può ridurre i tempi di editing manuale di circa il 40–60%, liberando tempo per le rifiniture della narrazione e i tagli mirati al marketing, anche in progetti complessi.
Auto-Tagli e Transizioni Intelligenti
Scegli tra opzioni pratiche come dissolvenze incrociate sottili, morphing delicati o wipe rapidi; mantieni le transizioni coerenti per supportare il flusso narrativo. Una sequenza temporale in stile fisarmonica raggruppa le clip per scena (interno, strada, ascensore, edifici) in modo da poter regolare il ritmo senza perdere il contesto. Usa clip di test per calibrare la sensibilità degli auto-tagli; alcune iterazioni su filmati di esempio offrono prestazioni affidabili. Il motore basato su google fornisce suggerimenti precisi che si adattano ai requisiti di output per i progetti di filmmaking e guidati dai creator, mantenendo al contempo un tono visivo calmo che non distrae dal soggetto. Ciò consente una personalizzazione in tempo reale senza interrompere il ritmo dello scatto.
Sottotitoli e Sincronizzazione Audio
I sottotitoli vengono generati автоматический с alta precisione; regola i timecode per corrispondere ai turni degli oratori, inclusi dialoghi complessi e voci sovrapposte, ed esamina la vista delle tabelle che elenca timestamp e punteggi di confidenza, semplificando la correzione di parole non riconosciute. I formati di esportazione come SRT o VTT consentono una rapida integrazione nei flussi di lavoro di marketing e nelle piattaforme online. Sintonizza i font, gli sfondi e la lunghezza delle righe per adattarli al tuo stile visivo e migliorare la leggibilità; per un contrasto chiaro su scene trafficate, usa testo bianco con un'ombra blu. Per l'audio, assicurati la sincronizzazione verificando i movimenti delle labbra rispetto al dialogo; correggi piccoli offset spostando didascalie e forme d'onda di alcuni frame. Allinea i suoni ambientali alla narrazione e usa i segnali hover per guidare le modifiche del volume, preservando il room tone e l'atmosfera generale della scena. Con un'attenta calibrazione, risparmi ore di post-produzione e produci un'esperienza più pulita e coinvolgente per il tuo pubblico.
Rendering, Esportazione e Condivisione: Formati, Risoluzioni e Opzioni di Collaborazione
Esporta in 4K (3840x2160) con colore a 10 bit e una linea di base a 24/30 fps; genera un proxy a 1080p per le revisioni e includi un'esportazione master in un formato di consegna. Specifica i codec di destinazione per piattaforma e mantieni un'esportazione di prova per convalidare transizioni e colori prima della consegna finale. Attualmente, MP4/H.265 copre la maggior parte del pubblico web, mentre MOV/ProRes serve gli editor con la massima fedeltà. Non perderai dettagli con una codifica a 2 passaggi; invece, fornisci una versione adatta ai proxy per le revisioni.
Formati, Codec e Colori
- Formati: MP4 (H.264/HEVC), MOV (ProRes 422/4444) e WebM (VP9) dove supportato; includi un file di consegna separato e una copia master di archiviazione.
- Codec: H.264 per un'ampia compatibilità; H.265/HEVC per la consegna in 4K; ProRes 422/4444 per editor; DNxHR come alternativa per determinati flussi di lavoro.
- Colori e bit depth: usa il colore a 10 bit ove possibile; mantieni Rec.709 come predefinito e passa a Rec.2020 o P3 per progetti cinematografici; assicurati che il monitor sia calibrato per evitare letture errate che affaticano gli occhi; i gradienti simili a liquidi richiedono un'attenta color correction.
- Immagini, una clip e transizioni: esporta con metadati descrittivi incorporati e didascalie sullo schermo; assicurati che la sequenza mantenga la coerenza tra le clip; le transizioni devono essere sottili ed evitare sfarfallio.
- Le risorse sono state organizzate in una singola sequenza per mantenere la coesione; i primi principi per i creatori dovrebbero guidare la configurazione in modo che il master descrittivo rimanga riutilizzabile dal filmmaker e l'integrazione con la libreria di risorse rimanga fluida.
- Audio ed equilibrio acustico: esporta tracce stereo o multicanale separate quando necessario; mantieni il mix acustico allineato con il video per un'esperienza sullo schermo convincente.
- Esempio e specifiche: includi un'esportazione di esempio per verificare i colori e i dettagli dei bordi; specifica lo spazio colore esatto, la profondità di bit e le impostazioni di codifica nelle note di consegna.
Risoluzioni, Frame Rate e Collaborazione
- Risoluzioni e frame rate: offri opzioni ad alta risoluzione fino a 8K per la protezione futura, ma impostare predefinitamente 4K (3840x2160) a 24/30 fps; fornisci proxy a 1080p per revisioni rapide; specifica i vincoli della piattaforma di destinazione.
- Preset di consegna: crea preset di consegna per il web (MP4/H.265 a 8–12 Mbps per 4K, 4–8 Mbps per 1080p), editing master (ProRes 422/4444 ad alto bitrate) e clip social (1080p a 6–12 Mbps) per soddisfare esigenze diverse.
- Collaborazione e condivisione: abilita progetti multiutente con accesso basato sui ruoli, cronologia delle versioni e thread di commenti; integra con strumenti esterni (archiviazione cloud, gestione progetti e piattaforme di revisione) per semplificare il feedback; i collegamenti di condivisione possono includere spettatori come ospiti o collaboratori autenticati.
- Risorse sullo schermo: mantieni i template per titoli, didascalie e terzi inferiori; assicurati che queste risorse siano incluse nell'esportazione in modo che i team possano riutilizzarle senza ricrearle da zero.
- Per i flussi di lavoro dei creator: mantieni la disposizione sullo schermo coesa e usa una denominazione descrittiva dei file per facilitare l'onboarding di nuovi membri del team; l'integrazione con una libreria di risorse comune riduce la deriva tra i dispositivi.
Ready to leverage AI for your business?
Book a free strategy call — no strings attached.


