Veo 3 Tutorial - Come Generare Video Incredibili con Audio

Inizia con un prompt mirato: descrivi l'atmosfera, la durata e il pubblico del progetto, quindi mappa la struttura a un arco completo. Utilizza i prompt per impostare la scena sullo stile del film e scegli una traccia audio chiara fin dall'inizio per guidare le immagini. Quando immagini lo spettatore, immagina occhiali che incorniciano la scena e accentuano l'indicazione emotiva che vuoi far arrivare in un singolo passaggio.
Veo 3 funge da strumento versatile che fonde immagini e audio. Nel prompt, delinea le animazioni chiave, le transizioni e il flusso di scene che desideri trattare. Considera le opzioni per luce, colore e movimento e scegli le piattaforme su cui intendi pubblicare in modo che l'output corrisponda alle aspettative del pubblico.
Bilancia il ritmo separando gli atti con una struttura deliberata e mantieni l'emozione in primo piano. Utilizza tecniche di controllo per regolare i tempi tra narrazione e immagini; traccia le svolte nella narrazione in modo che ogni battuta vada a segno. Se pianifichi vlog o brevi clip, mantieni la sequenza stretta e prevedibile per gli spettatori abituali.
Passaggi concreti: Scegli un modello che si adatti alla durata del tuo video. Crea un prompt con elementi visivi scena per scena, annotando quando cambiare animazioni o sovrapporre testo. Allega la base audio e testa il flusso su ogni piattaforma. Esporta a piena risoluzione e controlla il risultato in alcune preimpostazioni del dispositivo.
Le discussioni sulla tecnica ti aiutano a perfezionare la produzione: rivedi diversi approcci per film e vlog, confronta l'erogazione di emozioni e ripeti finché l'equilibrio non risulta naturale. Utilizza lo strumento per sperimentare con gli stili di prompt, quindi rivisita la tua struttura per migliorare la chiarezza. Quando pubblichi, fai riferimento al tuo pubblico con descrizioni concise e una chiara call to action.
Progetta uno Storyboard Audio-First per i Progetti Veo 3
Adotta uno storyboard basato sull'audio: allinea ogni segnale audio con un'inquadratura, in modo che il ritmo e le transizioni siano controllati dal suono. Lascia che il ritmo della voce e le texture ambientali guidino la sequenza dal primo all'ultimo fotogramma.
Definisci l'obiettivo in termini pratici: identifica tre risultati: tono autentico, rilevanza nel mondo reale e spunti chiari. Mappa gli ambienti agli obiettivi: ufficio, bar, strada e studio domestico, assicurandoti che ogni scena sia ricca di contenuti ma concisa. Raccogli righe di dialogo e potenziali testi di sottotitoli dalle tendenze di Google per catturare espressioni conversazionali autentiche.
- Ambito e ambienti: definisci 3-4 ambienti del mondo reale (ufficio, bar, strada, casa) e assegna a ciascuno un obiettivo tematico. Non ci sono fotogrammi sprecati, quindi pianifica 6-8 inquadrature per ambiente per mantenere una progressione fluida.
- Mappa dei dialoghi: scrivi righe concise (parole) che verranno pronunciate e pianifica un sottotitolo corrispondente, assicurandoti che le sovrapposizioni di testo rimangano leggibili. Utilizza un carattere e un colore coerenti per i sottotitoli per mantenere la coerenza tra le scene. Collega il contenuto parlato al testo sullo schermo per chiarezza.
- Mappatura audio-video: per ogni inquadratura, imposta un segnale audio (voce, ambiente o effetto). Utilizza i segnali per cambiare inquadratura o regolare le angolazioni della telecamera; lascia che l'eco di frasi chiave e le texture ambientali guidino le transizioni. Mantieni il controllo del volume per mantenere una precisa chiarezza della voce.
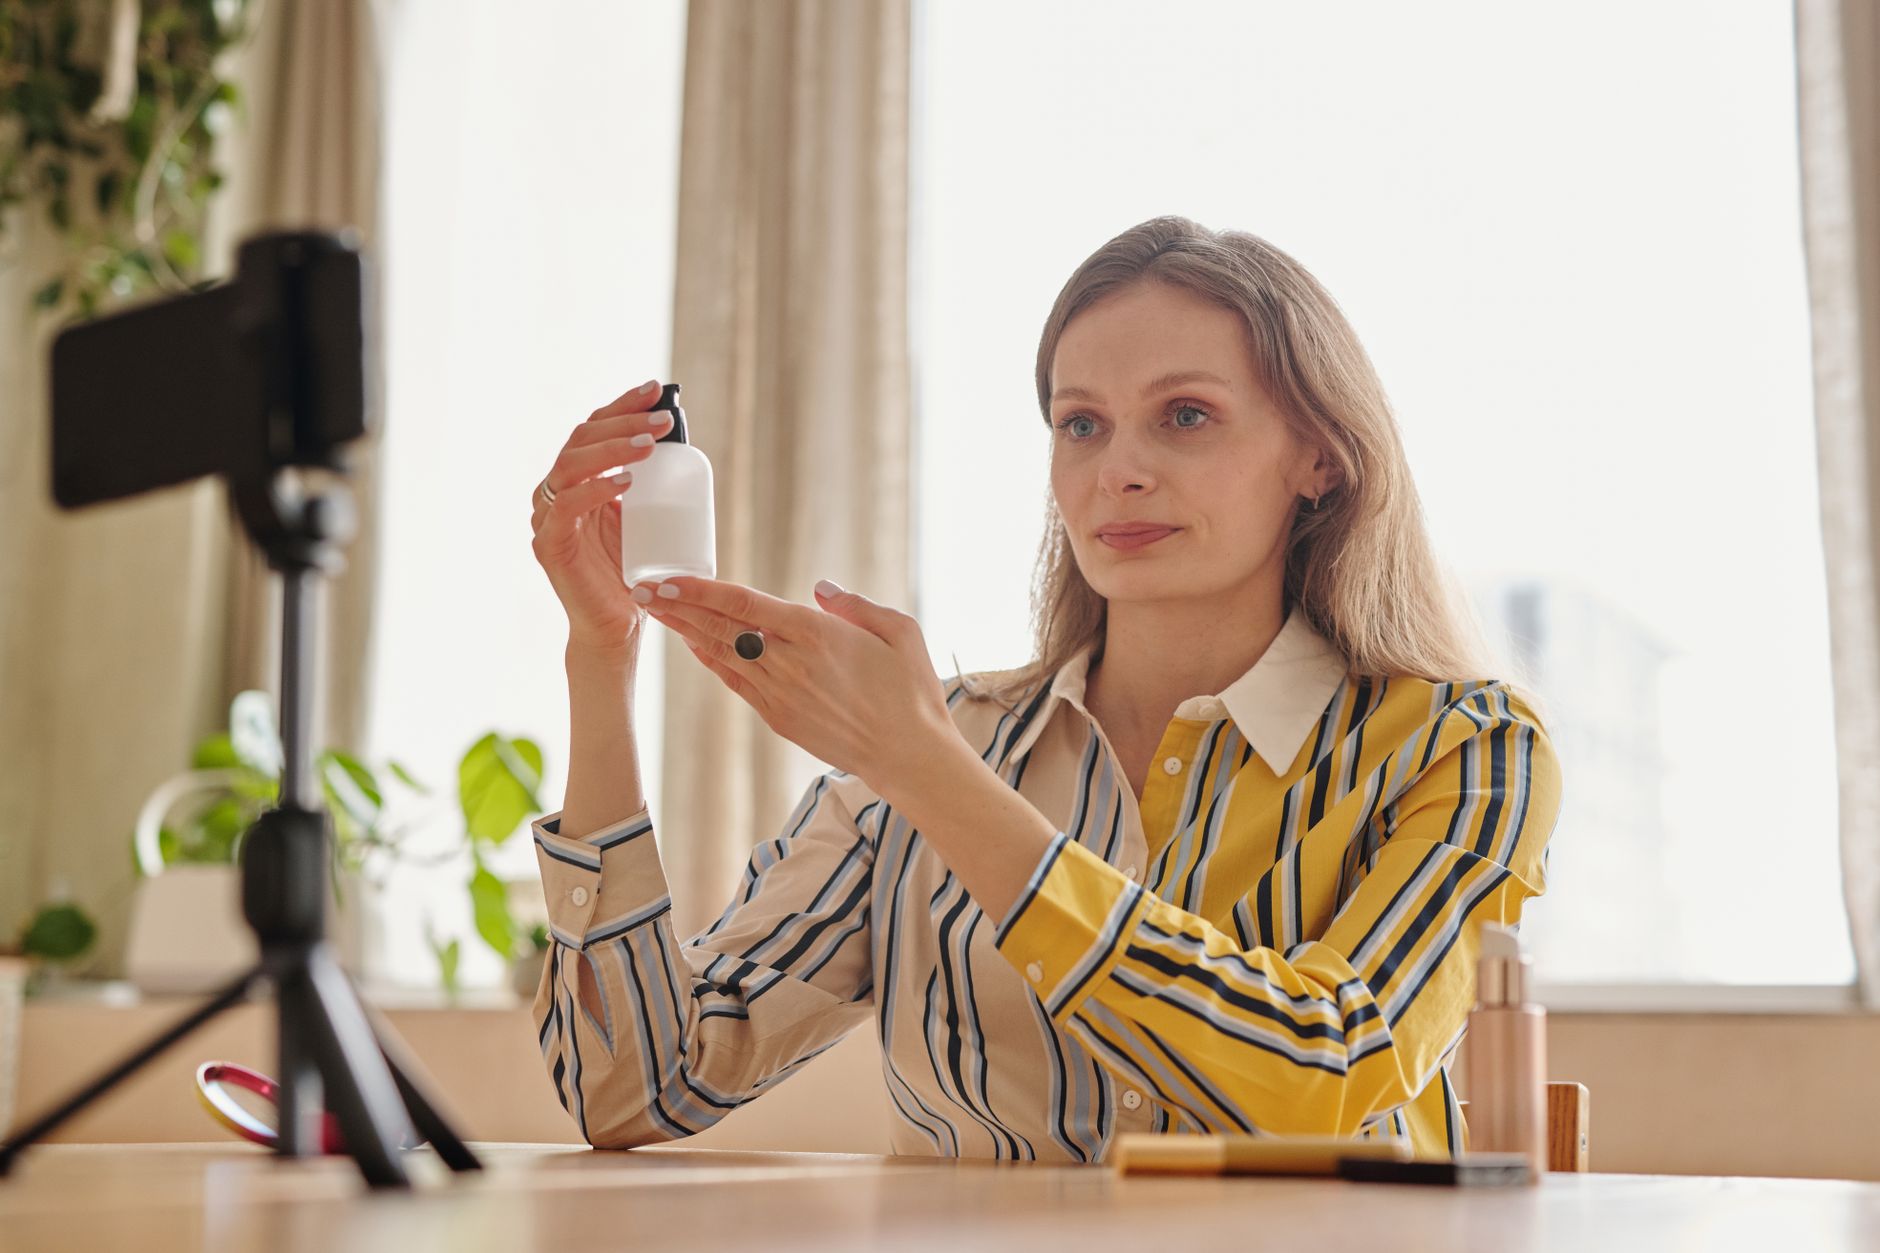
- Personaggi e autenticità: Introduci una donna come punto focale nelle conversazioni; mantieni il dialogo naturale; mostra micro-reazioni autentiche e linguaggio del corpo per aumentare il realismo; utilizza oggetti di scena come occhiali per rafforzare la credibilità.
- Testo e sovrapposizioni: pianifica contenuti su schermo che supportino ma non sopraffanno. Utilizza un testo dei sottotitoli che si allinei con l'audio; limitati a 2 righe per fotogramma e mantieni la lunghezza della riga sotto le 9 parole per riga; assicura un contrasto leggibile.
- Prototipo e sperimenta: crea un pilota di 30-60 secondi. Sperimenta con il tempo, gli scambi di ambiente e i paesaggi sonori. Ripeti in base al feedback per perfezionare i tempi e la durata esatta di ogni inquadratura.
Consigli pratici
- Mantieni i sottotitoli concisi; limitati a 2 righe per fotogramma con 6-9 parole per riga per la leggibilità.
- Mantieni la coerenza dei contenuti: stessi caratteri, colori e posizioni dei sottotitoli in tutto lo storyboard.
- Documenta i punti di controllo in cui i segnali audio determinano le transizioni delle inquadrature per mantenere preciso il flusso di lavoro.
- Fonda le immagini su dettagli del mondo reale: ambienti quotidiani, oggetti di scena riconoscibili e illuminazione naturale.
- Utilizza transizioni fluide: dissolvenze delicate o cross-dissolve per preservare il flusso narrativo.
- Sfrutta le conversazioni: una donna principale con un paio di voci di supporto per autenticità e intelligenza negli scambi.
- Preparati per possibili modifiche: aggiungi annotazioni a inquadrature o didascalie alternative per testare risultati diversi.
Prepara e Importa Audio Pulito per una Sincronia Precisa con le Immagini
Registra con un registratore audio dedicato a 24 bit/48 kHz, posiziona un microfono ravvicinato sul soggetto e cattura un clap di legno con un ciak per creare un segnale di sincronizzazione preciso; esporta come WAV e importa in Veo 3 per iniziare.
Passaggi di base: applica un filtro passa-alto a 20 Hz, elimina il ronzio a 50/60 Hz se necessario, rimuovi l'offset CC ed esegui una leggera riduzione del rumore sul tono della stanza; mantieni i picchi intorno a -6 dB per evitare il clipping, quindi normalizza a -3 dB dopo le modifiche; esporta come WAV a 24 bit/48 kHz. Se in seguito acquisisci in licenza audio esterno, fai attenzione alle tariffe. Nota: non è necessaria un'attrezzatura costosa; un percorso del segnale pulito e una buona tecnica producono risultati puliti. Conserva una copia della ripresa grezza qui.
Importa in Veo 3 creando una traccia audio dedicata, imposta la frequenza di campionamento del progetto a 48 kHz e importa il WAV come file a 24 bit. Abilita lo snapping dei beat e i marcatori di clap; allinea l'hit del clap con il primo fotogramma del taglio visivo in cui l'audio incontra le immagini, e se il tuo filmato gira a 23,976 fps, imposta di conseguenza l'offset.
Durante l'editing, verifica l'allineamento su diversi dispositivi di riproduzione, poiché la latenza varia in base alle cuffie e agli altoparlanti; regola qualsiasi deriva spostando la traccia audio con piccoli incrementi di fotogrammi e riverificando la timeline finché le immagini non si incontrano in modo pulito. Questa disciplina preserva le immagini e aumenta l'impatto.
Considerazioni pratiche: sperimenta con modelli e transizioni per mantenere il ritmo naturale; utilizza la dinamica per controllare l'emozione senza sopraffare il dialogo; i thread di Reddit spesso condividono suggerimenti rapidi per dissolvenze incrociate e ambienti; una nota di John, un filmmaker, mostra che una sincronizzazione precisa rende una scena drammatica e autentica; la fisica della latenza significa che potresti aver bisogno di alcuni fotogrammi di offset e una messa a punto fine utilizzando l'automazione per mantenere la coesione.
Sincronizza Dialoghi, Musica ed Effetti Sonori con i Beat Visivi
Utilizza una mappa dei beat per allineare le azioni sullo schermo con i segnali audio. Crea tre corsie audio: dialogo, colonna sonora ed effetti. Segna i momenti sulla timeline in cui un oratore pronuncia delle battute, un hit musicale va a segno o un segnale sonoro si attiva. Allinea i tempi del dialogo con i movimenti delle labbra e con i tagli, offrendo un ritmo coerente in tutta la scena.
Scrivi per le situazioni: mantieni gli scambi compatti e legati all'inquadratura; lascia che ogni riga finisca vicino a un taglio in modo che l'immagine si senta legata all'audio. Per i momenti d'azione, posiziona righe brevi nelle svolte visive; per le inquadrature più calme, lascia respirare la colonna sonora e metti in pausa brevemente il discorso. Gli elementi visivi guidano i tempi e i cambiamenti di illuminazione dell'inquadratura forniscono un sottile elemento visivo al beat.
Sfrutta un modello linguistico per elaborare opzioni per i momenti; alimentalo con brevi note di scena e elementi visivi per testare. Costruisci un framework in cui ogni sezione del video ha un blocco di dialogo compatto e un segnale audio corrispondente. Questa iterazione veloce ti aiuta a confrontare rapidamente le opzioni e a scegliere una sequenza forte.
Tecniche per il bilanciamento audio: applica la compressione sidechain per ridurre la colonna sonora sotto il dialogo; automatizza i livelli per evitare il masking; posiziona gli effetti sonori su una traccia separata e aggiungi toni ambientali per abbinarli alla scena. Un solido piano di automazione mantiene chiari la colonna sonora e le parole.
Esempio: una scena naturale all'aperto si sposta su una vetrina di prodotti su una passerella; la parte parlata va a segno con il taglio; la colonna sonora va a segno sul beat successivo dopo la transizione; un leggero tono ambientale del vento si allinea con il cambiamento; una luce soffusa segna il momento.
Piano di esportazione: esegui il rendering con timecode per modifiche future; mantieni il framework semplice per le revisioni; archivia i metadati inclusi tag e note di scena; questo rende la produzione scalabile e ripetibile.
Applica una Colorazione Espressiva e una Texture Sonora per Trasmettere l'Atmosfera
Inizia con una gradazione di base che preservi i toni della pelle e il colore naturale. Utilizza 2-3 curve o ruote cromatiche per impostare ombre, mezzitoni, luci; mantieni una saturazione coerente in tutta la sequenza. Questo approccio, che offre equilibrio tra le inquadrature, rivela chiaramente l'intento del regista e supporta la cinematografia in tutta la location, garantendo coerenza. Il processo include controlli dettagliati per verificare i toni della pelle e il colore tra le inquadrature, e la tecnologia alla base di un flusso di lavoro intelligente mantiene la gradazione accessibile a educatori, artisti e hobbisti.
Passaggi pratici di color grading
Costruisci l'aspetto come mattoncini Lego: una solida gradazione di base, quindi un livello di atmosfera che viaggia con le tue scene. Inizia con una LUT neutra o curve manuali; regola le ombre per i dettagli (alza del 5-12%), le luci per evitare il clipping (riduci di 2-3 punti) e imposta un'atmosfera a due toni (ombre color teal, luci color ambra) o un blu desaturato per l'introspezione. Crea livelli di atmosfera su un nodo separato per controllare la forza senza alterare la gradazione di base. Questo approccio completo aiuta a mantenere la coerenza tra i cambi di location ed è adatto ai budget dei prezzi, poiché molti editor includono pacchetti LUT a prezzi accessibili o strumenti integrati. Per l'allineamento cinematografico, documenta l'aspetto in un brief di una pagina che registi ed educatori possono seguire; Bryant e altri educatori enfatizzano la ripetibilità in modo che gli artisti possano riprodurla su qualsiasi scena. Considera elementi visivi di illuminazione pratica come il bagliore di una lampada frontale per informare le decisioni sul colore nelle riprese notturne.
Creazione di una texture sonora per supportare l'atmosfera
Blocca prima la chiarezza del dialogo, quindi crea una texture sonora con rumori e ambiente intenzionali. Utilizza un compressore leggero (2:1 o 3:1) con attacco 20-40 ms e rilascio 100-200 ms per controllare la dinamica senza suonare robotico. Sovrapponi sottili rumori ambientali - pioggia, traffico distante, tono della stanza - per arricchire la scena e prevenire la piattezza. Aggiungi un drone delicato o un layer a bassa frequenza a basso livello per aumentare il peso emotivo, quindi togli le alte frequenze per ridurre il sibilo. Mantieni l'equilibrio tra suono e immagine in modo che l'atmosfera sia integrata e non rumorosa; questo approccio rivela il ritmo della scena e supporta l'intento del regista.
Finalizza le Impostazioni di Esportazione e Verifica l'Allineamento Audio-Video
Esporta a 1080p (1920x1080), 30 fps, H.264, VBR a due passaggi con target 14 Mbps e max 18 Mbps; audio AAC-LC, 192 kbps, 48 kHz, stereo; intervallo fotogrammi chiave 60 fotogrammi; spazio colore BT.709; HDR spento. Questa ricetta trasforma la tua timeline grezza in un master lucido che soddisfa le specifiche di consegna e preserva il carattere, le texture e la fedeltà del movimento. Se hai segmenti in stop-motion, mantieni stabile la frequenza dei fotogrammi ed evita fotogrammi persi; questo assicura che le immagini rimangano coerenti tra le scene e ogni texture si legga chiaramente sotto l'illuminazione che crea un'atmosfera dai toni rosa. Imposta anche l'audio in modo che sia nitido per supportare i voiceover e gli elementi musicali, perché la dinamica della traccia influenza il modo in cui il pubblico percepisce l'ambiente e i suoni della location.
Per verificare l'allineamento audio-video, riapri il file renderizzato nel tuo editor e abilita la forma d'onda audio. Salta attraverso molti beat ed elementi visivi: voiceover, musica e azioni sullo schermo. Conferma la sincronizzazione labiale e i tempi con le immagini; cerca eco o deriva e applica un piccolo offset se necessario (inizia con ±50 ms e verifica gli incrementi). Per le scene basate sulla location, controlla che le texture ambientali e i suoni dell'attrezzatura rimangano ancorati all'azione. Verifica tra i dispositivi eseguendo il rendering di un breve loop e assicurandoti che la coerenza di immagini e audio soddisfi le aspettative del mercato.
Quindi, metti a punto per mantenere la coerenza tra le scene: regola la velocità o trasforma dove il movimento sembra spento, oppure imita i tempi per allinearli al ritmo. Esegui un passaggio finale utilizzando il rumore rosa per bilanciare la dinamica, controlla che l'ambiente e i voiceover si trovino correttamente nel mix e conferma la capacità di fornire risultati affidabili con molte attrezzature nel tuo flusso di lavoro. Quando finalizzi, le tue immagini e l'audio devono essere allineati, i dettagli della texture preservati e il file pronto per la distribuzione.
Ready to leverage AI for your business?
Book a free strategy call — no strings attached.


