クリックしたくなるYouTubeサムネイルの作り方 - CTRを向上させるヒント


ビデオの核心的なアイデアを直接伝える、太字で高コントラストのフレームから始めましょう。 photoshop を使用して、クリーンで散らからない画像を作成し、単一の主題を強調し、オーバーレイテキストを1–2語に抑えます。感情を伝える顔や強い表情を含め、1280x720と320x180の両方で構成が機能するようにします。最初の印象は色コントラストとシャープなエッジに依存していることに気づくでしょう。
エネルギーを伝えるカラーパレットを選択:控えめな背景に対する鮮やかな前景がインパクトを高めます。今日画像をアップロードする際は、典型的なモバイルネットワークで1.5秒以内にレンダリングされるように確保;1秒の遅延でも初期ドロップオフでパーセントの損失になります。3つのバリエーションを作成し、どの組み合わせが最も効果的に注意を引くかを特定します。
エッジをクリーンに保ち;散らかったゾーンを特定します。散らかったボーダーや重なるテキストは主題を不明瞭にします。ズームを使用して焦点の詳細を強調;テキストが小さいサイズで読みやすいように確保;一目で読者が解析できる2–3語のオーバーレイを目指します。このアプローチは一目で核心的な約束を伝えるのに役立ちます。
構成ルールを活用:三人称の法則を使用して主主題を左側に配置するか、目を導く右向きの傾きを使用します。手 のショットやクローズアップは親密に感じられます;コンテンツを示唆する瞬間にズームインします。核心メッセージを伝える鍵の詳細をキャプチャします。明確さを高める短い1–2語のフレーズを含め、話されたメッセージを補完するものを。
クリエイター向けに、コーナーにロゴを含め、オーバーレイをテストします。類似のオーディエンスを持つyoutubersは、製品ショットやリアクションフェイスを追加すると12–35パーセントの向上を見ることが多いです。太字で高コントラストの色合いからバッテリーのようなエネルギーが生まれます;paddy トーン(緑色)に着想を得たパレットは新鮮で地に足がついた感じになります。シーンを最小限に保つことで、小さな画面の視聴者が一目で核心メッセージを特定できます。
アップロード全体でパフォーマンスを追跡し、迅速に反復:3つのバリエーションのメトリクスを比較し、トップパフォーマーを将来のバッチで再利用し、各リリース後のエンゲージメントの変化をログします。今日、小さな視覚的なシフトがチャンネルに大きなインパクトをもたらす方法を見ることになります–繰り返し可能でデータ駆動型で、youtubersにとってシンプルに実装可能です。
YouTubeのためのサムネイル戦略:CTR重視のデザインとShortsのカスタマイズ
1秒あれば、モバイル画面での読みやすさを高めるために左上ゾーンに大きく太字のテキストを選択しましょう。 この戦略は視聴者の摩擦を減らし、注意が限定的な場所でインパクトを高めます。Shortsの場合、フレームを散らからず単一の焦点点に保ち、即座に注意を引き興奮を呼び起こすようにし、数語だけで十分です。
ある研究によると、高コントラストの色とクローズアップの顔や明確なアイコンがエンゲージメントを向上させます。最近の研究では、画面サイズ全体でパフォーマンスする読みやすい2–3語のテキストブロックが示されています。画面サイズが小さいものから大きいものまで読みやすい2–3語のテキストブロックを使用;デザインがクリーンな場合、クリックのパーセント向上は一般的です。これは小さな画面での高速な理解と、読者のための少ない distractions を意味します。これがオーディエンスにとって意味するのは、より明確なメッセージングです。選択する際は、迅速に読めるオプションを優先します。
Shortsデザインループ: タイトなクロップ、太字のアウトライン、konmariスタイルのシンプルさで縦9:16レイアウトを作成し、protunesワークフローとデジタルデバイス全体でクリーンに見えるようにします。このループは再視聴を奨励し、視聴者が長く滞在するようにし、高い保持率とサブスクライバー成長につながります。
ワークフローチップ:konmariアプローチで計画–簡素化、分離し、価値を追加するものだけを保持します。大きな画面、モバイル画面、中間画面のためのサイズを保存;少なくとも3つのバリエーションをテストしインパクトを測定;サムネイル作成に費やす時間は、グラブと読み取りを駆動するものを学ぶにつれて短くなります。テキストが一目で読みやすいことと、画像が散らかりに頼らずトピックを伝えることを確保します。サムネイルは理解しやすく、視聴者を次のステップに導くように設計されるべきで、一時的な視線だけではありません。
測定が重要:各リリース後に視聴者パーセント、サブスクライバー成長、読み取り率を追跡します。高いエンゲージメントにつながる選択を見かけたら、二倍に;それは推測を減らし、全体的なインパクトを高めます。目標は少ない労力で大きなリーチで、明確さがすべてのカバーに使用されるデジタルプラットフォームのベースラインになることです。これは繰り返し可能で、オーディエンスの行動が変化するにつれて適応可能で、実験の余地を残します。
品質レンダリングのための最適なサムネイル寸法、フォーマット、ファイルサイズを選択
まず、1280 x 720ピクセル(16:9)のキャンバスを設定し、ファイルサイズを2 MB以内に保ち;JPGまたはPNGとしてsRGBカラープロファイルでエクスポート;この簡単なベースラインはデバイス全体でシャープなエッジと高速アップロードを確保し、必要に応じて調整します。
- 寸法とレイアウト:1280x720 px、16:9;主主題を前面エリアに配置;小さなフレームでぼやける混雑した背景を避け;読みやすさを確保するために320 px幅に縮小して古い画面をテスト;安全ゾーン内に重要な詳細を保持;視聴者が最初に見るものが明確になる特定の焦点点に集中します。
- フォーマットと色:写真にはJPGを使用;グラフィックスやテキストオーバーレイにはPNGを使用;一貫した色のためにsRGBを選択;画像に細い線やシャープな文字が含まれる場合、PNGはそれらを強調します;血のような赤いアクセントはシーンを圧倒せずに鍵の要素を強調できます;叫ばずに注意を引くシンプルな色コントラストのダンスを目指します。
- ファイルサイズとエクスポート:ファイルサイズを2 MB以内に保ち;高速アップロードと高速レンダリングのために1–1.5 MBを目指すことを提案;写真の場合、JPGで品質85–92に圧縮;PNGの場合、サイズを減らすために大きなパレット深度を避け;サイズを上げるレイヤーやエフェクトの数を制限;実際のレンダリングをシャープに保つために必須の要素だけを使用し、それは人々の体験を改善するために重要です。
- 品質チェックとテスト:クイックチェックのバッテリーを実行(明るさ、コントラスト、エッジのシャープネス);前面を向いた表情が興奮と感情を伝えることを確保;顔と目が注意を引くことを検証;モバイル、タブレット、デスクトップでプレビューしてスケールダウン時に主題が読みやすいことを確認;これは異なる画面でどのバージョンが最適にパフォーマンスするかを決定し、人々の興味をキャプチャします。
- バージョン管理と反復:2–4バージョンを生成してテスト;古いバージョンを参照として残すことで洗練を助け;異なる画面でどのバリエーションが最適にパフォーマンスするかを決定し、より注目に値するものを選択;アップロードを遅らせる distractions を避け、最もインパクトのある要素だけを使用;結果は人々が止まって微笑み、コンテンツにエンゲージするようにするべきです。
クイックリードのための太字、高コントラストの色と明確なタイポグラフィを使用
最大コントラストの太字のカラーセットを1つ選び、ヘッドラインをクリーンでソリッドなバックドロップに配置;これにより、電話でスキャンする人が2秒以内にメッセージを読めます。
白 on ネイビー(#0A1E3D)やネオンヤロー on ブラック(#000000)などの特定のコンボを選択;少なくとも7:1のコントラスト比を目指します。実践では、これにより今日の小さな画面で読みやすさが20-40パーセント向上します。Source Sans ProのようなAdobeフォントを使用してラインをシャープに保ち、ヘッドラインを48-72 pxで1.0–1.25の行高に保ちます。これにより構成が効率的になり、余分な調整時間を減らします。
タイポグラフィを明確に保つ:ヘッドラインのための単一のサンセリフウェイト(700–800)と軽いサブヘッド(300–400);小さなサイズでぼやけるスクリプトやコンデンスドフェイスを避けます。この一貫性は画像を素早く見る人を助け、結果はスクロールフィードで目立ちます。高コントラストの太字グラフィックスとシンプルなストック画像を使用;画像を使用する場合、クリーンな主題と十分なネガティブスペースを優先してテキストを読みやすく保ちます。重要なのは読みやすさで、あなたが見るものがオーディエンスが覚えるものです。
ビジュアルは複雑であってはなりません:太字のカラー塊、クリーンなエッジ、最小限のテクスチャ。paddy トーンと過度に暖かい背景は読みやすさを濁らせます;血のような赤いオーバーレイでも明確さを減らす可能性があるので避けます。このアプローチはレートで目立つことを奨励し、サムネイルを一目で処理しやすくします。
今日、クイックワークフローを適用:2つのカラーセット、2つのフォントサイズ、2つの配置をテスト;電話画面での読み取り速度と理解を測定し、調整します。プロセスは無料で、ほとんどのエディタで直接試すのに数分だけで済みます。より多くの練習で、特定のオーディエンス向けに改善し、カジュアル視聴者をサブスクライバーに変える可能性があります。あなたが見るものが、ギミックを感じさせずにクリックをトリガーする持続的な印象に変わります。
| カラーセット | 前景 / 背景 | コントラスト比 | フォント | ノート |
|---|---|---|---|---|
| 白 on ネイビー | #FFFFFF on #0A1E3D | ~7:1 | Source Sans Pro 700 | ヘッドラインに最適;電話で広く読みやすい |
| ネオンヤロー on ブラック | #FFFF00 on #000000 | ~12:1 | Adobe Sans | 高い視認性;眩しさを避けるために控えめに使用 |
| Paddy グリーン on チャコール | #A7D27A on #2B2B2B | ~8:1 | Inter or Source Sans Pro 700 | エネルギッシュ;健康/エコトピックに良い |
| ブルー on ホワイト | #1E4D99 on #FFFFFF | ~8:1 | Source Sans Pro 600 | 落ち着きがあり多用途;グラフィックスに適する |
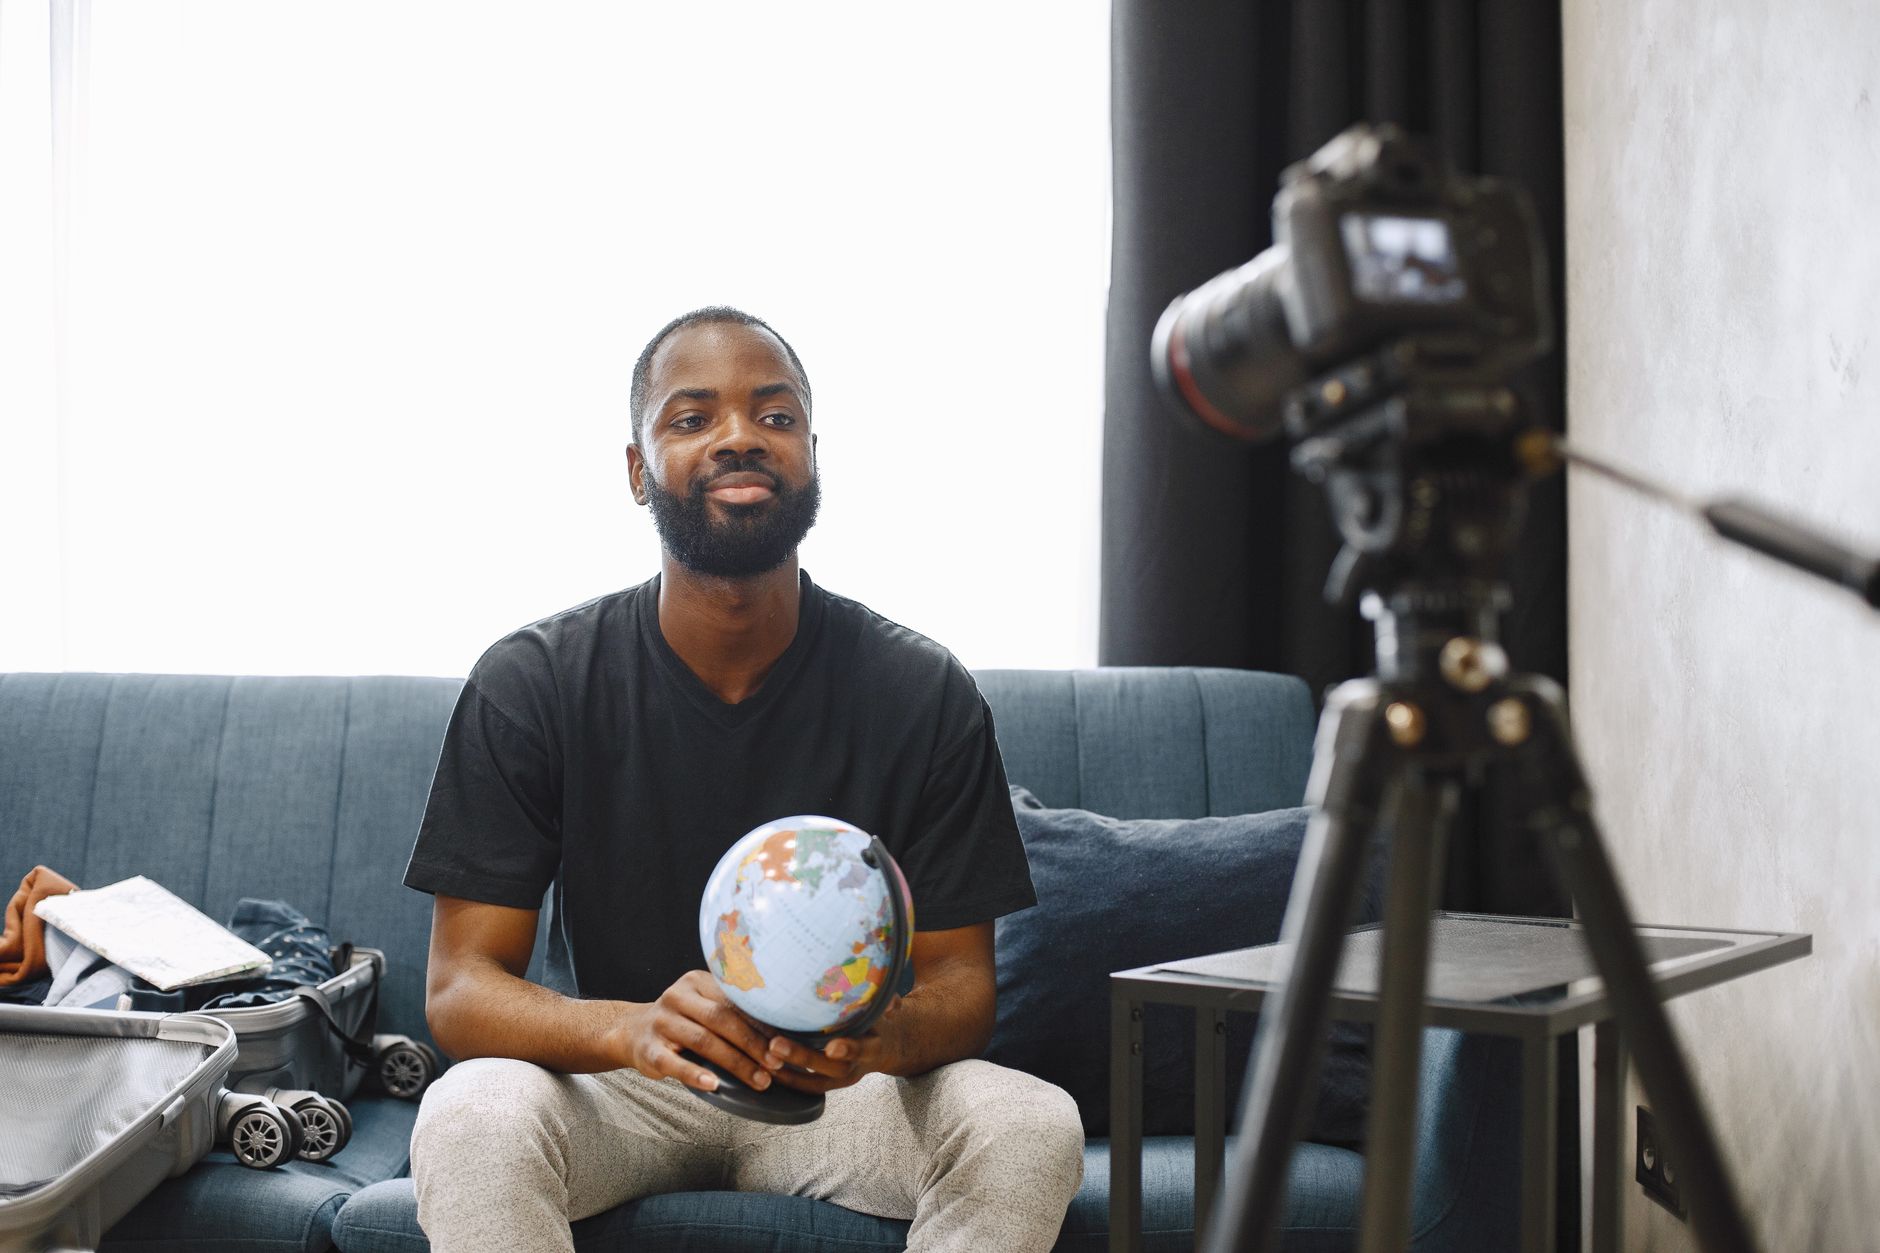
一目で強い焦点の瞬間をキャプチャ:顔、感情、ストーリー価値
ピークの瞬間に凍りついた単一の表現豊かな顔から始めましょう。目と口が明確に感情を伝えると、視聴者は一目でストーリーを認識します。顔がフレームの約3分の2を埋めるようにタイトにクロップし、感情に焦点を保つ小さなマージンを残します。
three-zone tableのようなレイアウトを採用:左に顔を表示、中間に小さな手がかり(矢印)を配置してアクションを指し、右に最小限のブランディングバッジをホストします。このセットアップは知覚を導き、実際の瞬間を目立たせます。矢印 は 小さい 詳細が消える画面での認識を助け、ブランディングは小さなスケールで読みやすいままです。
一貫性を確保するために、単一の撮影で 3 つのテストで焦点の瞬間を 複製 ;異なる照明や表情を試します。各バリエーションをモバイル画面で数分比較します。時にはわずかな 手 のジェスチャーや背景の特徴がコンテキストを追加;簡単なショットをより強いストーリーに変える短いジェスチャーを特徴づけます。youtubers にとって、目標は高価な制作を費やさずに 視聴者 の好奇心を高いエンゲージメントに変えることです。
コンパクトな formula を使用:キャプチャ、クロップ、オーバーレイ。 genuine な瞬間をキャプチャ;感情的な手がかりを強調するためにクロップ;核心メッセージを強調する小さなクリック可能なバッジや最小限のテキストをオーバーレイします。目や口を覆わない;画像が呼吸できるようにして 内容 が電話で明確に読めるようにします。鍵の感情を最初に 強調 、次にコンテキストを秒単位で、分数単位で。
3つの実践的な tip :速いシャッターで表情をロックするために撮影;異なる背景でテスト;ブランディングが画面全体で遍在するように構成をシンプルに保ちます。焦点の瞬間が紛れもない場合に高い認識に気づくでしょう;フレームを余分な 内容 や矢印で混雑させない;ブランディングに合わせつつ、3つのレイアウト全体で強いエンゲージングなカバーを 作成 できます。このアプローチは youtubers が必要以上に費やさずに一貫したルックを維持するのを助けます。
画像を補完する短いテキストオーバーレイを組み込む(3–5語)
デバイス全体でテキストを明確に読みやすくするために、暗いバックドロップ上の高コントラストの白で3–5語のオーバーレイを使用します。デザインは焦点の主題を不明瞭にせず画像と協力し、チャンネルガイドラインに沿うべきでトーンをプロフェッショナルに保ちます。
シーンを補完し価値を示唆するがノイズではない3–5語のフレーズを選択します。例:'最も見る価値あり'、'あなたが学ぶこと'、または'See what happens'。これらのオーバーレイはクリックされた注意を駆動し、ショットがカジュアルかスタジオ品質かに関わらずオン画面コンテンツに沿います。実践的に、シンプルに保ち、ぼやける長い声明を避けます。
デザイン全体で一貫性を維持:太字のサンセリフを使用、高コントラストのテキストを確保、重要な詳細を不明瞭にしない場所にオーバーレイを配置します。画像がぼやけている場合、読みやすさを保つためにテキストの背後に微妙な影を追加します。シンプルなA/Bテストを通じて、クリックとパーセント変化を分析してインパクトを測定し、モバイル画面の60–80パーセントで読みやすさを目指します。多様なシーンで練習;mrbeastスタイルのチャンネルは簡潔に保ち混雑したフィードに対して目立ち、視聴時間を駆動することでしばしば勝ちます。
作業を効率化するためのクイックチェックリストを含め:1) 3–5語のフレーズ;2) 高コントラストの色;3) テキストが明確に読みやすい;4) 背景に対するコントラストを維持;5) 分析からの証拠を提供;6) ストーリーを強化しない限り血のイメージを避けます。
YouTube Shortsにカスタムサムネイルを追加できますか?適格性、手順、ヒント
直接の回答:ほとんどの場合、Shortsに別個のユーザーアップロードカバーサーフェスは利用できません。サービスは通常クリップからのフレームをプレビューとして使用します。インパクトに影響を与えるために、最初の画像が明確で魅力的な開き瞬間を最適化します。
適格性:Shortsに専用カバーをアップロードするための普遍的なコントロールはありません。一部のクリエイターはStudioで実験的なトグルを見ることがありますが、標準フローはビデオ内の開きに依存します。明確でブランディングされたルックが必要なら、カスタムカバー付きの長いバージョンを公開し、Shortsからそれを参照して視聴者をニッチのエバーグリーンコンテンツに導きます。
- Studioを開き、ShortのDetailsパネルを検査;カバーオプションが存在する場合、モバイル視聴向けにサイズ調整された9:16画像をアップロードします。オプションがない場合、ビデオ内フレーム最適化で進めます。
- 最初の1–2秒を視覚的に強くする:人間の顔、明確なアクション、高コントラスト、最小限の前景散らかりは、フレームがクロップされても認識を改善します。
- オーバーレイとテキストを最小限で読みやすく保つ;太字の色とシンプルなタイポグラフィを使用し、どこでもスケールダウン時にペイオフが読みやすいままにします。
- 開きショットをタイトルとトピックに合わせ、疑念を減らし視聴者期待を揃えます;これによりアルゴリズムが関連性を決定するために依存するシグナルを助けます。
- 1週間で2つか3つの開きバリエーションをテストし、どのバージョンがより多くのクリックビューを生んだかを比較;ニッチ全体でパフォーマンスを調整するための賢い時間投資です。
インパクトを最大化するための戦略:
- 初期フレームを一目で解釈しやすくすることで大きな視認性を目指します;強い最初の印象は誰かがクリックして長く視聴するチャンスを高めます。
- アルゴリズムのシグナルを理解:明確な早期エンゲージメント、クイック完了率、肯定的インタラクションが将来の推奨をブーストします。
- 決定を導くために研究と実世界チェックを使用;結果が混在する場合、単一のパスにコミットする前に異なるアプローチを試しインパクトを測定します。
- クリップ全体でブランディングを一貫に:一貫したカラーパレット、タイポグラフィ、ロゴキューが公開するすべての場所で認識を改善します。
- 2つか3つのテストバリエーションに時間を費やしパフォーマンスを監視;開きフレームの小さな変化がクリックスルーレートに驚くほど大きなインパクトを与える可能性があります。
- エバーグリーントピックの場合、耐久的な価値をからかうカバー風フレームをデザイン;これにより視聴者を驚かせ、時間とともにクリックを吸引します。
- シャープなパフォーマンスのために、特定のニッチに語りかけるコンテンツを作成;ターゲットフレームは広範で一般的なビジュアルより優位にパフォーマンスします。
- 最適なアプローチに確信がない場合、この場合、人間要素と明確なペイオフを強調する短いシーケンスを生成して練習し、オーディエンスと地域全体で結果を比較します。
📚 ビデオ作成に関するさらに詳しい情報
Ready to leverage AI for your business?
Book a free strategy call — no strings attached.