YouTube動画の作り方 - 7つの必須ステップ - 知っておくべきすべて

計画をしっかり:短いスクリプトと明確なフックを数分以内に書き、強いエンゲージメントのための5〜8分の長さを目標に。 1つのアイデアから始め、最初の数秒で視聴者を引きつける直接的なペイオフを。
機材が重要:組み込みマイクから始め、実現可能性を証明し、次に外部USBマイクにアップグレードしてクリーンな声を。可能なら、複数のマイクを追加して声と環境音を明確にキャプチャ。それらのセットアップはほとんどの部屋と予算でうまく機能します。
クリーンな背景を設定:プレーンな壁や川辺のシーンで自然で興味深いルックに。照明は均等に:キー光を45度に置き、反対側にリフレクターを使って影を柔らかくし、カメラ上で顔がよく照明されるように。
YouTube対応の設定で録画:16:9、1920x1080、30 fps、MP4。撮影後、ペースのために編集:長いポーズを削除、ポイントを説明するための追加のBロールを追加、シャープなトランジションを使って勢いを維持。プロセスは1日で簡単に完了できます。
あなたの動画の種類を定義し、視聴者に合った戦略に合わせる。特に魅力的なフォーマットは魅力的なストーリーテリングと実践的なステップを組み合わせ。一律の方法はないので、選んであなたのニッチに合う複数のトピックを選び、鮮度を保つためにローテーション。
信頼できるスケジュールで公開:週1回のペースを目指し、視聴分数、クリック率、コメントを追跡。データを活用して次の動画を自分で調整し、チャンネルの勢いを維持・向上。
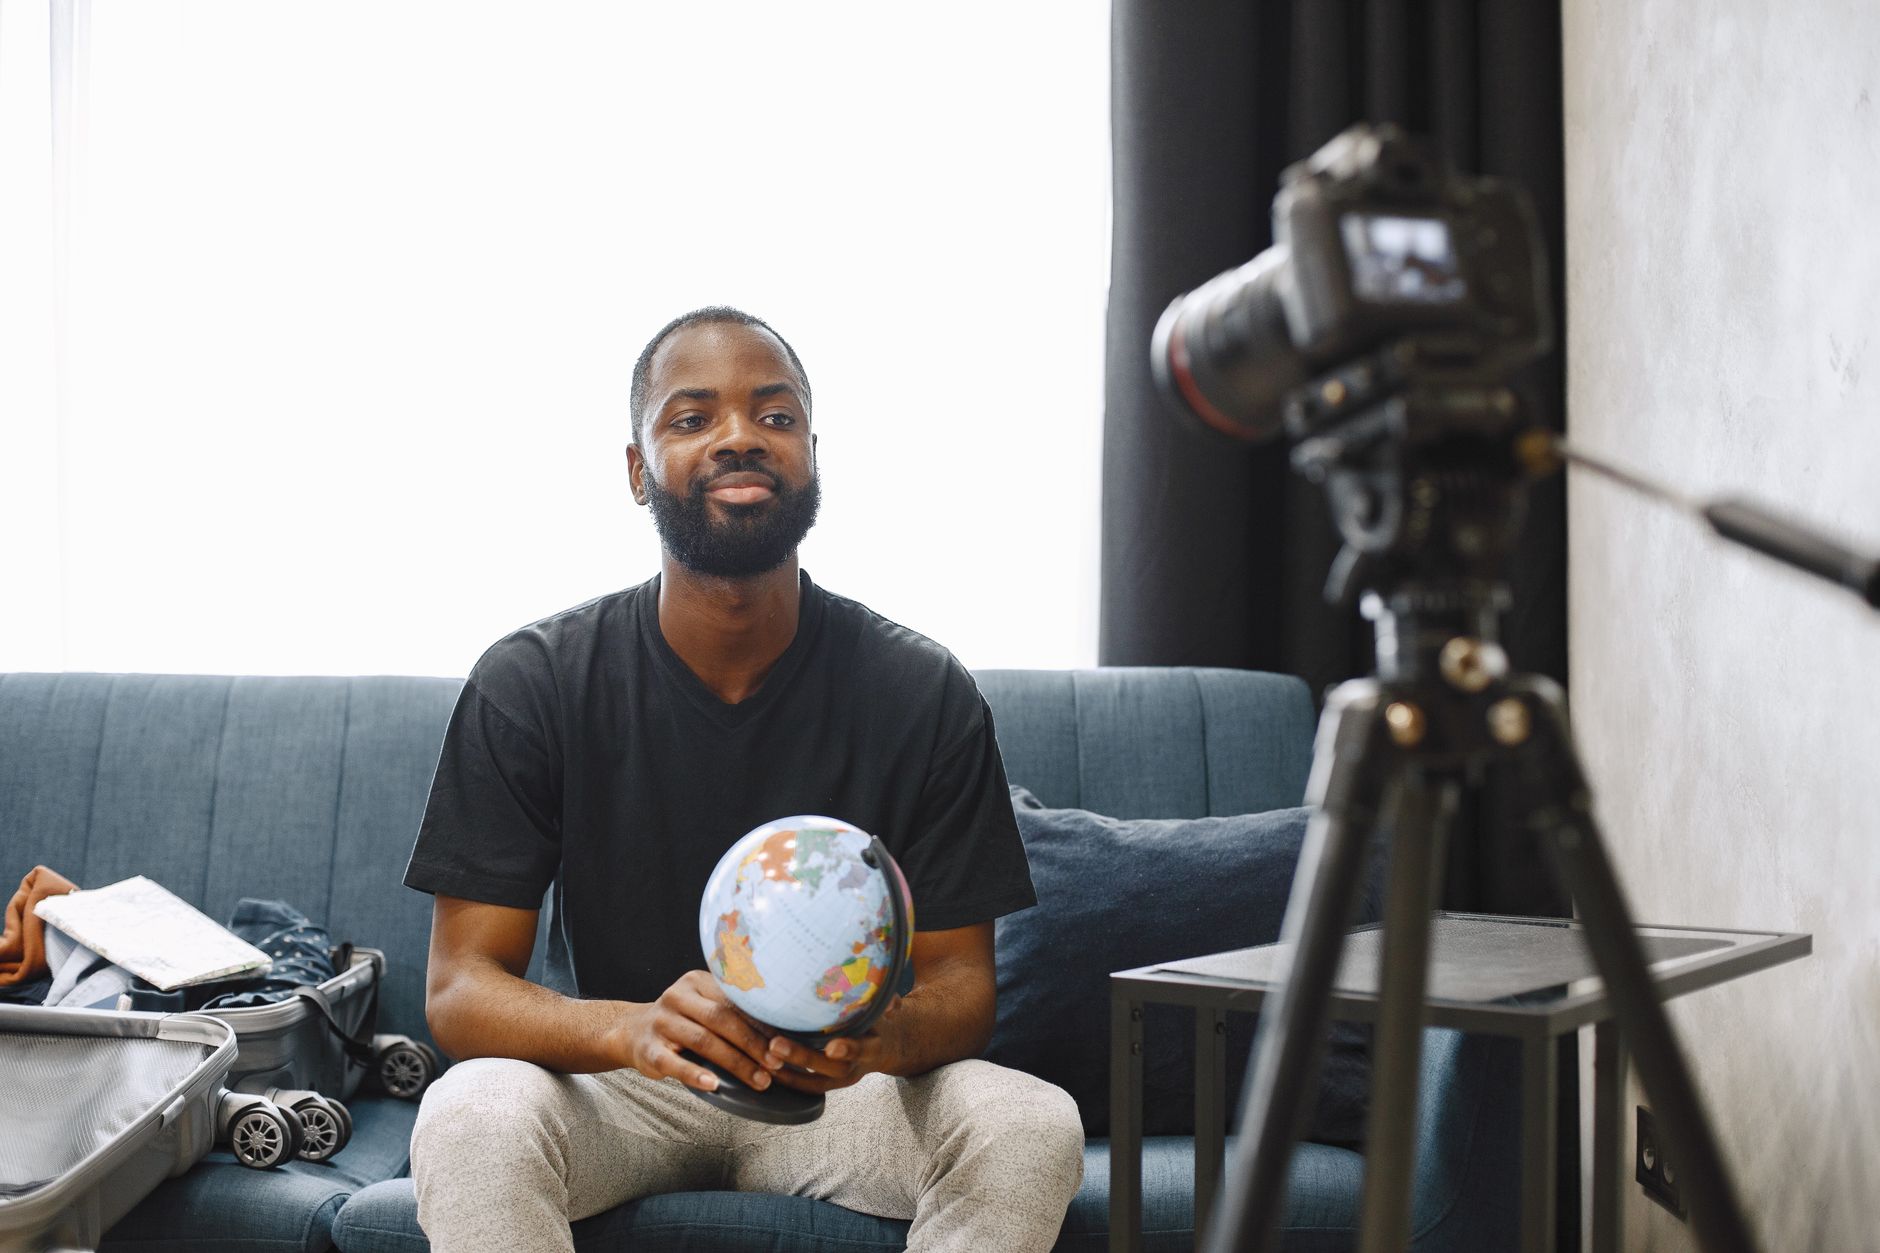
ステップ4:撮影の準備をし、背景を整える
背景、照明源、安定化をセットアップしてから、ボタンを押して撮影を開始。
あなたのトーンに合った背景を選び、 distractionsを最小限に。ソリッドカラーや微妙なテクスチャがメッセージのためのクリーンなキャンバスを作成。
照明を配置して深みを生む:2つの源を45度に置き、バックライトを追加して背景から分離。ソフトで均等なルックを目指し、スタイルをサポートし色を一貫させる。床にテープでマークし、被写体をその線に置いて距離を予測可能に。
安定化が重要:カメラを頑丈な三脚やジンバルにマウントして移動ショットに。スペースがない場合、ソフトウェア内のソフトウェア安定化を有効にし、すぐにテスト。
カメラと被写体の間に5フィートのバッファを設定し、後ろにも同様の距離を保って反射を減らす。ショットの種類(クローズアップ、ミディアム、ワイド)でフレームし、背景がトピックについてのあなたの意見をサポートする方法を考慮。
ケーブルと小道具を整理;整頓された表面が撮影を速め、一貫性を助ける。深みのために、小さな植物やオブジェクトを追加してプロジェクトの文脈を伝えるが、フレームを圧倒しない。
短いテイクのシリーズをテスト:異なる角度で5つの短いキャプチャをし、最良のものを選ぶ。高品質のルックが欲しい場合、カメラやモニターをアップグレードし、ワークフローを効率化するための互換ソフトウェアとアクセサリーを探す。
撮影前に露出、白バランス、カラグレードのプリセットを保存;これはテイク間で参照となり、プロジェクトの一貫したトーンを保つ。
クリーンで distractionsのない背景を選ぶ
明瞭さを最大化するために、プレーンな壁やシームレスな背景をニュートラルなトーンで使用。ライトグレー、テープ、または淡いブルーの表面が反射を最小限にし、導入の最初の数秒で焦点をあなたに保つ。
周囲の表面を散らからないように;ナイトスタンド、モニター、または装飾品で注意を引くものを除去。胴体周りに十分な空きスペースを残して顔を焦点にし、導入中の声が自然に聞こえるように。画面上の長い記述を避け;背景はメッセージをサポートすべき。
壁を塗装したりシームレスペーパーを掛けられない場合、しわのない張りのあるファブリック背景を設定。クランプやテープで張りを保ち、後ろに少なくとも1.5メートル置いて背景の影を防ぎ、前景と背景の違いをクリーンに保ち、視聴者の注意を維持。
照明が重要:2つの拡散源を45度に置き、顔で約1000ルクスを目指し、色を約5600Kでバランス。夜間撮影の場合、日光バランスの電球で補完して黄色い肌トーンを避ける。明確な照明で言語がより自然に伝わり、アップロードセッション間でマーケティングメッセージが一貫。
テストと比較:3〜5秒のフレームを撮影し、スクリーンショットをレビューして明瞭さの違いを確認。背景が忙しそうなら除去し、よりフラットな表面を試す。アップロード時、小さな不整合が目立つので、公開前にクイックチェックと調整を。
背景をシンプルで親しみやすく保つ;魅力的な視聴者は背景がメッセージと競合せずサポートする場合に長く留まる。最初のショットから最終カットまで色の一貫性を保つ安定したプログラムを使用し、年単位のアップロードで導入が一貫した感じになり、視聴者に響く明確で魅力的な存在を構築。
照明を最適化:キー光、フィル光、背景光の配置
キー光を顔の45度角度に、目線より少し上に、約1.5m離して配置し、ディフューザーを使って肌トーンを自然に保つ。3つの光ポイントで考える:キー、フィル、背景。
反対側にフィル光を置き、低強度(キーの30〜50%程度)で影を柔らかくしつつテクスチャを保つ。2つ目の光がない場合、白い壁に光を反射したりリフレクターを使い、カーテンを閉めて日光を制御。バランスが平坦さではなく深みを生むことを覚えておく。
背景光を背景に向け、あなたを背景から分離。低く設定(キーの10〜20%程度)で均等なウォッシュを目指し、小さな専用スタンドで安定させる。その分離が最終画像に実際の深みを加え、背景が注意を奪うのを防ぐ。
部屋の色温度に合わせる:キー光は日光で5200〜5600K、必要なら暖かいフィル(3200〜4200K)。カメラの白バランスを選択したミックスに合わせ、大規模な温度差を避けてプレミアやカムタシアでのカラグレーディングを複雑にしない。これらの一般的なステップはほぼどんな部屋でも機能し、一貫性を大幅に向上。
セットアップ中に実行できるいくつかのクイックチェック:目のキャッチライトをテスト、参照フレームで肌トーンを確認、背景が均等に照明されていることを確保。これらのステップはほとんどのセットアップに適用され、コースを正しい軌道に保つ。
サードパーティの照明が機材を補完できるが、セットアップをクリーンに保つ。機材に数千ドル必要ない。サードパーティのテンプレートやプリセット使用時は著作権に注意。これは単一のキー光から始まり、エキスパートTipsにスケールしやすく、コースや自宅で簡単に再現可能。チャンネルに購読してさらにTipsを、実際の撮影条件でセットアップをテストすることを覚えておく。
カメラのフレーミングを設定:高さ、距離、三分割法
カメラを目線に設定して視聴者の視線を保ち、視聴者と簡単に接続。
目をグリッドの上部水平線に置き、残りの線で肩と胴体を位置づけ、被写体が画像全体で垂直の三分の一に座るようにし、フレーム全体で注意を集中。
距離が重要:トーキングヘッドで0.9〜1.2m、胴体ショットで1.2〜1.8m、全身フレームで2.0〜3.0mから開始。上部に2〜5cmのヘッドルームを保って上辺を混雑させない。このアプローチはストリーミングと共有ワークフローで機能し、信頼できるセットアップを探すクリエイターの一般的な仕様に合致。
三脚やしっかりしたグリップでカメラを安定させて揺れる映像の流行を防ぐ;安定性が画像をプロフェッショナルにし、数千フレームにわたる視聴者疲労を減らす。
実践では、数千の小さな決定が最終構成を形作る:キー特徴を線に合わせ、三分割法を尊重、撮影全体でフレームのスペースを調整。カメラとレンズの仕様を確認したら、録画に戻る前に単一ショットをテストして結果を検証。
| ショットの種類 | カメラの高さ | 被写体からの距離 | フレーミングのメモ |
|---|---|---|---|
| トーキングヘッド(頭と肩) | 目線 | 0.9–1.2 m | 目を上部三分の一に;ヘッドルーム約2–3 cm;線を使用 |
| ミディアムショット(胴体) | 目線 | 1.2–1.8 m | 胴体が見える;手許可;ジェスチャーのスペース |
| ワイドショット(全身) | 高さに応じて低めから目線 | 2.0–3.0 m | 背景がストーリーを語る;線を揃える |
ストリーミングや共有時、データ要件を計画:1080p30で8,000–12,000 kbpsのビデオと128–256 kbpsのオーディオが典型的な目標;この重要な仕様がモバイルとデスクトップで画像品質を維持。この重要な仕様がモバイルとデスクトップで画像品質を維持。安定した電気セットアップを保ち、ケーブルを光とカメラのパスから離し、照明をケアしてすべてのデバイスで画像が明確に。
念頭に置くクイックチェックリスト:目を上部三分の一に合わせ、被写体を線に沿って置き、安定させ、録画に戻る前に距離をテスト。Tipsを探すと、シンプルなフレーミングアプローチが数千のエンターテイメント動画で持続することを発見。
明確なオーディオを確保:マイクの配置と部屋の処理
マイクを口から6〜8インチ(15〜20 cm)置き、30〜45度オフアクシスに角度付け、ポップフィルターを前方2〜3インチに置いてplosivesを抑えつつ自然なトーンを保つ。マイクを安定したスタンドに設定し、シンプルなインターフェースを接続してリアルタイムでモニターできるように準備。
スペースに合ったマイクタイプを選択:ダイナミックカーディオイドが部屋の反射をより良く扱う;コンデンサーは詳細を追加するが反射の厳密な制御が必要。小さな部屋の場合、部屋音を制限するためにマイクを近づける;適切な処理で、より空気をキャプチャしつつ明確に後退可能。
部屋を調査し、デスク周りの壁間の最初の反射点を特定。スポットをマークし、そこにアブソーバーを設置;2〜4インチのパネルに加え、ラグや重いカーテンでバウンスを抑える。コーナーにベーストラップを置いて低音を制御し、スピーチを濁らせるのを防ぐ。可能なら、マイクの後ろに反射面を1つ角度付けして直接バウンスを最小限に;これが全体の音を制御し、一貫したトーンを保ちやすくする。
モニタリングのためのシンプルなシステムを設定:マイク → オーディオインターフェース → コンピューター;ダイナミックマイクでファンタムパワーをオフ、コンデンサーでオン;44.1または48 kHz、24-bitで録音;80 Hz前後のハイパスフィルターを有効にしてランブルを減らす;ノイズフロアを-60 dBFS以下に、ピークを-6 dBFS下に保つ。
レベルを均すためにコンプレッションを適用:比率2:1、閾値約-20 dB、ソフトニー、攻撃約10 ms、リリース約60 ms;フレーズとタイムラプスセグメント間でスピーチが同じ範囲に収まるよう調整。これでテイク間でトーンを安定。
前の撮影からのフィードバックをワークフローに取り入れ;クリエイターのオーディオセットアップのトレンドを研究;さらに、視聴者に彼らのTipsを共有するコールトゥアクションを使用。Facebookに投稿する場合、キャプションでオーディオセットアップを言及して他人を助ける。おそらく、このアプローチがより多くの人を引きつけ、リテンションを増加。
プロジェクト全体で磨きのタッチを保つ:シーン間で同じ明瞭さが視聴者の接続を助け、強いオーディオがサムネイルとペースを補完。各セッションから学び、視聴者のインプットを招待、必要な部屋処理を念頭に将来の撮影を準備してより多くの人を引きつけ続ける。
ワードローブと小道具を計画:色クラッシュと反射を避ける
ワードローブと小道具のために単一のマットカラーパレットから始め、レンズからの色クラッシュと反射を防ぎ、セットの前領域にアイテムを置いて実際のフィルムでどのように読まれるかをレビューしてテスト。
もう一つ:撮影中に何かカメラで悪く読まれる場合に交換するための予備の上着やアクセサリーを準備。
- マスタープラン:2-3のバックアップ付きのマスターワードローブリストを作成、準備済み衣装をマーク、光沢仕上げや大きなロゴのものを除去。必要に応じてより小さくシンプルなオプションを含み;これでパフォーマーが自信を持ってパフォーマンス。
- 色と構成:セットと調和しつつ対比する3-4のトーンを選び;カメラで読みやすい色を保ち、ビルトインカラーチェックツールやドロップダウンスウォッチでオプションを比較。全体構成との整ったアライメントを確保し、ショットを distractionsせず貢献するアイテムのみ選択。
- 小道具と前景:被写体をサポートしグレアを避ける小さく非光沢の小道具を選択。前方アイテムはフレームを強化し支配しない;ショットエリアからミラーや反射面を除去。
- 生地とアクセサリー:コットン、リネン、マットブレンドを好む;サテン、パテントレザー、光沢プラスチックをスキップ。光を捉えるジュエリーや金属アクセントを除去;照明に対する生地の反応をテストしてレンズへのフェーディングや色シフトを避ける。
- ロジスティクスとテスト:クイックテストランをスケジュールし、短いターンアラウンドのための準備代替を保持。プロTip:ワードローブエリアにバックアップルックとアドオンのドロップダウンを維持して決定を速める。フィルム前の無料ミニテストで変更が必要な場所を示す。
- ブランドアライメントとトピック:ワードローブがマーケティングビジュアルをサポートすることを確保。また、計画されたトピックに衣装がどのように貢献するかを計画し、エピソード間で一貫性を示す。理想的な衣装はシンプルで調和し、視聴者の注意がメッセージに留まるように。
- 実際の撮影のためのクイックチェックリスト:カメラ上で色クラッシュがないことを前から後ろまでチェック;小道具やジュエリーからの反射がないことを確認;セットが意図通り読まれ、マスタープランが望ましい構成を生むことを確認。
📚 ソーシャルメディアマーケティングの詳細
Ready to leverage AI for your business?
Book a free strategy call — no strings attached.