자신만의 QR 코드 만드는 법 - 단계별 가이드


목표를 정의하는 것으로 시작하세요: 추적 매개변수를 포함한 URL을 인코딩하고 측정 가능한 목표를 설정하세요. 추천을 유도하려면 분석에서 소스, 매체, 캠페인을 캡처하기 위해 UTM 태그를 첨부하세요. creators가 linkedin에 코드를 게시하거나 포장에 포함할 때 명확한 CTA를 포함하면 더 높은 참여를 볼 수 있습니다. 그 목표와 일치하도록 계획의 rest를 keeping; theyre 당신의 청중입니다.
2) 데이터 유형과 인코딩 결정: 웹 목적지를 위한 URL을 사용하거나 빠른 메모를 위한 텍스트를 사용하세요. 코드가 표시될 위치에 따라 M, Q, 또는 H 오류 수정 수준을 사용하세요; 야외 포스터의 경우 손상을 견디기 위해 H를 선택하세요. 작은 요구 사항에 대해 버전 1부터 시작하고 긴 URL을 예상하면 더 높은 버전으로 확대하세요. less 데이터는 코드를 컴팩트하게 유지하여 increasing 신뢰성을 높입니다.
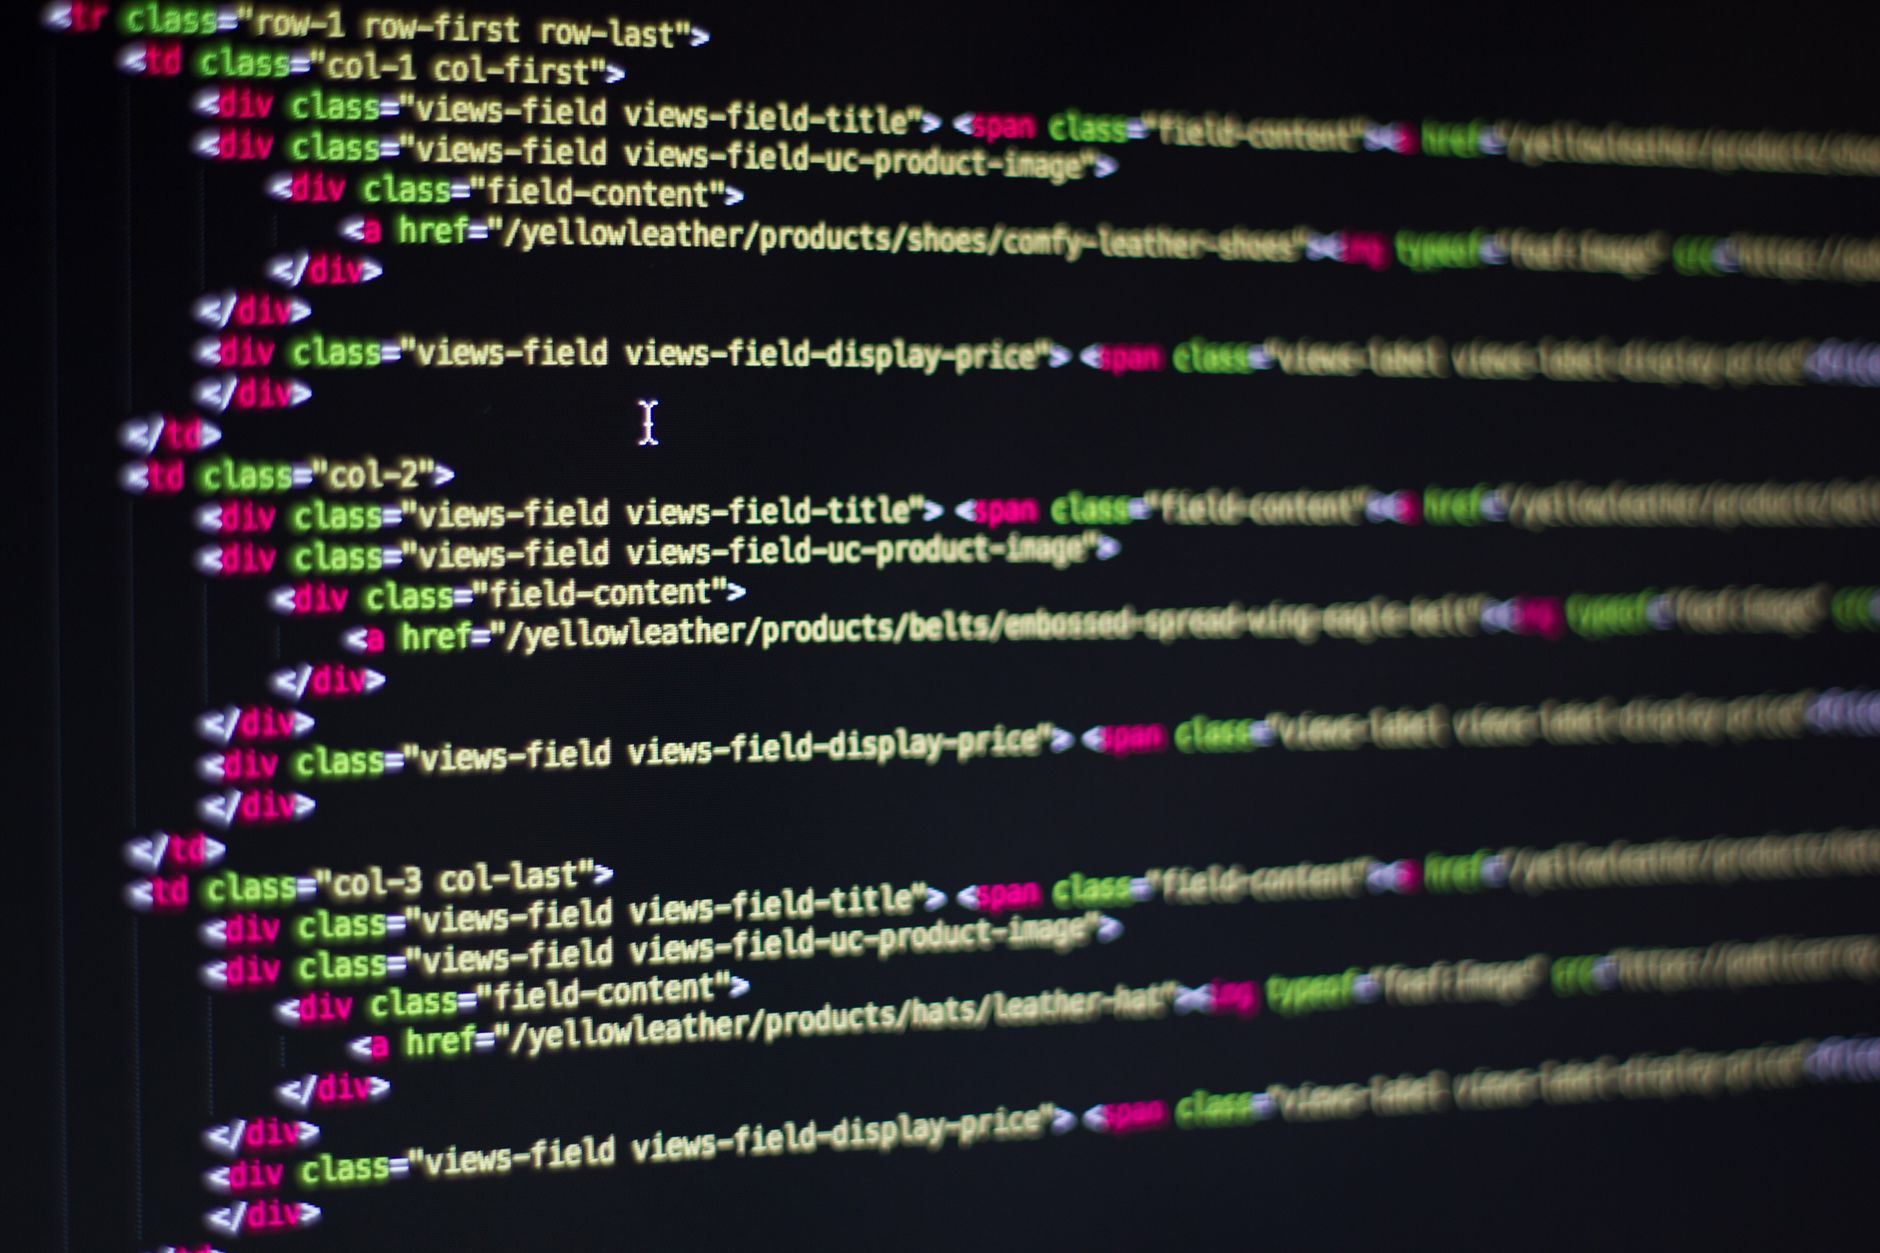
3) 생성 및 테스트: 신뢰할 수 있는 QR 코드 생성기를 사용해 URL을 입력하고 확장 가능한 인쇄를 위해 SVG를 선택하거나 웹 사용을 위해 PNG를 선택하세요. 세 대의 장치와 세 개의 앱으로 테스트하여 correctly 스캔되는지 확인하고 코드가 목적지와 일치하는지 검증하세요. 사용자가 클릭할 때 소스를 캡처하도록 analytics를 보장하세요. 분석은 결과를 이해하는 데 도움이 됩니다; 해석하기 쉬운 tracking parameters를 사용하세요.
4) 저장, 인쇄, 측정: 확장성을 위해 SVG로 내보내고 웹 사용을 위해 PNG로 내보내세요. 물리적 자료의 경우 최소 1 x 1 인치 크기를 목표로 하세요; 장거리 스캔을 위해 더 큰 크기가 더 좋습니다. 목적지에 빠른 변경을 예상한다면 분석 패널이 있는 dynamic URL 또는 단축 URL을 사용하세요; 이는 채널이 활동을 유도하는 것을 보여줌으로써 match를 expand할 수 있게 합니다. 이 워크플로는 빠른 조정을 allow할 수 있습니다. 또한 링크에 referral 코드를 고려하여 sharing 효과를 추적하세요.
5) 배포 및 개선: 사용자가 행동을 기대하는 곳–라벨, 포장, 이메일 또는 이벤트–에 코드를 배치하세요. linkedin 및 기타 플랫폼에서 결과를 공유하여 참여를 테스트하고 코드를 강화하기 위해 코드 옆의 행동 유도 문구를 조정하세요. 매 두 주마다 반복하여 배치 간 분석을 비교하며 잠재력을 지속적으로 증가시키세요.
목표 및 목적지 유형 정의 (URL, vCard 또는 텍스트)
시작하기 위해 단일 목표와 단일 목적지 유형을 선택하세요. 가장 쉬운 옵션은 랜딩 페이지, 카탈로그 또는 예약 흐름을 가리키는 URL로, 트래픽을 유도하고 분석을 간단하게 만듭니다.
매장 캠페인의 경우 QR을 위치나 제품을 찾는 데 도움이 되는 페이지 또는 포스터 전용 경험으로 가리키세요. URL을 간결하게 유지하고 성능을 측정할 수 있도록 브랜드된 짧은 도메인 또는 UTM 매개변수를 고려하세요. iPhone과 Android 장치에서 테스트하고 다양한 조명에서 스캔이 작동하는지 확인하세요.
연락처 카드를 빠르게 공유하려면 vCard를 선택하세요. 페이로드에는 주소, 전화, 이메일, 조직 및 전체 이름이 포함되어야 합니다. 비라틴 주소의 경우 유니코드를 사용하고 작은 스캐너에서 문제를 피하기 위해 데이터를 컴팩트하게 유지하세요. 이 접근 방식은 영업 팀과 파트너가 한 번의 탭으로 연결하는 데 도움이 됩니다.
빠르고 보편적인 메시지나 프로모션 코드가 필요하다면 텍스트를 선택하세요. 콘텐츠는 짧고 명확하며 직접적인 행동 유도 문구를 포함해야 합니다. 텍스트 페이로드는 대부분의 장치에서 안정적으로 스캔되며 포스터와 디지털 화면 모두에 잘 작동합니다.
다음 단계는 설정을 안내합니다: 요구 사항 정의, 청중에 맞춘 페이로드 조정, 마케팅 서비스 및 브랜드와의 일치. 결정하면 코드를 게시하고 결과를 모니터링하세요; 목표 유도, 팔로워 지표 및 포스터에 사용된 색상은 참여에 영향을 미칩니다. 필요에 따라 코딩이 유니코드를 지원하도록 하고 매장 포스터의 경우 고대비 색상을 유지하세요. 선도 브랜드는 포스터를 깨끗하게 유지하며 단일 CTA를 사용합니다. 이 접근 방식은 채널 전반에 걸쳐 유연하며 다양한 장치에서 스캔하는 사람들에게 단일하고 일관된 경험을 유지합니다. 구성되면 코드를 생성하고 예상대로 작동하는지 다시 테스트하세요. 스캔 신뢰성을 최대화하기 위해 페이로드 크기를 가능한 한 컴팩트하게 만드세요.
신뢰할 수 있는 QR 생성기 사용 및 목적지 준비
자동으로 동적 코드를 생성하고 내장 분석을 포함하는 평판 좋은 QR 생성기를 선택하세요. 이는 디지털 및 인쇄 캠페인에 작동하며 클릭을 통해 참여를 측정할 수 있게 합니다. 매장 및 전단지 배치의 경우 바쁜 배경에서 가독성을 유지하기 위해 강력한 오류 수정이 있는 버전을 선택하세요. 개인화된 캠페인을 계획한다면 목적지를 개인화하고 스캔을 행동으로 전환하는 코드를 사용해 데이터를 실행 가능한 통찰로 전환하세요.
목적지를 준비하기 위해 일반적인 모바일 네트워크에서 3초 이내에 로드되는 빠르고 모바일 친화적인 랜딩 페이지를 보장하세요. 의도된 행동으로의 명확한 경로를 제시해야 합니다. 페이지 콘텐츠는 코드의 약속과 일치하고 대상 청중과 정렬되어 인지도를 높여야 합니다. 간단한 브랜드 URL을 사용하고 가능한 경우 매체, 소스 및 캠페인을 캡처하기 위해 UTM 매개변수를 추가하세요.
필수 확인은 목적지가 코드의 캠페인 목표와 일치하고 빠르고 마찰 없는 경험을 제공하는지 확인하는 것입니다. 랜딩 페이지는 모바일에서 접근 가능해야 하며 간결한 헤드라인, 단일 주요 행동 및 필요 시 최소 양식을 포함해야 합니다. 재인쇄 없이 캠페인을 적응할 수 있도록 원격으로 업데이트할 수 있는 동적 목적지를 선호하세요.
인쇄 지침: 전단지의 경우 작은 형식에 최소 25x25 mm (1x1 인치), 큰 포스터에 50x50 mm (2x2 인치)를 목표로 하세요. 강한 대비와 코드를 둘러싼 조용한 영역을 사용하세요. 다양한 조명과 표면으로 가독성을 검증하고 Finder를 숨기는 바쁜 이미지 위에 코드를 배치하지 마세요.
실제 크기로 몇 개의 샘플을 인쇄하여 여러 장치로 스캔함으로써 준비 상태를 테스트하세요. 스캔, 목적지 로드 및 전환을 측정하여 통찰을 개선된 배치 및 콘텐츠로 전환하고 의도된 채널을 통해 올바른 청중에게 캠페인이 도달하도록 보장하세요.
브랜드 룩을 유지하면서 스캔 가능성 보존하도록 디자인
장치 전반에 선명하게 스캔되는 고대비 브랜드 색상 QR로 시작하세요. 솔리드 필을 사용하고 그라데이션을 피하며 Finder 패턴과 조용한 영역을 그대로 유지하여 스캐너와 사용자에게 일관성을 최대화하세요.
다음 접근 방식은 색상 전략, 로고 통합, 크기, 오류 수정 및 테스트라는 다음 측면 전반에 걸쳐 브랜드 룩과 실용적 요구 사항의 균형을 맞춥니다. 이 솔루션은 간판, 포장 및 디지털 사용을 다루는 네 가지 주요 구성 요소를 포함하며 코드를 쉽게 스캔할 수 있게 유지합니다.
색상 전략: 브랜드 색상을 지배적인 필드가 아닌 악센트로 적용하세요. 일반적인 간판 재료 및 화면에 대한 강한 대비를 유지하기 위해 코어 모듈을 솔리드 색상으로 유지하고 명확한 배경을 유지하세요. 스캔을 방해할 수 있는 그라데이션, 텍스처 또는 반투명 오버레이를 피하세요. 이 다재다능함은 라벨, 포스터 및 디지털 간판에 배포할 때 사용자 및 스캐너의 가독성을 손상시키지 않습니다.
로고 통합: QR 내부에 로고를 배치할 경우 모듈 영역의 약 30%로 제한하고 코드 주위에 넉넉한 조용한 영역을 유지하세요. 인셋 로고는 룩을 유지하면서 광범위한 스캐너에 의해 코드가 읽히도록 보장합니다. 일부 캠페인의 경우 Finder 패턴 외부에 브랜드된 코너 배지를 사용하여 코어 모듈 구조를 그대로 유지하세요.
크기 및 오류 수정: 브랜드 마크를 오버레이할 때 ECC 수준 M 또는 Q를 선택하세요; 이는 일부 손상이나 색상 오버레이가 여전히 안정적으로 스캔되도록 중복성을 추가합니다. 청중을 위한 성능을 검증하기 위해 실제 조명 및 거리에서 인기 있는 스캐너 전반에 테스트하세요.
내보내기 및 자산 관리: 장기 확장성을 위해 벡터 SVG를 생성하고 빠른 다운로드를 위해 PNG 파일을 제공하세요. 모든 팀이 동일한 기준에서 시작하도록 표준화된 템플릿으로 file 라이브러리를 유지하세요. 네트워크의 간판 및 디지털 배치를 위한 사용 준비된 패키지를 제공하세요.
산업 및 간판 사용: 브랜드 친화적 QR은 제품 페이지, 지원 파일 또는 네트워킹 연락처를 홍보할 수 있습니다; 목적지가 모바일 사용자와 빠른 로드 시간을 지원하도록 보장하세요. 디자인은 표면이나 거리에 관계없이 스캔하기 쉽게 룩을 홍보해야 합니다.
행동 유도: 브랜딩과 일치하는 보이는 간결한 URL 또는 모바일 최적화된 랜딩 페이지를 포함하세요; 청중을 다음 단계로 안내하기 위해 “스캔하여 다운로드”와 같은 명확한 지침을 추가하세요.
추가: 팀이 캠페인 전반에 레이아웃을 재사용하고 새로운 간판에 빠르게 적응할 수 있도록 공유 networking 리소스에 지침을 문서화하여 브랜드 아이덴티티를 향한 일관성을 유지하세요.
단축된 UTM 태그 URL로 추적 구현
UTM 매개변수를 유지하면서 목적지로 포워딩하는 브랜드된 짧은 URL을 사용하세요. 이렇게 하면 분석에서 실제 소스와 캠페인을 반영합니다. 이에 따라 채널 전반에 열기, 방문 및 전환을 비교하기 위해 통합 대시보드를 설정하세요. 각 방문은 배치를 최적화하는 데 의존하는 데이터를 촉진합니다.
브랜드 도메인과 강력한 분석이 있는 제공자를 선택하세요. 주요 캠페인마다 단일 짧은 링크를 생성하고 배치–이메일, 소셜 게시물, 사이트 배너, 걸어 다니는 상점 또는 랜딩 페이지–전반에 적용하여 이름이 일관되게 유지되고 보고가 쉬워집니다. 긴 목적지 링크 대신 짧은 URL을 사용하고 utm_source, utm_medium, utm_campaign, utm_content의 네 가지 유형에 매핑되는 UTM 태그를 포함하세요. 이 접근 방식은 주요 캠페인과 다중 URL 배치를 지원하며 이미지와 텍스트를 일치시키는 데 도움이 됩니다. utm_source와 utm_medium를 선택할 때 청중 세그먼트를 고려하세요. 의미 있는 명칭을 원하므로 utm_campaign 이름을 상점 시스템과 일치하도록 선택하세요 (예: summer_sale). 예: https://go.yourbrand.co/d672?utm_source=newsletter&utm_medium=email&utm_campaign=summer_sale&utm_content=header_image.
짧은 URL 구성 방법
소유하거나 임대한 짧은 도메인을 선택하세요 (예: go.yourbrand.co). 네 가지 UTM 유형을 포함한 긴 URL을 구축한 후 이를 위한 짧은 링크를 생성하세요. 리디렉션이 매개변수를 유지하고 목적지가 빠르게 로드되는지 모바일과 데스크톱에서 테스트하세요. 콘텐츠에 이미지를 포함하여 이메일이나 게시물에서 이미지 배치가 어떻게 작동하는지 검증하세요. 생성된 링크는 이메일 및 소셜 캠페인 전반에 일관성을 유지하는 데 diego의 상점 팀을 돕습니다. CRM과 통합하여 자동 이메일 흐름 및 푸시 알림 캠페인으로 푸시할 수 있습니다.
성능 추적 및 반복
GA4 또는 분석 도구를 사용하여 utm_source와 utm_medium별로 방문, 열기 및 전환을 모니터링하세요. 어떤 이미지 배치가 가장 잘 작동하는지, 어떤 사이트나 배치가 수익을 유도하는지 확인하세요. 클릭 수 외에 utm_campaign 이름별 참여 지표와 수익을 추적하세요. 사이트나 배치가 저조하면 크리에이티브를 조정하거나 테스트를 분리하기 위해 utm_content 태그를 전환하세요. 이 워크플로가 간단하므로 주간 검사를 실행하고 전략을 이에 따라 조정할 수 있습니다. diego 팀은 상점 이메일에 이 방법을 사용하여 사이트 및 파트너 네트워크 전반에 지표를 일치시킵니다.
장치, 앱 및 환경 전반에 스캔 테스트
초기 강력한 엣지 케이스를 드러내기 위해 플래그십 폰, 중급 태블릿 및 공공 키오스크를 포함한 최소 세 대의 장치에서 스캔을 테스트하세요.
앱 및 환경 전반에 성능, 가독성 및 신뢰성을 비교하기 위한 구조화된 계획을 사용한 후 팀과 결과를 공유하여 QR 코드 디자인을 세밀하게 조정하세요.
- 테스트 범위 및 지표 정의: 성능, 가독성 및 탄력성 같은 측면을 식별하세요; 각 장치 및 앱에 대한 프로필을 생성하세요; 비교를 위한 베이스라인 페이지와 전단지를 포함하세요; 캠페인 및 장소별로 결과를 추적하고 라벨링하세요.
- 장치/앱 믹스 준비: 네이티브 카메라 리더, 두 개의 인기 QR 앱 및 대비 또는 밝기를 조정할 수 있는 하나의 사용자 지정 리더로 테스트하세요; iOS와 Android를 다루고 가능한 경우 웹 기반 리더를 포함하세요; 근거리와 원거리에서 테스트하세요.
- 환경 시나리오 실행: 밝은 낮, 어두운 실내 조명 및 혼합 그림자에서 스캔하세요; 20 cm, 50 cm 및 120 cm 거리에서 측정하세요; 효과와 대체 동작을 관찰하기 위해 손상되거나 부분적으로 손상된 코드를 포함하세요.
- 데이터 기록 및 효과 평가: 스캔 시간, 성공률, 실패 이유 및 장치 전반의 성능 변화를 로그하세요; 성능을 판단할 수 있을 만큼의 데이터만 캡처하세요; 공유에 적합한 공개 보고서, 게시물 또는 트위터 업데이트로 결과를 문서화하세요; 이는 훌륭한 명확성과 발견의 마인드 맵을 제공합니다.
- 공유 및 캠페인 준비 평가: 링크가 의도된 페이지에 착륙하고 사용자 지정 랜딩 경험을 제공하는지 확인하세요; 캠페인과 일치하는 광고 또는 포스터를 포함하세요; 전단지 및 장소 간판에서 QR 코드가 작동하도록 보장하세요; 얼마나 많은 사용자가 공유를 선택하는지 추적하세요.
- 반복 및 최종화: 추적된 결과에 기반하여 색상 대비, 조용한 영역 및 오류 수정 수준을 조정하세요; 우선 순위 작업과 예상 이점으로 간결한 보고서를 게시하세요; 캠페인에 관련된 프로필 또는 팀에 배포하고 가시성을 위해 후속 게시물을 푸시하세요.
Ready to leverage AI for your business?
Book a free strategy call — no strings attached.


