Hoe maak je een YouTube-video - 7 Essentiële Stappen - Alles wat je moet weten

Plan strak: schrijf een kort script en een duidelijke hook binnen minuten, en richt op een lengte van 5–8 minuten voor sterke betrokkenheid. Begin met één idee en een directe beloning om kijkers vanaf de eerste seconden te haken.
Apparatuur doet ertoe: begin met een ingebouwde microfoon om haalbaarheid te bewijzen, upgrade dan naar een externe USB-microfoon voor een schonere stem. Als je kunt, voeg meerdere microfoons toe om stem en omgevingsgeluid duidelijk vast te leggen. Die opstelling werkt goed voor de meeste kamers en budgetten.
Zet een schone achtergrond op zoals een effen muur of een rivieroevertafereel voor een natuurlijk, interessant uiterlijk. Verlichting moet gelijkmatig zijn: plaats een hoofdlamp op 45 graden en gebruik een reflector tegenover om schaduwen te verzachten, zodat je gezicht goed verlicht blijft op camera.
Neem op in youtube-klaar formaat: 16:9, 1920x1080, 30 fps, MP4. Na het filmen, bewerk voor tempo: verwijder lange pauzes, voeg extra B-roll toe om punten te illustreren, en gebruik snelle overgangen om momentum te behouden. Je kunt het proces gemakkelijk in één dag afmaken.
Definieer je soort video en stem het af op een strategie die past bij je publiek. vooral boeiende formaten mengen boeiend verhalen met praktische stappen. Er is geen one-size-fits-all aanpak, kies meerdere onderwerpen die passen bij je niche en roteer ze om fris te blijven.
Publiceer op een betrouwbaar schema: mik op een wekelijks ritme en volg minuten bekeken, klikratio en reacties. Gebruik de data om je volgende video zelf aan te passen en de momentum van het kanaal te blijven verbeteren.
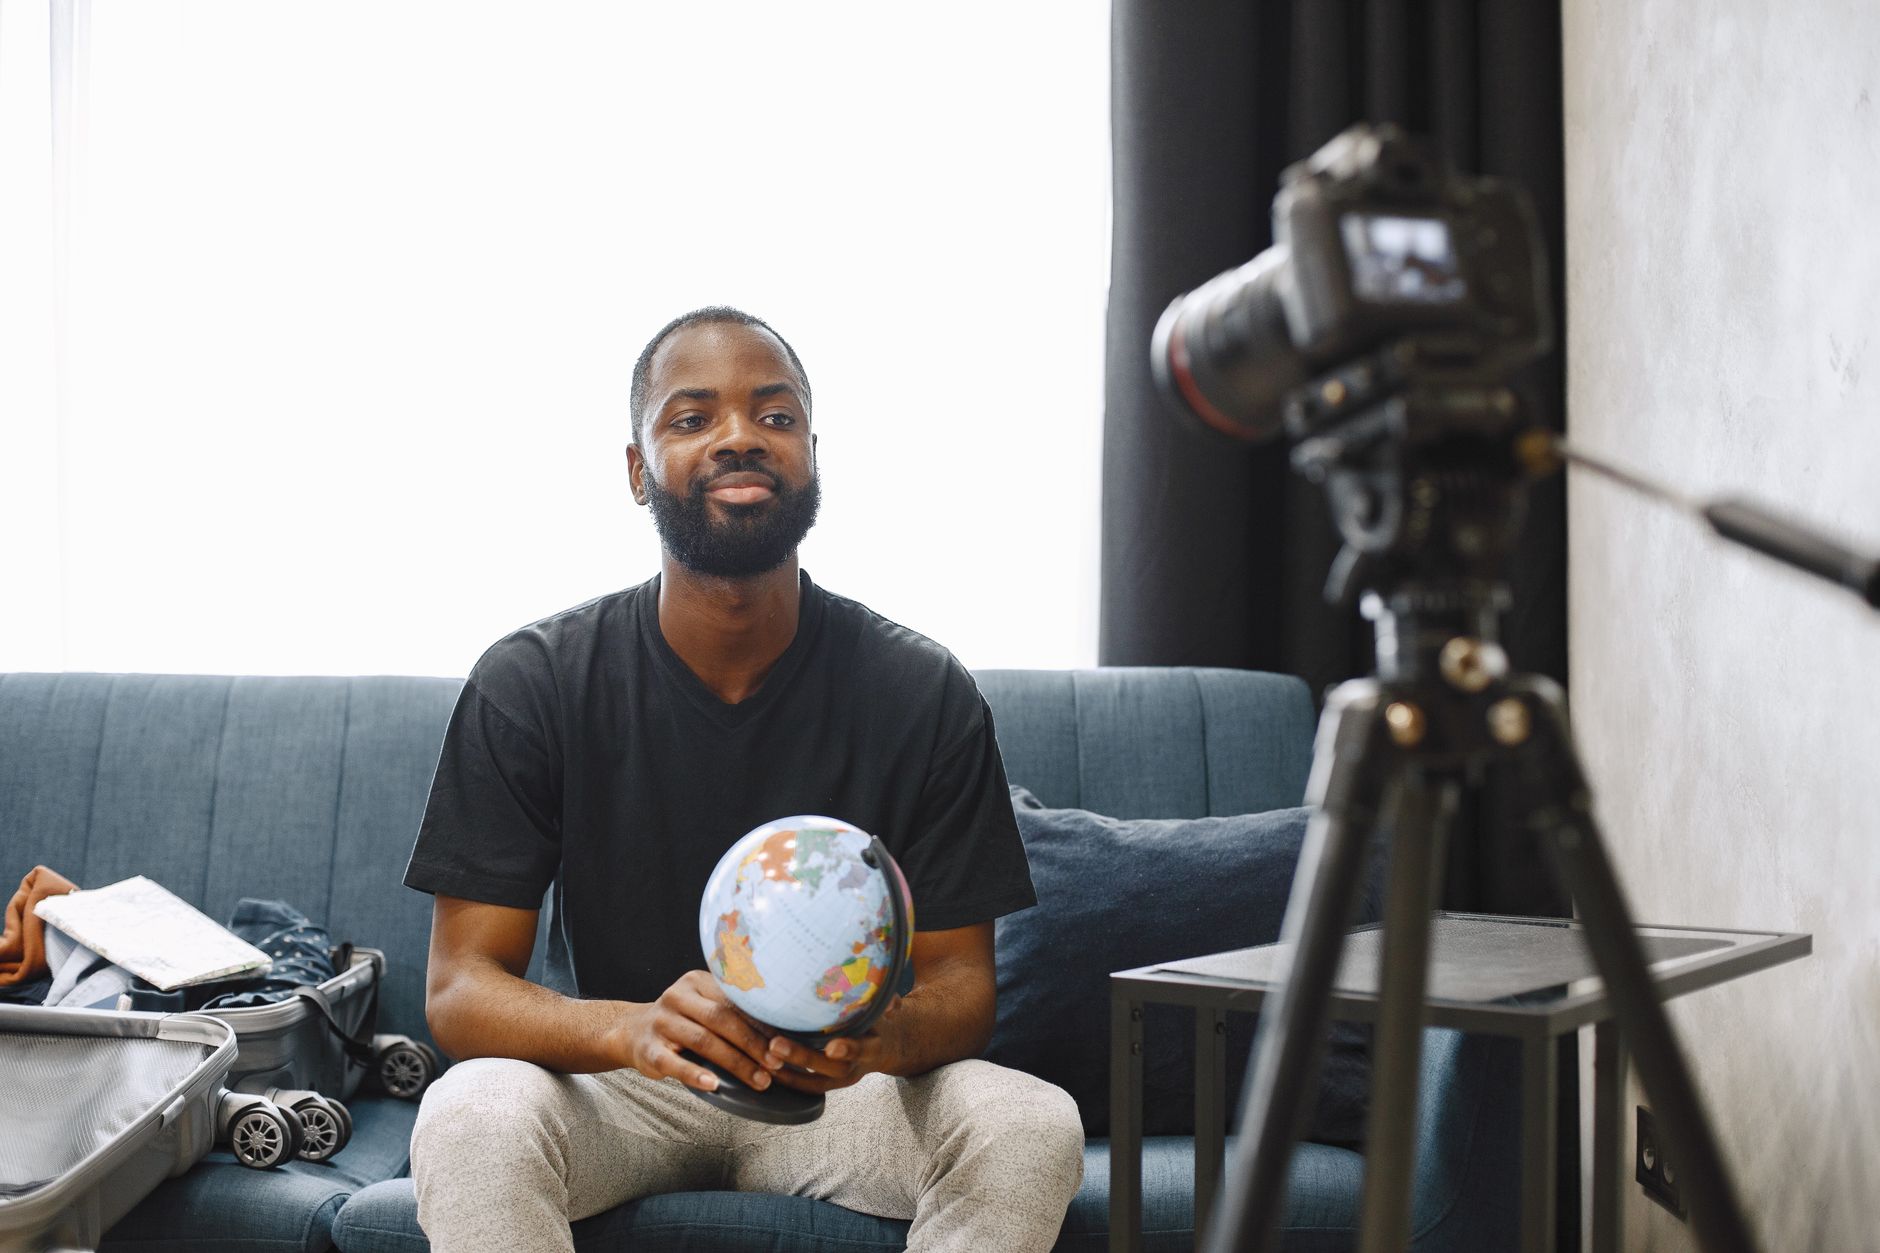
Stap 4: Maak je klaar om te filmen en bereid je achtergrond voor
Zet je achtergrond, lichtbronnen en stabilisatie op voordat je op de knop drukt en begint met filmen.
Kies een achtergrond die past bij je toon en afleidingen tot een minimum beperkt. Een effen kleur of subtiele textuur creëert een schoon canvas voor je boodschap.
Positioneer verlichting om diepte te creëren: plaats twee bronnen op 45 graden, plus een achtergrondlicht om je te scheiden van de achtergrond. Mik op een zacht, gelijkmatig uiterlijk dat je stijl ondersteunt en kleur consistent houdt. Markeer de vloer met tape en plaats het onderwerp op die lijn om afstand voorspelbaar te houden.
Stabilisatie doet ertoe: monteer de camera op een stevige statief of een gimbal voor bewegende shots. Als je geen ruimte hebt, activeer software stabilisatie in je software en test onmiddellijk.
Zet een vijf-voet buffer tussen camera en onderwerp, en houd een vergelijkbare afstand achter je om reflectie te verminderen. Frameer per soort shot (close-up, medium, wide) en overweeg hoe de achtergrond je mening over het onderwerp ondersteunt.
Houd kabels en rekwisieten georganiseerd; een opgeruimd oppervlak versnelt filmen en helpt consistentie. Voor diepte, voeg een kleine plant of object toe dat de context van je project overbrengt, zonder het frame te overheersen.
Test een snelle serie opnames: vijf korte opnames vanuit verschillende hoeken, kies dan de beste. Als je een hoogwaardige look wilt, overweeg dan om de camera of monitor te upgraden, en vind compatibele software en accessoires om de workflow te stroomlijnen.
Voordat je filmt, sla een preset op voor belichting, witbalans en kleurcorrectie; dit dient als referentie over opnames heen en houdt een consistente toon voor het project.
Kies een schone, afleidingsvrije achtergrond
Gebruik een effen muur of naadloze achtergrond in een neutrale toon om helderheid te maximaliseren. Een lichtgrijs, taupe of lichtblauw oppervlak minimaliseert reflecties en houdt de focus op jou tijdens de eerste seconden van je introductie.
Houd oppervlakken om je heen rommelvrij; verwijder nachtkastjes, monitoren of decoratieve items die aandacht trekken. Laat voldoende lege ruimte rond je romp zodat je gezicht het middelpunt blijft en je stem natuurlijk klinkt tijdens de introductie. Vermijd lange beschrijvingen op het scherm; de achtergrond moet je boodschap ondersteunen.
Als je geen muur kunt schilderen of naadloos papier kunt ophangen, zet dan een stofachtergrond op die kreukvrij en strak is. Gebruik klemmen of tape om het strak te houden en positioneer het minstens 1,5 meter achter je om schaduwen op de achtergrond te voorkomen, wat helpt om het verschil tussen voorgrond en achtergrond schoon te houden terwijl je de aandacht van het publiek vasthoudt.
Verlichting doet ertoe: gebruik twee gediffuseerde bronnen op 45 graden, mik op ongeveer 1000 lux bij je gezicht, en houd de kleur gebalanceerd op ongeveer 5600K. Voor nachtopnames, vul aan met daglicht-gebalanceerde lampen om gele huidtinten te vermijden. Met duidelijke verlichting komt je taal natuurlijker over en blijft je marketingboodschap consistent over uploadsessies heen.
Test en vergelijk: film een 3–5 seconden frame en bekijk screenshots om het verschil in helderheid te bevestigen. Als de achtergrond druk oogt, verwijder het en probeer een platter oppervlak. Wanneer je uploadt, worden kleine inconsistenties明顯, dus doe een snelle check en pas aan voordat je publiceert.
Houd de achtergrond eenvoudig en vriendelijk; een betrokken publiek blijft langer bij je als de achtergrond de boodschap ondersteunt in plaats van concurreert. Gebruik een stabiel programma om kleurconsistentie te behouden van de eerste shot tot de finale cut, zodat je introductie coherent aanvoelt voor uploads over jaren, en je bouwt een duidelijke, boeiende aanwezigheid op die resoneert bij je publiek.
Optimaliseer verlichting: positioneer hoofdlamp, vullicht en achtergrondlicht

Positioneer de hoofdlamp op een hoek van 45 graden ten opzichte van je gezicht, iets boven ooghoogte, en ongeveer 1,5 m afstand, met een diffuser om huidtinten natuurlijk te houden. Denk in drie lichtpunten: hoofd, vul, achtergrond.
Plaats een vullicht aan de tegenoverliggende kant met lagere intensiteit – ongeveer 30–50% van de kracht van de hoofdlamp – om schaduwen te verzachten terwijl textuur behouden blijft. Als je geen tweede licht hebt, kaats licht van een witte muur of gebruik een reflector en sluit de gordijnen om zonlicht te controleren. Onthoud dat balans diepte creëert in plaats van vlakheid.
Richt een achtergrondlicht op de achtergrond om je te scheiden van de achtergrond. Zet het laag (ongeveer 10–20% van de hoofdlamp) en mik op een gelijkmatige wassing; een kleine speciale standaard houdt het stabiel. Die scheiding voegt echte diepte toe aan het finale beeld en voorkomt dat de achtergrond aandacht steelt.
Pas kleurtemperaturen aan aan de kamer: daglicht rond 5200–5600K voor de hoofdlamp, met een warmer vullicht (3200–4200K) indien nodig. Stel de witbalans van de camera in op je gekozen mix, en vermijd grote tempverschillen die kleurcorrectie compliceren in premiere of camtasia. Deze algemene stappen werken in bijna elke kamer en verbeteren consistentie sterk.
Hier zijn verschillende snelle checks die je tijdens de opzet kunt uitvoeren: test catchlights in de ogen, verifieer huidtinten op een referentieframe, en zorg ervoor dat de achtergrond gelijkmatig verlicht blijft. Deze stappen gelden voor de meeste opzetten en houden je cursus op het juiste spoor.
Derde-partij verlichting kan je apparatuur aanvullen, maar houd de opzet schoon. Je hebt geen duizenden dollars nodig voor apparatuur. Wees voorzichtig met auteursrecht bij het gebruik van derde-partij templates of presets. Dit begon met een enkele hoofdlamp en schaalt goed voor expert tips en is gemakkelijk te recreëren in een cursus of thuis. Abonneer je op het kanaal voor meer tips en onthoud om de opzet te testen in echte opnameomstandigheden hier.
Stel camerakadering in: hoogte, afstand en regel van derden
Zet de camera op ooghoogte om de blik van het publiek vast te houden en gemakkelijk verbinding te maken met kijkers.
Plaats de ogen op de bovenste horizontale lijn van het raster, gebruik de resterende lijnen om schouders en romp te positioneren zodat het onderwerp op een derde verticaal zit gedurende het hele beeld, wat aandacht gefocust houdt over het frame heen.
Afstand doet ertoe: begin met een talking head op 0,9–1,2 m, een romp shot op 1,2–1,8 m, en een full-frame op 2,0–3,0 m. Houd headroom rond 2–5 cm om crowding aan de bovenkant te vermijden. Deze aanpak werkt over streaming en deling workflows heen, en sluit aan bij veelvoorkomende specificaties gebruikt door creators die zoeken naar betrouwbare opzet.
Houd de camera stabiel met een statief of stevige greep om een epidemie van schokkerige beelden te voorkomen; stabiliteit maakt het beeld professioneel en vermindert kijkersmoeheid over duizenden frames heen.
In de praktijk vormen duizend kleine beslissingen de finale compositie: align sleutelkenmerken met de lijnen, respecteer de regel van derden, en pas aan voor ruimte in het frame gedurende de hele shoot. Wanneer je de specificaties van je camera en lens checkt, test een enkele shot om het resultaat te verifiëren voordat je terugkomt om op te nemen.
| Shot type | Camera height | Distance from subject | Framing notes |
|---|---|---|---|
| Talking head (head-and-shoulders) | Eye level | 0.9–1.2 m | Eyes on upper third; headroom ~2–3 cm; use lines |
| Medium shot (torso) | Eye level | 1.2–1.8 m | Torso visible; hands allowed; space for gestures |
| Wide shot (full body) | Low to eye level depending on height | 2.0–3.0 m | Background tells story; keep lines aligned |
Wanneer je streamt of deelt, plan rond data-eisen: 8.000–12.000 kbps video voor 1080p30 en 128–256 kbps audio zijn typische doelen; deze belangrijke specificatie helpt om beeldkwaliteit te behouden op mobiel en desktop alike. Houd een stabiele elektrische opzet, houd kabels weg van licht- en camerapaden, en zorg voor verlichting zodat het beeld duidelijk blijft op elk apparaat.
Hier is een snelle checklist om in gedachten te houden: align ogen op de bovenste derde, plaats het onderwerp langs de lijnen, houd stabiel, en test de afstand voordat je terugkomt om op te nemen. Als je zoekt naar tips, vind je dat een eenvoudige kaderingaanpak standhoudt over duizenden entertainmentvideo's heen.
Zorg voor helder audio: microfoonplaatsing en kamerbehandeling
Plaats de microfoon 6–8 inches (15–20 cm) van je mond en kantel hem 30–45 graden off-axis, met een popfilter 2–3 inches ervoor om plosieven te temmen terwijl natuurlijke toon behouden blijft. Bereid jezelf voor door de microfoon op een stabiele standaard te zetten en een eenvoudige interface aan te sluiten zodat je in real time kunt monitoren.
Kies een microfoontype dat past bij je ruimte: een dynamische cardioid handelt kamerreflecties beter; een condenser voegt detail toe maar heeft strengere controle van reflecties nodig. Als je kamer klein is, houd de microfoon dichterbij om kamerklank te beperken; met juiste behandeling kun je verder weg gaan om meer lucht vast te leggen terwijl het helder blijft.
Bestudeer je kamer en identificeer eerste reflectiepunt tussen de muren rond je bureau. Markeer die plekken en installeer absorbers daar; gebruik 2–4 inch panelen, plus een tapijt of zwaar gordijn om bounce te dempen. Voeg basstraps toe in hoeken om laag te controleren dat spraak kan vertroebelen. Als je kunt, plaats één reflecterend oppervlak achter de microfoon op een hoek die directe bounce minimaliseert; dit helpt je de algehele klank te controleren en maakt het makkelijker om een consistente toon te houden.
Zet een eenvoudig systeem op voor monitoring: microfoon → audio interface → computer; houd phantom power uit voor dynamische microfoons en aan voor condensers; neem op bij 44,1 of 48 kHz, 24-bit; activeer een high-pass filter rond 80 Hz om rumble te verminderen; zorg ervoor dat de noise floor onder -60 dBFS blijft en pieken onder -6 dBFS.
Pas compressie toe om niveaus te egaliseren: ratio 2:1, threshold rond -20 dB, soft knee, attack ongeveer 10 ms, release ongeveer 60 ms; pas aan zodat spraak in hetzelfde bereik landt over frases en timelapse segmenten heen. Dit houdt de toon stabiel tussen takes.
Bereid je workflow voor door feedback van eerdere shoots in te sluiten; bestudeer trends in creator audio-opzetten; wat meer is, gebruik een oproep tot actie om kijkers uit te nodigen hun tips te delen over wat voor hen werkte. Als je post op facebook, vermeld de audio-opzet in je caption om anderen te helpen leren. Waarschijnlijk trekt deze aanpak meer mensen aan en verhoogt retentie.
Houd touches van polish gedurende het project: hetzelfde niveau van helderheid over scènes heen helpt het publiek verbinding te maken met je, en sterk audio complementeert je thumbnails en tempo. Leer van elke sessie, nodig input uit van kijkers, en bereid toekomstige shoots voor met de nodige kamerbehandeling in gedachten om meer mensen aan te blijven trekken.
Plan kleding en rekwisieten om kleurclashes en reflecties te vermijden

Begin met een enkel, matte kleurpalet voor kleding en rekwisieten om kleurclashes en reflecties van de lens te houden, en test het door items op het voorste gebied van de set te plaatsen om te beoordelen hoe ze lezen op daadwerkelijke film.
Een ding meer: houd een reserve bovenkleding of accessoire klaar om te wisselen tijdens een shoot als iets slecht leest op camera.
- Master plan: bouw een master kledinglijst met 2-3 back-ups per persoon, markeer klaar outfits, en verwijder alles met glanzende afwerkingen of grote logo's. Inclusief een kleinere, eenvoudigere optie voor een snellere wissel indien nodig; dit helpt je performer met vertrouwen op te treden.
- Kleur en compositie: kies 3-4 tonen die contrasteren met je gebied maar coherent blijven met de set; houd kleuren leesbaar op camera en gebruik een ingebouwde kleur-check tool of een dropdown swatch om opties te vergelijken. Zorg voor pretty alignment met de algehele compositie en selecteer alleen items die bijdragen aan de shot in plaats van afleiden.
- Rekwisieten en voorgrond: kies kleine, niet-glanzende rekwisieten die het onderwerp ondersteunen en glare vermijden. Voorwaarts gerichte items moeten het frame versterken, niet domineren; drop elke spiegels of reflecterende oppervlakken van het shotgebied.
- Stof en accessoires: geef voorkeur aan katoen, linnen of matte blends; sla satijn, patent leer of glanzende plastics over. Verwijder sieraden of metalen accenten die licht vangen; test hoe stoffen reageren op je verlichting om fading of kleurverschuivingen op de lens te vermijden.
- Logistiek en testing: plan een snelle testrun en houd alternatieven klaar voor een kortere turnaround. Pro-tip: houd een dropdown van backup looks en add-ons in het kledinggebied om beslissingen te versnellen. Een gratis mini-test voordat je filmt toont waar veranderingen nodig zijn.
- Brand alignment en onderwerpen: zorg ervoor dat de kleding je marketing visuals ondersteunt. Plan ook hoe outfits bijdragen aan de geplande onderwerpen en consistentie tonen over afleveringen heen. Ideale outfits blijven eenvoudig en coherent, zodat de aandacht van de kijker op de boodschap blijft in plaats van op de kleding.
- Snelle checklist voor de daadwerkelijke shoot: ga door een front-to-back check om te bevestigen dat geen kleurclashes op camera verschijnen; verifieer dat er geen reflecties zijn van rekwisieten of sieraden; bevestig dat de set leest zoals bedoeld en dat het master plan het gewenste compositie oplevert.
📚 Meer over Social Media Marketing
- Hoe film je een YouTube-video in professionele kwaliteit - 7 stappen
- Hoe maak je een YouTube-video watermark in 2026 - Een stapsgewijze gids
- Hoe groei je je YouTube-kanaal - 9 essentiële tips & tricks
- Hoe skyrocketeer je je YouTube-retentie met het juiste video-script - Een bewezen stapsgewijze gids
- YouTube Marketing 2026 - Essentiële strategieën om je kanaal te laten groeien
Ready to leverage AI for your business?
Book a free strategy call — no strings attached.