VEO 3 здесь — Настоящая революция в создании видео с помощью ИИ


Внедрите VEO 3 сейчас, чтобы сократить циклы производства и улучшить результаты по всем вашим командам. Когда происходит operationdone, вы получите nextresponse с готовыми к редактированию активами, которые можно опубликовать за минуты. Всегда проверяйте первый рендер с помощью быстрого чек-листа QA, чтобы выявить проблемы с синхронизацией или артефактами перед публикацией для аудитории. Для генерации в облаке установите processenvgoogle_api_key в вашей среде и рассмотрите, как аудио и аудио треки согласуются с вашими визуалами.
В независимых тестах видео 1080p рендерится примерно в два раза быстрее, в то время как проекты 4K работают в 1,6 раза быстрее. Результаты включают лучшую синхронизацию губ, меньше повторных отправок и более плавные передачи редакторам. Проведите пилотный запуск на месяц, чтобы количественно оценить преимущества: измерьте время рендеринга, размер активов и оценки качества первого прохождения, затем скорректируйте шаблоны для следующей итерации. Метрики остаются actionable, когда вы сравниваете базовые значения по проектам.
В начале определите четкий голос, тон и размеры для ваших кластеров проектов. Используйте VEO 3 для генерации видео- и аудиоактивов, которые соответствуют вашему бренду; вы можете предоставлять контент по требованию для социальных сетей, обучения и демонстраций продуктов. Спрос на быстрые, масштабируемые видео растет среди it-команд и маркетинговых групп.
Для масштабирования создайте легкий план автоматизации: создайте шаблоны для интро, заголовков и подписей, и направляйте выходы в generate циклы, которые питают demand конвейер. Настройте небольшую operation – без лишнего, только повторяемые шаги – и назначьте владельцев для отслеживания результатов. Когда вам нужен быстрый цикл, ваша команда может запустить его через nextresponse и просмотреть за секунды, а не часы.
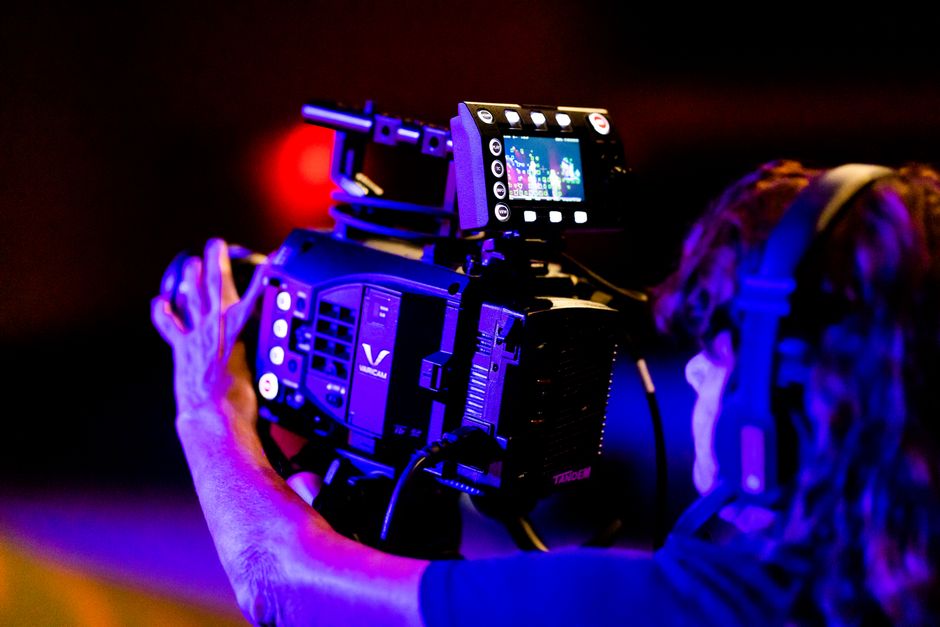
Системные требования и быстрая настройка для VEO 3
Установите на 64-битной Windows 11 или macOS 13+ с 32 ГБ ОЗУ и RTX 4080 (или эквивалентом) для лучших результатов; эта конфигурация поддерживает эти качества в длительных сессиях, обеспечивает реалистичные превью и сохраняет плавную работу generatedvideo, поддерживая естественное движение. Запланируйте 1 ТБ SSD-хранения, если вы рендерите проекты 4K, и держите последнюю Studio Driver или Metal acceleration включенными для автоматического повышения производительности.
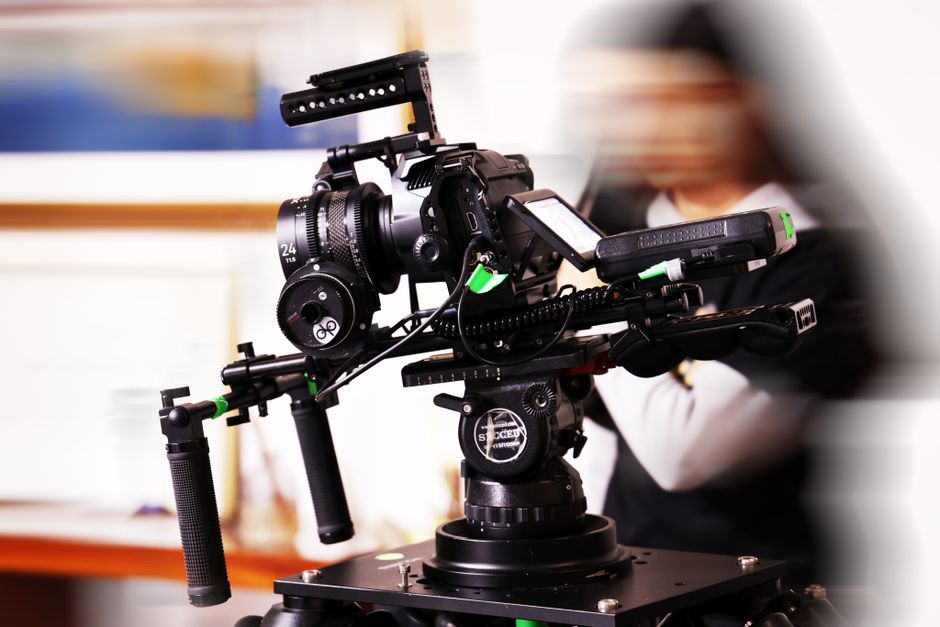
Шаг 1: скачайте установщик VEO 3 с официального портала и запустите мастер; укажите выделенную папку проекта, язык и расположение рабочего пространства. Настройка автоматически создает соответствующие ссылки на активы и настраивает ваш GPU как основное вычислительное устройство.
Шаг 2: войдите в систему, примените ваш тарифный план и загрузите кредиты (кредитов), чтобы разблокировать более высокие квоты рендеринга; если вы работаете в нескольких командах, включите общие лицензии и установите лимиты по проектам. Эти действия обеспечивают быстрое масштабирование без прерывания следующих задач и поддерживают плавный поток generatedvideo рабочих процессов.
Шаг 3: настройте основные элементы управления для четкого фокуса вперед и стабильного контроля над выходами; установите частоту кадров по умолчанию (24/30/60 fps), разрешение (1080p, 2K или 4K) и цветовой конвейер (ACES или sRGB), чтобы результаты оставались естественными и последовательными по сценам.
Шаг 4: создайте базовый шаблон проекта с этими пресетами: 3–5 узлов освещения, два угла камеры сбоку для покрытия и автоматические корректировки экспозиции; сохраните как шаблон для мгновенного повторного использования в новых проектах и сокращения времени настройки до минуты или меньше.
Шаг 5: запустите быстрый тестовый рендер 1-минутного образца generatedvideo, чтобы проверить реализм, плавность движения и детали текстур; просмотрите первое прохождение, затем скорректируйте освещение, тени и оттенки кожи по мере необходимости, чтобы достичь желаемого значения перед полным производством.
Что дальше? В быстром стартовом потоке вы можете модифицировать активы и перерендерить за секунды, оценить отзывы в nextresponse и тонко настроить пресеты для поддержания последовательного качества вывода по всем сценам. Если нужно больше, вы можете сменить планы, скорректировать квоты или предложить дополнительные места для поддержки более широких команд без задержек в доставке.
Выбор моделей ИИ и шаблонов: выбор пресетов для вашего проекта
Выберите семейство моделей, которое соответствует стилю вашего проекта, и прикрепите пакет шаблонов, охватывающий целевые сцены. Возбужденные товарищи по команде продвигаются быстрее, когда вы выбираете пресеты videogens, которые поддерживают разнообразие videoslength, затем уточняйте с помощью наложений и аудио для последовательности. Этот подход приносит ценность с первого черновика и согласовывает товарищей по команде с будущим roadmap.
Сравнивайте пресеты по реальным задачам: сцены с движениями, переходами и темпом движения; проверьте, как модель обрабатывает тегирование objectkey для быстрых правок, размещение наложений и синхронизацию аудио. Самые надежные пресеты фиксируют тайминг и темп, чтобы избежать ненужной переработки и просто масштабировать по видео.
Запланируйте небольшой пилот: протестируйте два шаблона с клипом 30-60 секунд, измерьте спрос от заинтересованных сторон и отслеживайте влияние на скорость создания. Используйте глобальный взгляд: если пресет хорошо работает для большинства клиентов, вы можете повторно использовать его по проектам и создать последовательный стиль, который сокращает время настройки.
Управляйте инфраструктурой: храните processenvgoogle_api_key безопасно и мониторьте потребление кредитов; выбирайте пресеты, которые балансируют качество и стоимость. Этот подход сохраняет эффективность видео-генераторов и помогает держать самые важные метрики в поле зрения.
Упакуйте пресеты как набор для обмена: включите отображения objectkey, шаблоны наложений и руководства по аудио. Документируйте, как корректировать videoslength и как заменять активы без нарушения переходов – это самый быстрый способ масштабирования по командам и рынкам.
Генерация вашего первого видео из сценария: практическое пошаговое руководство
Начните превращать ваш сценарий в план кадр за кадром и загрузите его в VEO 3 с вашим apikey. Это позволит вам перейти от идеи к тестовому клипу за минуты и подготовит основу для глобального, последовательного вывода.
Шаг 1: отобразите сцены и определите фокус. Разбейте сценарий на 8–12 коротких кадров, отметьте тон, освещение и текст на экране. Используйте google для быстрых ссылок и храните активы в общей папке, чтобы команда могла следовать.
Шаг 2: подготовьте активы. Загрузите подсказки модели, протестируйте клон вашего лидера и зафиксируйте репрезентативный вид с одним набором фона. Используйте генеративные подсказки для создания сцен, затем сохраните как шаблоны для редактирования.
Шаг 3: сгенерируйте первое прохождение. Запустите сцены через генератор, мониторьте последовательность и корректируйте темп. Держите подсказки конкретными: угол камеры, освещение, действие и движение персонажа, чтобы избежать дрейфа. Если нужны правки, сделайте быстрые повторные запуски, чтобы уточнить то, что вы хотите.
Шаг 4: редактирование и сборка. Импортируйте клипы в ваш редактор, обрежьте по размеру, добавьте чистое аудио и подписи, примените цветокоррекцию и рендерите финальный монтаж. Просто проверьте тайминг по сценарию выше, и если что-то звучит странно, скорректируйте подсказки и запустите быстрый проход повторно.
Безопасность и соответствие: установите фильтры, чтобы пропускать nsfw подсказки и избегать рискованного контента. Если кадр кажется неправильным, скорректируйте подсказки и запустите быстрый проход повторно вместо полной переработки проекта. Указанное руководство фокусирует ваш рабочий процесс и снижает риск манипуляции, или манипуляции, для людей, создающих легкие промо-фильмы.
Обмен и итерации: как только у вас есть твердый черновик, экспортируйте в 1080p или 4K, опубликуйте в вашем видео-канале и отслеживайте производительность. С устойчивым рабочим процессом вы можете сократить время производства, уточнить сцены и стремиться к более короткому сроку реализации, даже через месяцы тестирования. Революция очевидна: вы можете генерировать отполированные фильмы с несколькими осторожными подсказками и четким фокусом, и больше команд чувствуют возбуждение от результатов, прежде всего, когда вы держите это простым и измеримым.
Тонкая настройка выходов: инженерия подсказок, элементы управления стилем и проверки качества
Начните с фокусированной цели: определите субъект, зафиксируйте связанный набор ограничений и ориентируйтесь на стиль по клипам. Создайте компактный скелет подсказки, который легко адаптируется для дальнейших итераций и хранится в буфере студии для повторного использования. Эта настройка сохраняет заголовок, субъект и тон согласованными по клипам и фильмам, чтобы пользователи видели естественные переходы, когда аватар перемещается между сценами.
Инженерия подсказок для связных выходов
Определите компактный скелет подсказки, привязанный к дескриптору субъекта; это сохраняет заголовок и субъект согласованными по клипам. Используйте токены, которые вы можете легко корректировать для длины, тона, темпа и уровня детализации, чтобы получить естественное ощущение в финальных фильмах. Сохраняйте шаблоны в буфере студии и повторно используйте их по проектам; это сокращает итерации и поддерживает первое прохождение, ориентированное на связность. Когда вы корректируете подсказки, тестируйте изменения на небольшом наборе клипов, чтобы проверить соответствие по сценам и предотвратить резкие сдвиги на экранах. Этот научно обоснованный подход позволяет получать повторяемые, измеримые результаты. Защищайтесь от манипуляции, логируя подсказки и проводя быструю перекрестную проверку с отдельным рецензентом. Извлекайте insights из данных googles, чтобы калибровать темп и акцент для зрителей. Хранение этих заметок с метаданными субъекта помогает по всему рабочему процессу и сохраняет всех согласованными.
Элементы управления стилем и проверки качества
Стилевая оболочка: сохраняйте визуалы привязанными к единому стилистическому стилю по сценам, поддерживая последовательность уровня цвета по экранам. Установите конкретные оболочки для цвета, контраста, движения, типографики и анимации аватара, сохраняя тесную палитру, чтобы избежать дрейфа по экранам. Используйте простое правило: если любой кадр выходит за порог, запустите перерендеринг с скорректированными подсказками. Проверки качества охватывают три оси: согласованность стиля по сценам, последовательность тайминга и верность контента, плюс производительность аватара в сценах с быстрыми переключениями. Запускайте автоматизированные метрики для последовательности цветовых гистограмм, плавности движения и точности синхронизации губ, и дополняйте ручными обзорами на репрезентативной выборке клипов. Записывайте результаты и храните метаданные с временными метками и ID субъектов для поддержки аудитов и будущих правок. Экспортируйте выходы в нескольких форматах, чтобы обеспечить, что заголовок и вид студии остаются связными по устройствам, с связным ощущением для естественных фильмов и последовательностей под руководством аватара.
Коллаборативные рабочие процессы: обмен активами, разрешения доступа и обзоры
Настройте централизованную библиотеку активов с доступом на основе ролей сегодня, чтобы сократить циклы обзоров и защитить интеллектуальную собственность. Это облегчает товарищам по команде поиск активов, сравнение версий и захват заметок рецензента в одном месте. Создайте разрешения, специфичные для разделов, чтобы только сторона, ответственная за модуль, могла обновлять версию, в то время как другие ожидают отзывов. Используйте workflow в стиле google workspace, используя современные технологии с четкими метаданными для ускорения обнаружения, и держите активы организованными с помощью строгого именования и тегирования. Растущий ежемесячный ритм помогает: планируйте обзоры, публикуйте обновления и уведомляйте пользователей одним сообщением. За месяц проведите базовый аудит, чтобы проверить разрешения, удалить устаревшие активы и обеспечить, чтобы каждый актив имел историю версий и лог подсказок (промптов), который писатель понимает, как адаптировать подсказки. Эта видимость обеспечивает уведомление и ответственность для каждого товарища по команде и делает сотрудничество smoother для всех вовлеченных, от писателей до товарищей по команде и менеджеров. Это также помогает склонять исходы через лучшее prompting и тело заметок для рецензентов, подчеркивая, что любой в интернете может участвовать, когда доступ thoughtfully управляется.
Жизненный цикл активов и версионирование
Учредите единственный источник истины: каждый актив имеет тело описания, поле версии, автора, дату и теги. Ведите changelog и прикрепляйте текущие подсказки (промптов), использованные для генерации вывода. Используйте инкрементальное версионирование: v1.0, v1.1, v2.0; всегда связывайте подсказки с версией, которая произвела результат. Храните как минимум 12 месяцев истории или 24 версии, в зависимости от того, что наступит раньше, чтобы позволить откат во время обзора без риска для производственных активов. Реализуйте автоматическое обновление при одобрении изменений рецензентами; это делает историю traceable и снижает несогласованность. Для боковых проектов создайте папку, специфичную для раздела, и предоставьте доступ только тем товарищам по команде, которые там работают. Этот подход предотвращает случайные правки и помогает даже новым товарищам по команде быстро войти в курс дела. Это также служит надежным телом доказательств для аудитов и onboarding, которое растет с командой по мере того, как товарищи по команде и писатели вносят больше активов со временем.
Управление доступом и обзоры
Определите роли: писатель, рецензент и одобритель. Ограничьте доступ на запись лицом, ответственным за актив, и предоставьте доступ на чтение остальной команде. Используйте двухэтапное одобрение, где рецензент оставляет заметки, а одобритель подписывается; статус актива переходит из черновика в готовый. Используйте уведомления в платформе с триггерами уведомлений и позволяйте ожидать ответов в течение 48 часов, чтобы сохранить цикл tight. Документируйте решения в теле нити обзора; отметьте окончательное одобрение, опубликуйте и архивируйте старую версию. Этот workflow масштабируется по мере роста вашей команды: товарищи по команде и пользователи могут участвовать без трения, и активы остаются синхронизированными по мере расширения на новые проекты, месяцы и команды. Это становится надежным процессом, который любой может следовать, даже когда вкладчики распределены по разным регионам и устройствам.
Измерение воздействия: метрики, аналитика и советы по оптимизации
Установите базовый уровень времени просмотра в первые 15 секунд и настройте наложения, чтобы снизить отток в первой сцене; отслеживайте, где зрители останавливаются, и корректируйте маршрут и кадрирование тела соответственно.
Ключевые метрики для отслеживания
- Удержание по клипу: измерьте, как долго зрители смотрят каждый клип, и сообщайте уровни по интро, телу и аутро; отслеживайте по этим сегментам по мере роста videoslength.
- Кликабельность и эффективность маршрута: подсчитывайте события кликов на наложениях и призывах к действию, и отображайте их по маршруту до конверсий.
- Влияние субъекта, объекта и создания: анализируйте изменения в субъекте, объекте и создании сцен, включающих одежду, чтобы увидеть, как реализм влияет на удержание.
- Качество изображений и медиа: оценивайте качество изображений, цветокоррекцию и освещение; коррелируйте с временем просмотра и вовлеченностью по каждому клипу.
- Где всплески вовлеченности: идентифицируйте моменты по интро, переходам и наложениям, где длительность просмотра увеличивается, и оптимизируйте эти точки соответственно.
- Маркеры operationdone: логируйте operationdone при сменах сцен, чтобы упростить отладку и согласовать сигналы с поведением зрителей.
- Производительность по устройствам: сравнивайте метрики по телефонам, планшетам и десктопам; обеспечивайте последовательное удержание и кликабельность по платформам.
Книга оптимизации
- Сформируйте гипотезу для каждого изменения (например, более tight интро или разные наложения) и протестируйте с равными размерами выборки; отслеживайте влияние на videoslength и завершение.
- Позвольте данным руководить правками: это позволяет выбрать самые эффективные интро и клипы и применить их по маршруту; выбирайте элементы, которые показывают растущую вовлеченность по аудиториям.
- Настройте первые секунды: уменьшите трение в начальных кадрах; используйте реалистичные визуалы и четкую презентацию субъекта для улучшения удержания.
- Соображения активов и тарифных: мониторьте производительность по сегментам тарифных, чтобы избежать перерасхода на плохо работающие вариации.
- Итерации с маленькими шагами: корректируйте плотность наложений, детали одежды или наличие субтитров в равных маленьких шагах; измеряйте дельту в кликах и удержании.
📚 Больше о генерации ИИ и подсказках
- Google Veo 3 - Революция в генерации видео - Как попробовать
- Революция видео ИИ - Как Veo 3 переопределяет создание контента в 2026
- Революция видео ИИ - Как Google Veo 3 трансформирует маркетинг
- Революция видео ИИ - Как Veo 3 трансформирует создание контента в 2026
- Освойте VEO 3 бесплатно - Руководство 2026 по революции видео ИИ Google
Ready to leverage AI for your business?
Book a free strategy call — no strings attached.


