Veo AI mot traditionella redigeringsverktyg – Vilken vinner för skapare?


Välj Veo AI som ditt basverktyg för de flesta projekt; det hjälper till att minska friktionen i skapandet, påskyndar iterationer och flyttar uppgifter mot färdiga medier snabbare.
Veo AI möjliggör automatiska grova klipp, scenupptäckt över segment, AI-genererade förslag och en sömlös arbetsflöde driven av intelligens som förenar redigering, tillgångshantering och metadata inom en enda applikation.
I kontrollerade tester rapporterade team som använde denna approach en 30-50% minskning i redigeringstid för kortformigt innehåll, medan iterationscykler sjönk från 4–6 till 2–3, och det minskar revisionsbelastningen över segment, vilket bidrar till fler färdiga utkast.
För nyanserad färgkorrektion, ljuddesign och varumärkesspecifika estetiska, lägg till en traditionell redigeringsapplikation i arbetsflödet, bevara kontrollen och tillåta en människa att vägleda den sista iterationspassningen innan export.
Anta en hybridapproach: börja med Veo AI för grova klipp och AI-genererade förslag, sedan avsluta med din pålitliga applikation för att finalisera beröringar, skapa ett sammanhängande resultat över medier och segment.
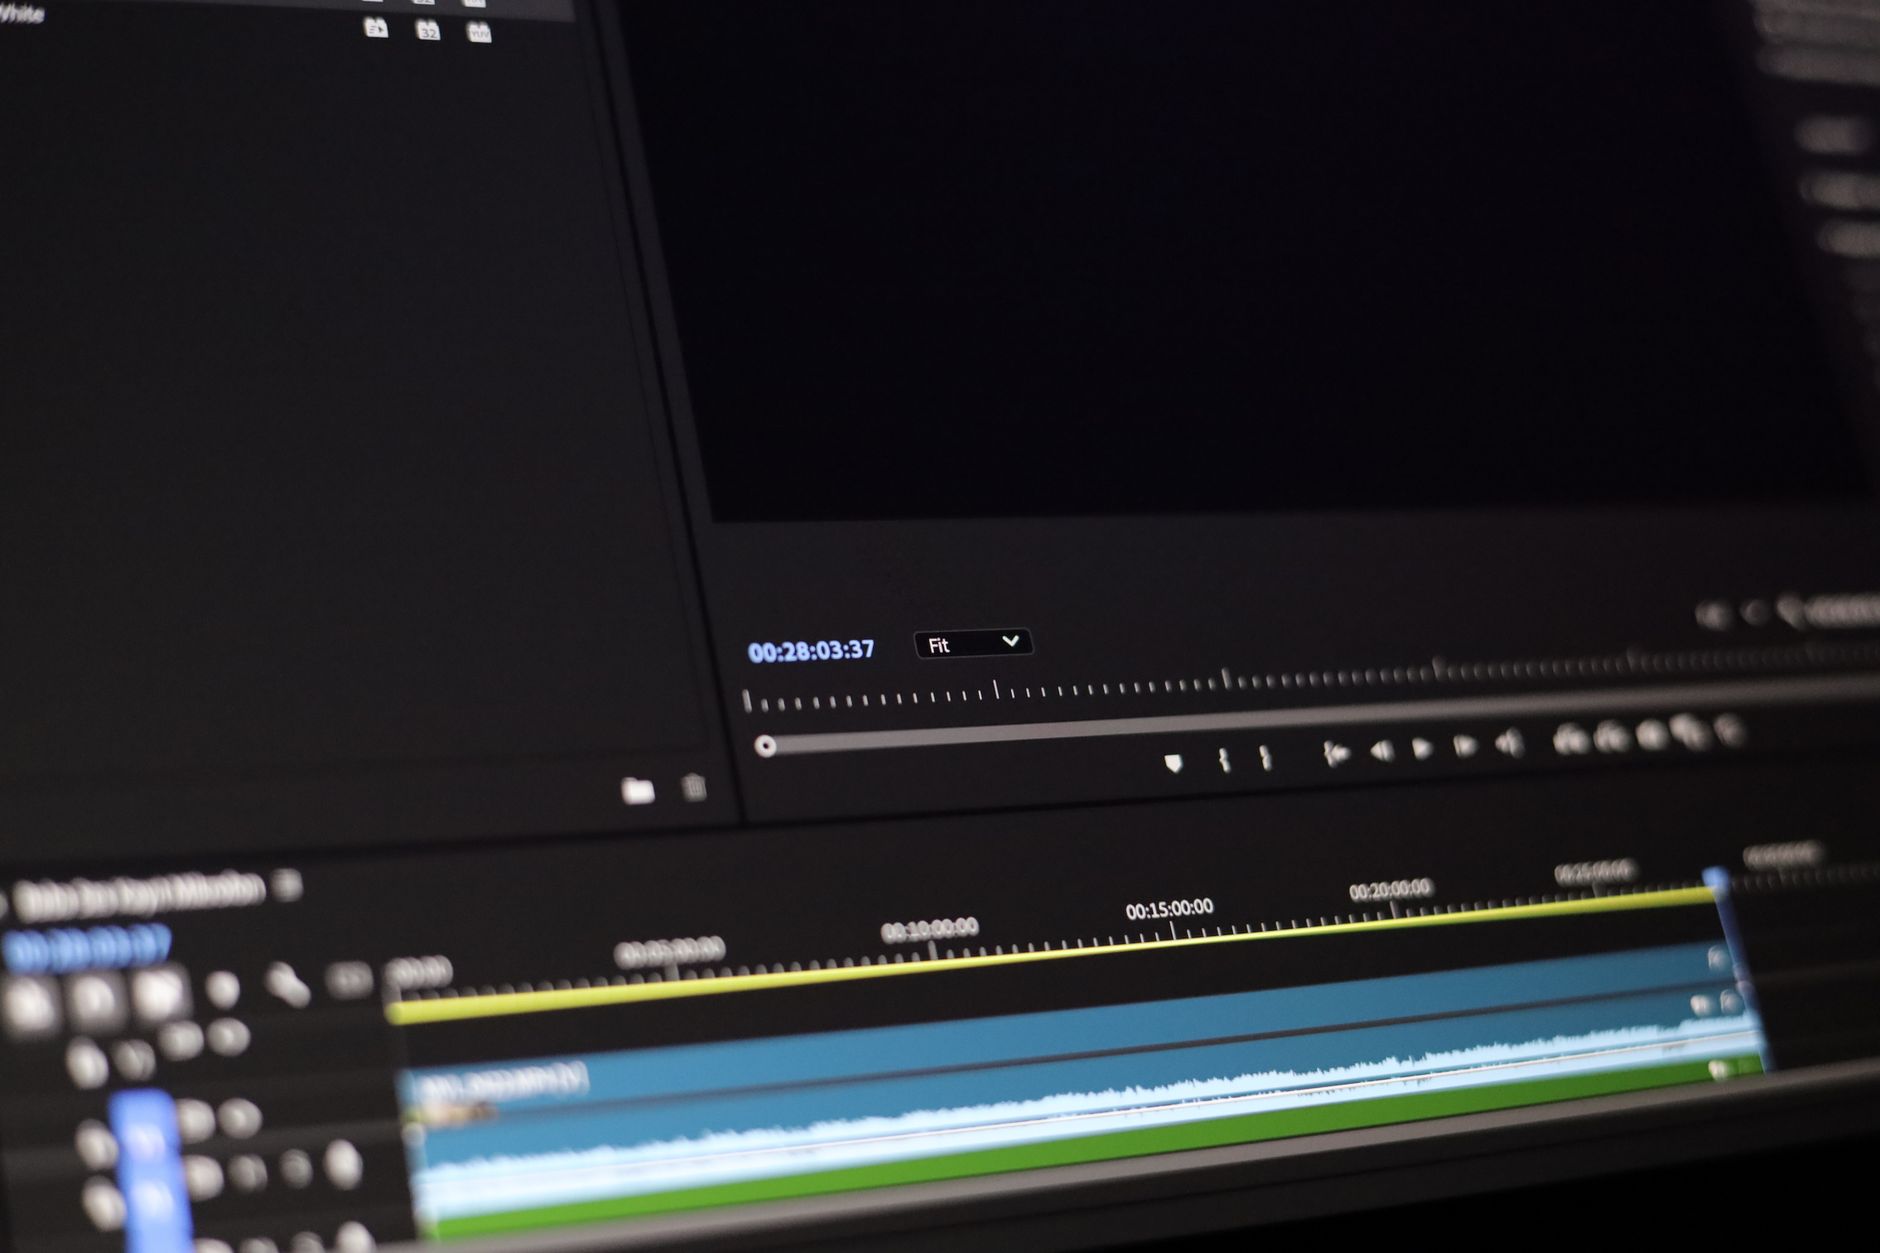
Verklighetsbaserad redigeringstid: Jämför Veo AI-autoval med traditionella manuella redigeringar
Välj Veo AI-autoval för realtidsredigeringar och para det med riktade manuella justeringar för kantramar. I en praktisk jämförelse står denna approach som utgångspunkt, minskar redigeringscykeln på shorts med cirka 35-50% och levererar konsekventa resultat över ett realtidsintervall av scener.
Veo AI fungerar genom automatisk analys som skannar skuggor, rörelse och animationer för att föreslå klipp, övergångar och färg-effektalternativ. Kärnmotorn utnyttjar gemini-inspirerade mönster för en realistisk baslinje som de kan godkänna i realtid, vilket sparar minuter på längre projekt och skalar med högre nivåer av komplexitet, levererar förbättrad noggrannhet.
Att välja automation vs manuell polering definierar var du investerar resurser och kräver tillstånd från team. De kräver skickliga redigerare för att justera både de kreativa och tekniska lagren, vilket ofta ökar den totala tiden och håller många utfall bundna till engångsjusteringar snarare än ett flexibelt, pågående arbetsflöde.
Praktisk vägledning för skapare
Anta ett två-nivå arbetsflöde: kör Veo AI-autoval som den initiala passningen, sedan applicera manuell polering på en delmängd av ramar där noggrannhet betyder mest. Denna approach fungerar bra för shorts och snabba vändningar av innehåll, medan det tillåter högre-nivå projekt att låsa in kreativ avsikt med ytterligare manuella kontroller. Ställ in intervall för rörelse, belysning och skuggor för att säkerställa konsekventa effekter över scener.
Implementeringschecklista
Konfigurera ett tillståndsbaserat arbetsflöde för att besluta vilka projekt som kör automatiserade passningar och vilka som får manuell polering; definiera team och roller; använd en engångsuppsättning för att föra in dina stilnyanser i autovalet; övervaka resultat över ett brett intervall av innehåll och många format för att skärpa fokus på var automation ger mest värde. Spåra mått som redigeringstid, effektkonsistens och förmågan att välja vilka ramar som får extra uppmärksamhet.
Kvalitetsutfall: Färgkorrektion, Stabilisering och Ljud med Veo AI och Kling
Börja med Veo AI: det applicerar färgkorrektioner automatiskt över scener, och stabilisering sker i realtid, frigör dig att fokusera på komposition och berättande. Detta främst apparatsdrivna arbetsflöde har antagits av skapare som vill ha snabba, pålitliga resultat över b-roll, eftertexter och nyckelscener, med alternativet att anpassa med kurvor och referensramar. Om du siktar på konsistens kan du applicera samma grad över perioder av ett projekt på en minut, även om du kan besöka en handfull ramar för minutdetaljer.
Praktiskt arbetsflöde: färg, stabilisering och ljud
Färgkorrektion och grading: Låt Veo AI etablera baslinjeexponering och vitbalans över scener, sedan finjustera med kurvor för att balansera skuggor, mitttoner och högdagrar. Även om det är automatiserat kan du enkelt justera individuella ramar för att bevara minutdetaljer och hudtoner. Resultatet förblir tillgängligt på olika skärmar, stödjer tillgänglighetsmål. För sociala och webbinlägg, enifiera ett utseende så att detaljer i skuggor eller högdagrar bevaras; till skillnad från manuell grading kan du skala ett valt utseende över perioder av ett projekt och över Instagram-klipp medan du behåller per-scen-justeringar. Systemet stödjer experiment med ett särskilt, cinematiskt utseende utan att låsa dig till en enda stil, och du kan investera tid i att aligna färger med scenens semantik för att undvika missmatchningar.
Stabilisering och rörelse: Veo AIs stabilisering minskar kameraskakningar medan det bevarar viktiga detaljer; du kan justera stabiliseringsstyrkan från mild till stark och aktivera horisontlås för landskap. För bästa resultat, integrera stabilisering med din kamerarörelseplanering över scener och b-roll; nyckeln är att undvika aggressiv beskärning som klipper eftertexter eller sänker läsbarheten av text. Kling bidrar genom att hålla ljudet stadigt med inbyggd brusbehandling, så att visuella känns sammanhängande även när du rör dig genom olika perioder av material. Den kombinerade approachen hjälper dig att leverera ett sammanhängande projekt, där visuella och ljud alignar automatiskt för de flesta tittare. Även om rörelsen kan vara dynamisk kan du fortfarande behålla fokus på berättelsen snarare än att brottas med tidslinjen.
Kling ljudpolering: Kling levererar brusreducering, dialogisolering, spektralreparation och dynamiskt omfångskontroll, alla justerbara med några reglage för att passa mixen. Du kan anpassa EQ-band och komprimering för att matcha projektets stämning, oavsett om det är en lugn intervju eller högenergi-socialt innehåll. Eftersom Kling fungerar på samma pipeline kan du aligna ljudet med videotidning, skapa smidiga korsfade och infoga rent rumston för längre sekvenser. Detta är särskilt hjälpsamt för eftertexter och minuts-långa ambientsegment. Ur ett arbetsflödesperspektiv kan du investera tid en gång och återanvända samma ljuduppsättning över flera projekt, förenkla uppdateringar och behålla konsistens för Instagram-reels och andra plattformar. Du har kontroll över ljudet över hela redigeringen.
Tillgänglighet, integration och praktiska tips: lägg till undertexter med Veos verktyg eller Klangs transkriptfunktioner; säkerställ att rörelse- och färgnivåer är läsbara på mobila skärmar; du kan anpassa animationsöverlägg som titel- eller undertextanimation för att reflektera ditt varumärke. Integrera detta arbetsflöde med befintliga appar är enkelt, och du kan börja smått med ett enda avsnitt innan du skalar till en hel säsong. Om du har föråldrade verktyg i din kedja kan denna approach drastiskt minska handöver och omarbete, spara dig tid och förbättra den slutliga poleringen. Även om du har provat liknande uppsättningar tidigare tenderar denna kombination att leverera snabbare, mer konsekventa resultat, vilket gör det lättare att investera i långsiktig kvalitet för ditt projekt. Du är redo att publicera med förtroende, med detaljer som betyder något och ett fokus på tillgänglighet och klarhet.
Arbetsflödesintegration: Hur Veo 3 och Kling mappas till Filmoras tidslinje och verktyg
Börja med att fästa Veo 3-klipp på Filmoras V1-spår och placera Kling-utdata på V2 för att bevara rörelseinnehåll. Denna alignering producerar en sammanhängande bas och använder skuggor och rörelse från varje källa utan att skapa onaturliga färgskift. Använd Filmoras färg- och texturverktyg för att enifiera utseendet, och håll de finaliserande stegen i en enda pass för att minska fram-och-tillbaka. Denna uppsättning utnyttjar teknik och förblir användarvänlig, med en prenumeration som täcker mallar, stocktillgångar och prioriterat stöd för skapare.
Bästa praxis börjar med en mall: tre videospår (V1 Veo 3, V2 Kling, V3 överlägg), ett ljudspår och ett textspår. Importera format inklusive MP4, MOV och ProRes där det stöds. Mappa Klangs actionsnyanser–rörelse och texturjusteringar–till överlägg så att textur matchar över klipp. Lås exponering och färg med LUTs för att undvika onaturliga färgskift. Använd keyframes för smidig rörelse, och ställ in exportupplösningar för att matcha ditt målprojekt; detta förbättrar noggrannheten och minskar revisioner. Arbetsflödet hanterar tunga medier även på instegsmaskiner när du aktiverar proxies vid behov.
Nybörjare uppskattar färdiga actionsmallar och färgmallar, medan varumärken kan skapa ett delat arbetsflöde med en dedikerad projektfil och en enda prenumeration. Veo 3 producerar autonoma klipp med ren rörelse; Kling lägger till textur och belysningskorrektioner som förblir sammanhängande när de appliceras i skala. Resultatet stödjer snabba actions och snabbare finalisering, med mindre fram-och-tillbaka mellan redigerare.
| Aspekt | Veo 3-mappning | Kling-mappning | Filmora-verktyg / teknik | Praktiskt tips |
|---|---|---|---|---|
| Källformat och importer | Utdata från Veo 3 är native på V1, redo för färg och stabilisering | Utdata från Kling är iscensatta på V2, optimerade för textur och ljusjusteringar | Använd Filmora Import-panel, aktivera proxies för 4K vid behov | Inkludera MP4, MOV och ProRes där det stöds för att behålla noggrannhet |
| Tidslinje-layout | V1 för primärt material, V2 för actionsnyanser, V3 överlägg | V2 för textur- och ljusnyanser, överlägg på V3 | Märk spår tydligt, lås spårordning, använd markörer för actionbeats | Behåll en konsekvent namngivningskonvention för att påskynda samarbete |
| Rörelse och skuggor | Autonom rörelse från Veo 3 bär rörelsesnyanser | Texturskift och skuggdjup från Kling alignar med baslinje | Keyframes, rörelsespårning och stabiliseringsverktyg | Justera rörelsetempo för att matcha pacing; undvik drift över spår |
| Färg och textur | Baslinjefärger från Veo 3; mindre korrektioner behövs | Textur- och skuggjusteringar för att enifiera utseende | LUTs, färg hjul och texturpaneler | Applicera konsekventa LUTs över klipp för att förhindra inkonsekvenser |
| Effekter och övergångar | Använd sparsamt för att bevara naturlig rörelse | Överlagda element kan bära textur genom övergångar | Omfattande effektsbibliotek; håll övergångar alignade till action | Testa på en kort sekvens innan du applicerar brett |
| Text och titlar | Texter överlagrade bundna till actionögonblick | Titlar reflekterar texturförändringar och färgjusteringar | Textmallar och rörelsemallar | Exportera undertexter och säkerställ läsbarhet vid målopplösningar |
| Ljudhantering | Dialog eller ambience på dedikerat spår | Submix med nyanser från Klangs atmosfärarbete | Ljud ducking, fade och EQ-verktyg | Matcha nivåer över klipp för att behålla konsistens |
| Export och upplösningar | Slutexport alignar med projektmål | Bevara textur- och rörelseinnehåll vid export | Mallar för 1080p, 4K och mobila format | Välj målopplösningen först för att undvika omformatering |
Kostnad och licensiering: Prenumerationer, gratis provperioder och långsiktigt värde över lösningar
Börja med en 14-dagars gratis provperiod av generator-drivna alternativet och kör det på tre projekt för att jämföra kostnader mot en traditionell redigerare för liknande uppgifter. Besluta sedan baserat på total utgift över 12-24 månader. Prenumerationer ger förutsägbara månatliga kostnader; eviga licenser kräver högre förskottsbetalning men lägre pågående avgifter, och ibland inkluderar underhållsavgifter. Starterprenumerationer kör typiskt runt $12-20 per månad, mellan-nivå $25-40 per månad, och premium $60+ per månad. Årliga planer rakar ofta 15-25% av den månatliga räntan. För vissa team minimerar en blandad approach–kärnredigering via ett traditionellt verktyg plus en AI-assistent för automatiserade actions–brus och hanterar volym smidigare, med värde som formas genom dina projekt.
Gratis provperioder låter dig observera problem som brus i utdata, inkonsekvens och UI-friktion. Under provperioden, testa för realtidssamarbete, generatorstabilitet under volym över dussintals tillgångar, och förmågan att reproducera utdata över flera projekt. Säkerställ att ditt fokus stannar på verklig kvalitet och på publiken snarare än processkomplexitet. Om du har testat båda vägarna har du fått klarhet om var du ska investera. Ger verktyget sammanhängande resultat över scener, och kan det forma ditt berättande för publiken över format? Det bör också erbjuda hyperrealistiska förhandsgranskningar som alignar med verkliga utdata, utan att introducera nya brus eller missmatchningar.
Långsiktigt värde hänger på hur väl verktyget skalar med din volym av arbete. Om du konsekvent lägger till tillgångar tenderar en AI-driven lösning att minska manuella steg, låta dig fokusera på kreativ formning. Jämför kostnader på en per-projektbasis: summera licensiering, molnlagring och eventuella per-tillgångsavgifter; subtrahera tiden sparad av automation; dela sedan med projektantal för att få ett praktiskt mått. Senare, omvärdera och justera nivåer när dina projekt ackumuleras. För uppkommande team minimerar att börja med en enda betald nivå och expandera när du växer risken medan du bevarar flexibilitet för senare generationer av skapare.
- Lista alla behov: mallar, samarbete, lagring och distributionskanaler inom din publik.
- Kör 2-veckors provperioder på Veo AI och en traditionell redigerare.
- Spåra mått: tid till leverans, utdatakonsistens, sammanhängande över scener och publikfeedback.
- Beräkna total kostnad över 12-24 månader; inkludera dolda avgifter, lagring och per-tillgångsavgifter.
- Bestäm en plan som ger högre långsiktigt värde för dina projekt.
Det rätta alternativet kombinerar en stabil prenumeration med skalbara funktioner, levererar verkligt värde över budgetar och projekt.
Inlärningskurva: Uppsättning, genvägar och introduktion för skapare nya till AI-redigerare
Strukturerad uppsättning och en snabbstartplan
Börja med en 7-dagars introduktionssprint: välj en AI-redigerare, ladda en polerad förinställning och slutför tre redigerade utdata över scenarier. Denna head start håller bearbetningen förutsägbar och låter dig jämföra resultat över kanaler. Använd en enda mall för att krympa iterationstid och bygga muskler med prompts. Spåra framsteg på spår i en enkel tidslinje och logga hur ofta du byter mellan uppgifter. Denna approach minimerar friktion medan du bygger en bas av redigerat innehåll som du kan återanvända senare. Ibland ser du snabba vinster, och detta beror på hårdvara och klarheten i prompts. Behåll mallar med en snabb före/efter-jämförelse för benchmarking.
Konfigurera arbetsytan för tillförlitlighet: organisera spår (video, ljud, överlägg), förbered ett resurs paket (stockklipp, SFX) och lås exportinställningar för varje kanal. En tränad modell hjälper med konsistens; om du byter redigerare, stäm prompts för att passa din nisch och utnyttja syntes av idéer från skuggor. Godkänn en stilguide och ett vattenmärke för att säkerställa polerade utdata över instagram och andra populära kanaler. Kör en testrendering för att verifiera bearbetningshastighet och utdatakvalitet, jämför redigerade resultat mot en referens, och justera prompts eller syntes för att skärpa idéer och skuggor för ett rikare utseende. Denna fas beror på din hårdvara och klarheten i prompts och kan driva expansion när du lägger till fler scenarier och funktioner. Siktar på förbättrad effektivitet när du växer.
Genvägsvinster och validering
Identifiera fem måste-använda genvägar som påskyndar kärnuppgifter: hoppa till tidslinje, byta redigeringslägen, trimma, applicera förinställningar och batchrendera. Dessa rörelser klipper tid, ibland med hälften, och håller headspace hanterbar under deadlines. Para genvägar med ett två-stegs arbetsflöde för att byta modeller eller tillgångar, så att du kan testa idéer snabbt och jämföra utfall över olika spår och kanaler. Denna uppsättning hjälper dig att nå ett polerat resultat snabbare än att jonglera fönster.
Validera genom att köra en lättviktig simulering: ladda en 60-sekunders bit, kör två varianter och jämför testresultat på mått som bearbetningstid, färg konsistens och godkännandeförtroende. Använd ett enkelt förhållande av tid sparad till kvalitetsvinst för att besluta när du ska behålla eller förfina en teknik. Dokumentera fynd som en resurs för framtida redigeringar och spåra förbättringar när du blir mer tränad med tekniken.
Exportalternativ: Filformat, upplösning och hastighet över plattformar
Exportera de flesta projekt som MP4 (H.264) vid 1080p med 8–12 Mbps för online-distribution; använd två-pass kodning för att förhindra abrupta kvalitetsfall; behåll en professionell-grad master i ProRes 422 HQ (MOV) eller DNxHR för arkiv; för transparens, exportera ProRes 4444 om det krävs.
Format du bör överväga är MP4 (H.264) för allmän leverans, MOV med ProRes 422 HQ för redigering och högupplöst granskning, och ProRes 4444 eller PNG/TIFF-sekvenser när förlustfria ramar eller alpha-kanaler betyder något. WebM täcker några webbläsare, men MP4 förblir den mest universella. Använd generiska förinställningar för att konvertera dem automatiskt för varje destination, så att du kan leverera dem utan manuella om-renderingar.
Upplösningsvägledning: sikta på 1920x1080 (16:9) för de flesta skärmar, och 3840x2160 (4K) när klienter kräver hög trohet eller framtidssäkra masters. För mobil-först plattformar, lägg till 1080x1920 vertikala klipp eller 1080x1080 kvadratiska beskärningar för att respektera identitet och plattformsbegränsningar. Primärt, börja från 1080p och upscale bara när en klient explicit kräver högendetalj; downscale 4K-källor till 1080p för effektivitet utan att offra realism.
Hastighet över plattformar: exportering lokalt på en modern desktop med GPU-acceleration klipper typiskt 1080p-renders till cirka 1–3 minuter för ett 10-minuters projekt; 4K kan köra 4–10 minuter beroende på hårdvara. CPU-enda arbetsflöden kan vara 2–5x långsammare. Molnexport lägger till overhead och kan vara dyrt per period av tung användning, så soloskapsare balanserar ofta hastighet med kostnad genom att hålla kärnarbete lokalt och exportera finala klipp till molnet bara för leverans. AI-assisterade förinställningar kan automatiskt stämma bitrate, färg och format för att passa de flesta destinationer, leverera realistiska resultat utan att offra arbetsflödeshastighet.
Praktiska tips: bygg plattformsspecifika förinställningar för att bestämma det bästa formatet per destination, och behåll en varumärkesidentitet över utdata med konsekvent upplösning och färgrymd. Involvera en mänsklig granskning för den finala passningen på kritiska projekt, särskilt när klientidentitet betyder något. Spåra dina krediter och lagringsanvändning för att undvika kostsamma perioder av översvämning, och behåll en startmaster i ett högupplöst format för framtida om-redigering.
Användningsfallsplaybooks: När ska man välja Veo AI, Kling eller traditionella redigeringsvägar
Stor effektivitet börjar med en klar approach: använd Veo AI för snabba utkast, lager Kling för varumärkeskonsistens, och reservera traditionella redigeringsvägar för högupplösta finishar. Detta låter dig behålla kontroll, minska omarbete och aligna med ägande över ett intervall av kanaler.
- Snabb sociala klipp med Veo AI
- Rekommendation: börja med Veo AI för att generera ett grovt klipp på minuter, med gratis mallar först och uppgradera till premiumalternativ när du behöver tightare varumärkesalignering. Detta låter dig testa flera alternativ snabbt.
- Effekt: förvänta en lägre initial redigeringsbelastning, med 60–75% av första-pass-tid sparad jämfört med manuella redigeringar. Du kan visa framsteg per månad, batcha 6–12 klipp för en stadig kadens.
- Ägande och omfattning: du behåller ägande av kärntillgångarna; Veo AI hanterar den initiala passningen medan du förfinar rösten och pacing i ditt eget arbetsflöde.
- Bästa-användningssignaler: kortformiga format (TikTok, Reels, Shorts) och snabba tutorials där hastighet betyder mer än perfekt polering.
- Varumärkescampagner och multi-kanal körningar med Kling
- Rekommendation: ta in Kling när varumärkssäkerhet och konsistens betyder något över ett intervall av utdata. Klangs varumärkesmallar och intelligens hjälper till att behålla ton, färg och typografi medan du skalar.
- Effekt: minskar drift och sänker risk över kanaler, möjliggör ett sammanhängande utseende utan att återskapa tillgångar från grunden. Låter dig generera ett högre antal variationer effektivt.
- Ägande och kontroll: du äger de finala tillgångarna; Kling-utdata stannar alignade med dina varumärkesriktlinjer, gör policy- och rättshantering enklare.
- Bästa-användningssignaler: kampanjer som kräver ett solitt, upprepbart utseende över sociala, webb och annonser, med ett behov av att balansera hastighet och polering.
- Premium, högupplösta redigeringar med traditionella redigeringsvägar
- Rekommendation: reservera traditionell redigering för långformiga eller flaggskeppsbitar som kräver sofistikerad färggrading, ljuddesign och rörelsegrafik. Denna väg levererar den högsta nivån av kreativ kontroll.
- Effekt: stödjer en förfinad, cinematisk känsla och komplexa effekter; tidslinje sträcker sig typiskt över veckor, men utfall möter premiumstandarder och klientförväntningar.
- Ägande och rättigheter: full kontroll över tillgångar, tillgångslicensiering och leveranser; essentiell för klienter med strikta varumärken eller regulatoriska krav.
- Bästa-användningssignaler: varumärkesvisningar, produktlanseringar eller klientarbete där minutiös polering och interpretativ nyans genererar stark påverkan.
- Hybridarbetsflöden: kombinera Veo AI, Kling och traditionell redigering
- Rekommendation: använd Veo AI för ett initialt klipp, applicera Kling för att aligna med varumärkesriktlinjer, sedan handoff till traditionella redigerare för polering på den finala passningen. Detta visar en balans av hastighet och sofistikering.
- Effekt: klipper cykeltider medan det bevarar kvalitet; låter dig skala innehåll utan att offra kontroll eller konsistens.
- Ägande och omfattning: du hanterar mastertillgångarna på varje stadium; hybridvägen bevarar dina rättigheter medan den utnyttjar automation för effektivitet.
- Bästa-användningssignaler: multi-format kampanjer med tighta deadlines och höga kreativa barer, där du behöver snabb vändning plus en premiumfinish.
📚 Mer om AI-generering & Prompts
- Gemini mot ChatGPT 2026 - Vilken AI är bättre?
- ChatGPT använder Google Search som fallback - Vad det betyder för AI-verktyg
- 8 bästa AI-bildgeneratorer 2026 - Toppverktyg för visuella
- Ersätter AI-verktyg som ChatGPT, DeepSeek och andra psykologer?
- Topp 10 gratis AI-promptbyggare och verktyg som konstnärer faktiskt använder i
Ready to leverage AI for your business?
Book a free strategy call — no strings attached.


