Veo 3 教程 - 终极初学者指南


推荐: 创建一个每月计划,带有清晰的目标,并在我们的博客中记录进度。每周设置三个练习块,这个月总共12个会话,并跟踪努力与实际结果之间的匹配如何影响我们的方法。
从核心概念开始。在 Veo 3 中,您将使用真实的时间线、现代预设和简单的生成器来组装剪辑。在动作之间保持片刻静止以验证每个调整,并旨在实现一个流畅的工作流程,产生一个您可以重用的结果。通过定义一种风格——柔和、活泼或大胆——来构建您的角色,并为每个项目测试两种图像处理方式,选择最适合您的氛围和受众的一种。界面感觉像一个木制工具箱:坚固、直观,并随时随着您的势头成长。
为了获得具体收益,请遵循这些步骤:使用干净的模板,导入两个剪辑,调整时间以保持过渡准确,渲染一个30秒的剪辑,并将结果与明确定义的目标进行比较。在笔记中跟踪我们的目标,并检查执行步骤与最终结果之间的匹配如何变化。使用一个简单、可重复的检查清单,以便您的下一次通过更精确地改进,准确地将行动与期望对齐。
通过将每个更新与快速检查配对来保持势头:将完成的剪辑与您的目标进行比较,记录实际改进,并调整下一次会话以缩小期望与结果之间的差距。在博客中使用每月审查来反思什么有效,什么无效,并分享捕捉进步的图像样本。我们的语气保持乐观,节奏保持稳定,以支持每个级别的学习者。
导入素材并组织剪辑以构建清晰的角色线程
将所有素材导入您的编辑器,并立即通过使用负责的角色名称标记剪辑来创建一个专用的角色线程。使用简洁的场景标签、秒数时间提示和背景笔记,以在编辑的各个世代中保持连贯性。
按角色弧线组织成单独的容器:老年、青年、对抗者。将相关镜头置于单个标签下,然后为每个场景创建子文件夹。使用近景和广角来映射场景间的外观,并保持镜头类型(手持、三脚架或吊臂)的运行日志,以在从一个场景移动到下一个时保持节奏。
在剪辑级别添加元数据:对话语言、存在主义节拍和情感语气。每15至20秒间隔标记一次,以锚定角色弧线,从而观众可以以最小的认知负荷跟随线程。为每个角色使用一致的颜色标签以支持自信、快速的扫描。如果一个节拍几乎难以察觉,附加一个笔记来指导编辑,并在需要时添加更多上下文。
当您处理多机位或变化的照明时,记录背景因素并应用简单调整以保持连续性。如果一个场景包括水洼,记录反射如何影响外观以及扭曲角度如何改变氛围。按场景类型和角色分离剪辑,以防止在 kapwing 中审查序列时混淆,然后使用干净的时间线导出。
在适当的地方包含标记“инею”以指示线程中的氛围转变。
| 角色 | 剪辑 | 场景 | 秒数 | 笔记 | 标签 |
|---|---|---|---|---|---|
| 老年 | clip_01.mp4 | scenes_01 | 24 | 明亮背景;近景手势;水洼反射,扭曲外观 | 老年,背景,近景,外观 |
| 儿童 | clip_05.mp4 | scenes_02 | 32 | 明亮能量;手部动作;存在主义提示 | 儿童,外观,战略 |
| 成人叙述者 | clip_12.mp4 | dialogue_scene | 15 | 语言提示;稳定镜头 | 语言,战略 |
使用时间线和里程碑在 Veo 3 中定义角色弧线
映射一个6周的时间线,带有四个里程碑和一个转折点,以在 Veo 3 中定义您的角色弧线。固定核心需求和障碍,然后展示每个选择如何在可观察的时刻改变结果,而不是叙述。慢慢揭示发展,通过围绕角色的场景收紧,让干净的流程引导观众。使用官方提示测试变体,并迭代直到提示感觉完全正确(именно)。有时您需要实验角度,但保持顶视图一致,以便观众阅读变化。当强调转变时,使用推进镜头来加强焦点,或使用卷曲相机移动来镜像内部变化。确保外观变得更自信,顶视图保持上下文清晰。您可以在每个里程碑引入新的关系或技能,创建一种自然的感觉到的可见进展。社区可以通过分享草稿和留下反馈来帮助,这保持工作温暖且接地。弧线不是关于闪光;它是关于跨级别(уровня)的稳步发展。照明应在关键帧上柔和地发光——светится——以强化语气,温暖的调色板有助于观众与角色连接。
时间线和里程碑模板
第1周 – 设置:建立目标、约束和语气。里程碑1触发一个改变关系的选择。第2周 – 压力积累:一个小失败测试策略。里程碑2显示角色适应;一个测试场景展示成长。第4周 – 中点转折:角色接受新路径;里程碑3标记势头。第6周 – 解决:里程碑4以温暖的结论结束,并显示运动的外观和流动的可见改进。
使用 Veo 3 工具实现
使用提示制作场景;测试变体;双击设置关键帧;添加另一个里程碑;使用顶视图框定更广泛的上下文;使用推进和卷曲移动标记转折点。将照明与氛围对齐:温暖的颜色和柔和的光芒使时刻感觉应得。为了强调,让主体在每个里程碑进入新行为或技能,同时忠于策略并保持视觉干净。创作者应监控与其他场景的重叠,社区输入有助于精炼节奏和可读性。开发笔记保持输出一致;记住,不是仅关于宏大效果,而是关于清晰、可观察的变化。有时一个简单的眼神或手势比长篇文本传达更多,因此使用行动的流动来讲述弧线。
规划展示通过行动、反应和对话成长的场景节拍
推荐:设计一个8部分的节拍计划,通过行动、反应和对话展示成长。将每个节拍置于现代城市街区的人行道上,毛毛雨在水滴和外套上凝结;尽管有毛毛雨,时刻感觉清晰。通过具体提示如移动的椅子、短信或暂停的呼吸跟踪变化。使用动机的生成器——小胜利,而不是宏大的演讲——来照亮跨场景的进步。保持语言精确且可观察,而不是抽象,一个角色稍后回溯的符号。
节拍1 – 行动优先:从一个具体、可重复的行动开始,信号新习惯。角色锁上门、归还借来的物品或整理工作空间,其效果在场景中荡漾。内部,一盏街灯闪烁;水滴在外套上凝结,因为毛毛雨触及夹克,信号语气转变。
节拍2 – 反应:让他人以混合信号回应。行动触发同事或邻居的反应;城市噪音膨胀,一个短信提示到来,视角分歧。尽管有摩擦,主角保持冷静,揭示韧性。
节拍3 – 对话:简洁的交流揭示价值观。谈话跨越语言,潜台词暗示每个角色害怕失去什么。台词以实际决策落地,缩小情感差距并为后续设置赌注。
节拍4 – 带风险的行动:角色选择一条测试舒适区的路径。他们向边界迈步,避免旧习惯,场景打开新可能性——优势转向更大胆的选择。
节拍5 – 中点转折:一个失误测试计划,但角色重新校准策略。过程集中在可控制的事物上,小胜利积累,为接下来的节拍打开进步之门。
节拍6 – 后果:新习惯改变他人对待主角的方式。导师或同伴重新校准期望;对话围绕对世代重要的事物循环,强化动态和信任的转变。
节拍7 – 高潮:当角色面对最终测试时,冲突达到顶峰。一个银色机会到来或艰难选择关闭,场景锁定迄今展示的成长,为未来行动提供清晰的转折点。
节拍8 – 后果和开放循环:以清晰的成长信号和未来场景的开放线程结束。角色将变化带入内部,影响跨世代的下一个弧线,开放问题邀请读者期待接下来发生什么。
制作对话和画外音以揭示动机而无需说明
从一个紧凑的时刻开始,其中动机通过行动而非解释浮现。可见一个角色的需求如何塑造姿势、对标牌的快速瞥视和简短、安静的台词,同时毛毛雨穿越早晨的人行道。使用具体视觉(外套、围巾或外套袖子)并让场景呼吸;观众应从角色所做的事推断为什么,而不是他们所说的话。
- 通过约束定义动机。 识别一个人无法大声说出单一目标。这将每个手势和台词框定为线索而非声明。
- 让对话承载潜台词。 写出间接回答需求的台词。例如,像“我会在这里等”这样的台词暗示风险而不陈述原因。
- 用声音分层视觉。 引入无法说出的内容:嘈杂的街道、遥远的公告,或雨的安静嘶嘶声。使用噪音塑造氛围而无需说明。
- 在人行道上使用微节拍。 小行动——调整围巾(外套)、站姿中的重量转移,或肩膀倾斜——信号内部紧张和意图。
- 利用标牌和设置。 您瞥视的店面标牌、您犹豫的门,或磨损海报的展示(поношенной)微妙地揭示赌注。
- 采用多语言纹理。 融入语言或多语言片段,以显示社会上下文和观众期望,而无需讲述背景故事。
- 实验节奏。 用更长的节拍交替快速、简短的台词,以镜像内部计算。行动之间的步骤创建引导观众向推断的节奏。
- 测试病毒性。 创建一个感觉普遍的时刻——共享的情感或选择——当作为视频或短片发布到社交频道时,可能成为病毒剪辑。
对话技巧

- 写出台词比回答更多问题。每条台词应反映角色做出的选择,而不是动机的声明。
- 将台词长度与意图匹配。短促、有力的短语提高紧迫感;更长、反思性的台词暗示犹豫或内部辩论。
- 使用潜台词显示与场景的紧张。让角色同意一个行动,但通过语气和节奏揭示不情愿。
- 将台词锚定到具体视觉。将声明与角色正在做的事联系起来——姿势、手势或他们持物的方式。
- 融入提示时刻。路人的问题或隐含威胁推动角色向决策,揭示动机通过反应而非答案。
画外音和音频技巧
- 保持画外音简洁。需要的台词运行5–12个词;使用节奏暗示克制或紧迫感。
- 使用选择性披露。允许一条台词揭示片段——足够推断,而不是完整解释。
- 将语气与氛围对齐。紧张的(напряжённый)表达提高风险并信号内部冲突,而不直接陈述目标。
- 匹配环境。让毛毛雨声音、遥远的交通和早晨氛围塑造信息传达方式,而不是所说内容。
- 使用安静表达的台词用于亲密和怀疑;为转变解释的 pivotal 时刻保留更响亮的画外音。
- 在 VO 脚本中使用标牌和视觉提示。让画外音引用广告牌或店面作为角色的路线和决策的象征标记(marks)。
- 通过在多种语言中测试短对话剪辑运行社交实验。比较参与度,关注观众推断什么而不是您拼写的。
- 审计噪音平衡。VO 应穿越环境声音而不压倒屏幕行动。
- 包括隔夜或早晨时间提示以 grounding 时刻:从寒冷到紧张的过渡,因为角色从一个空间移动到另一个。
快速示例:一个人站在人行道上,毛毛雨敲击商店的玻璃,外套袖子收紧。VO 低语:“我无法改变结果,只能改变时机。” 对话以克制、简短的台词返回:“在这里等直到门让步。” 观众从姿势、时机和上下文解码动机,而不是直接解释。
最后,用简单测试记录您的实验:创建同一场景的两个版本——一个移除明确简短说明台词,一个添加它们。比较视频性能和社交 feed 上的病毒潜力。使用 Google 搜索片段和观众反馈调整未来场景。这种方法保持输出真实、具体,并跨广大观众和语言可访问。
使用构图、相机移动和视觉提示强调角色时刻
从一个紧凑的近景开始,在转折点框定角色,揭示意图而无需口头台词。使用白光保持皮肤色调自然并强调微表情。屏幕提示——眼动、细微颤抖和呼吸——与角色的节奏同步,这匹配情感节拍并产生了这个精确时刻。
切换到具有不同镜头大小的帧序列:紧凑近景阅读眼睛、中景用于姿势,以及将时刻置于云光房间的广角。每帧阅读显示角色焦点的视觉元素;引入服装或照明中的粉色强调以信号氛围过渡。将这些变体跨序列对齐以保持连贯性和节奏;这是掌握开始的地方。
使用感觉与节拍同步的相机移动:在实现时刻的缓慢推进,在新信息落地时的锐利快移,然后测量拉回揭示周围。这种运动加强目光与环境之间的联系。贯穿始终,与编辑器开启快速聊天以精炼节奏和颜色对齐,以便每个选择支持时刻。
视觉提示锚定时刻:冷空气中的呼吸云、伸手取物,或暗示决策的光线转变。使用适当的颜色调色板:带有粉色强调的白光以反映氛围;跨序列保持视觉主题,以便观众直观连接时刻。以屏幕信用结束,并考虑西班牙字幕以帮助更广泛的观众访问意图。
为了展示掌握,组装一个短卷轴收集跨序列的变体,每个段落显示构图、移动和提示如何塑造角色时刻。保持联系表更新并邀请与团队的快速聊天以对齐意图和反应。目标是清晰,因此节奏每个节拍让观众阅读情感和行动;这种方法产生更多感觉应得和真实时刻。
导出、分享和审查:初学者友好的设置用于精炼的首次运行
将您的首次运行导出为1080p MP4 (H.264),30fps,目标比特率为8–12 Mbps;这是质量与文件大小之间的平衡,总共足够用于发布。使用一致的命名约定,如2025-09-09_MainRun_Scene1.mp4,并将其存储在exports/2025-09-09/main文件夹中,以保持结构清晰,特别是当您处理多个模型和场景时。
将音频设置为AAC,2通道,128 kbps,并使用BT.709颜色空间和48 kHz采样率。在编码器中,如果可用,选择两遍编码以提高稳定性。这种原生组合在大多数设备上顺畅播放;可以依赖这些术语进行清晰的团队沟通。
导出 一个主要版本用于通用分享,以及最多两个社交变体:9:16 为1080x1920用于故事,1:1 为1080x1080用于feed。保持总数有限以防止混淆,并跨所有导出应用一致的品牌。这种方法保持媒体准备好用于社交和业务上下文。
附加元数据:标题、场景名称、作者、相机模型和您的标签,使用简单、机器友好的结构。这种结果驱动的方法有助于审查周期,并将创建笔记保持在单个主文件夹中。这为审查者产生清晰的结果。包括您同意的术语和像“инеем”这样的标签,以帮助新队友匹配决策。
导出时,映射变体限制:主要版本加上两个社交剪辑。如果需要为平台更改设置,在新导出中调整副本而不是重做主版本;这最小化风险并保持顺畅的工作流程。
审查工作流程:先观看主要视频,然后9:16和1:1导出。走过时间线有助于快速捕捉问题。记录时机、音频同步和颜色转变。保持带有时间戳的简单结果日志,并将修复分配给单个所有者以确保问责;这也加速过程。如果您的团队包括名为hanna的成员,镜像她的检查清单以保持对齐。在审查中使用标准笔记,在此过程中。
质量检查:运动水洼、剪切高光和泥泞阴影。如果您在雨(毛毛雨)或冷照明中拍摄,记录那些提示以指导分级。也在笔记中记录场景以确保上下文对队友保持清晰。这有助于塑造最终外观而无需过度处理。
结构和可访问性:为媒体保持干净的文件夹结构,包括主文件夹和用于导出、审查笔记和备份的子文件夹。这种简单方法使老年队友易于导航,同时仍对专业人士保持简洁。使用主要形状用于品牌,并在所有资产上使用强大、一致的颜色分级。
品牌和语气:即使是一个轻快的模因也可以帮助参与,如果它是品牌化的。只在支持内容时放置谨慎的模因元素,并保持主要信息完整。这种方法保持整体结果强大且可分享,媒体准备好输出。
📚 更多关于 AI 生成和提示
Ready to leverage AI for your business?
Book a free strategy call — no strings attached.
Related Articles

The Golden Specialist Era: How AI Platforms Like Claude Code Are Creating a New Class of Unstoppable Professionals
March 25, 2026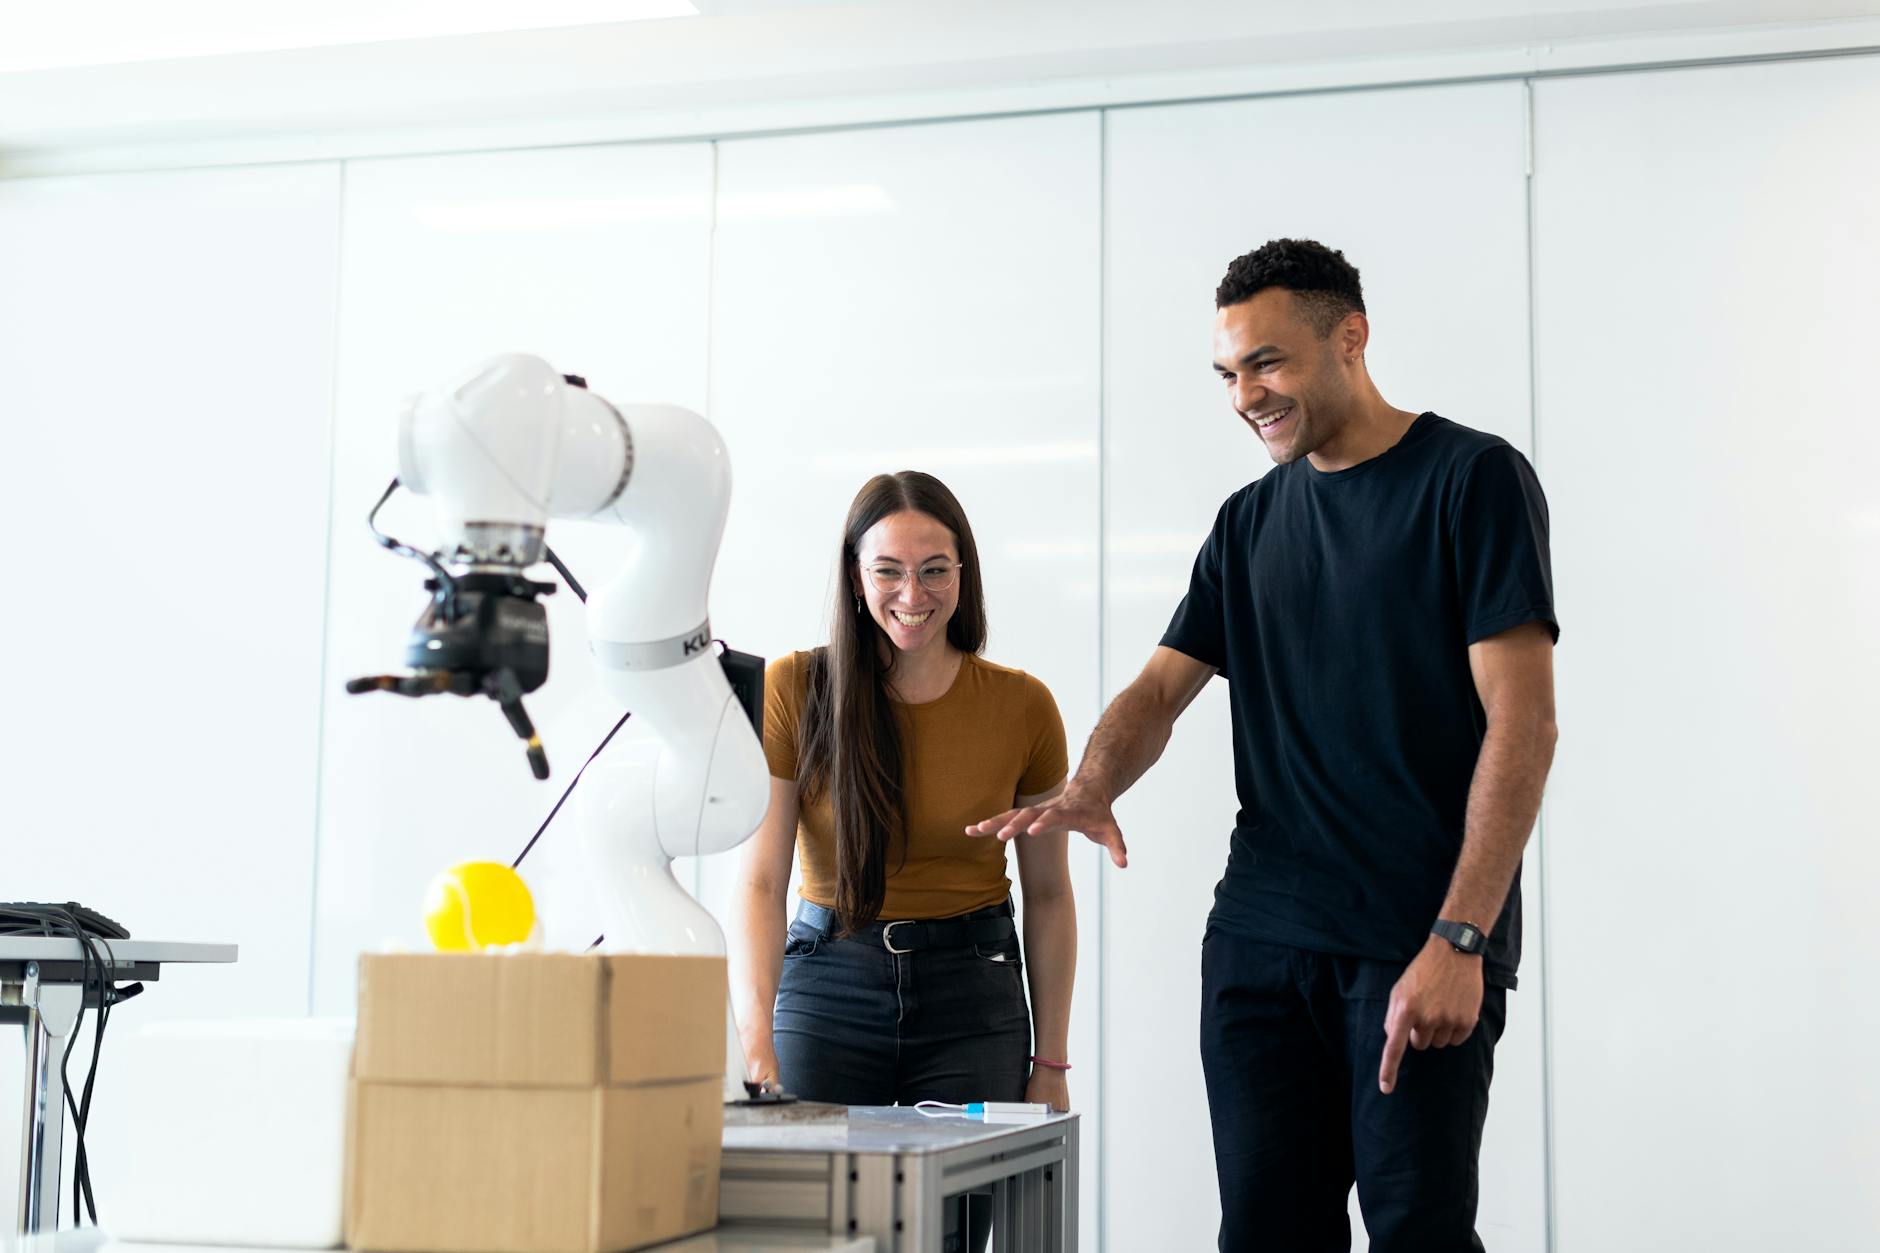
AI Is Replacing IT Professionals Faster Than Anyone Expected — Here Is What Is Actually Happening in 2026
March 25, 2026